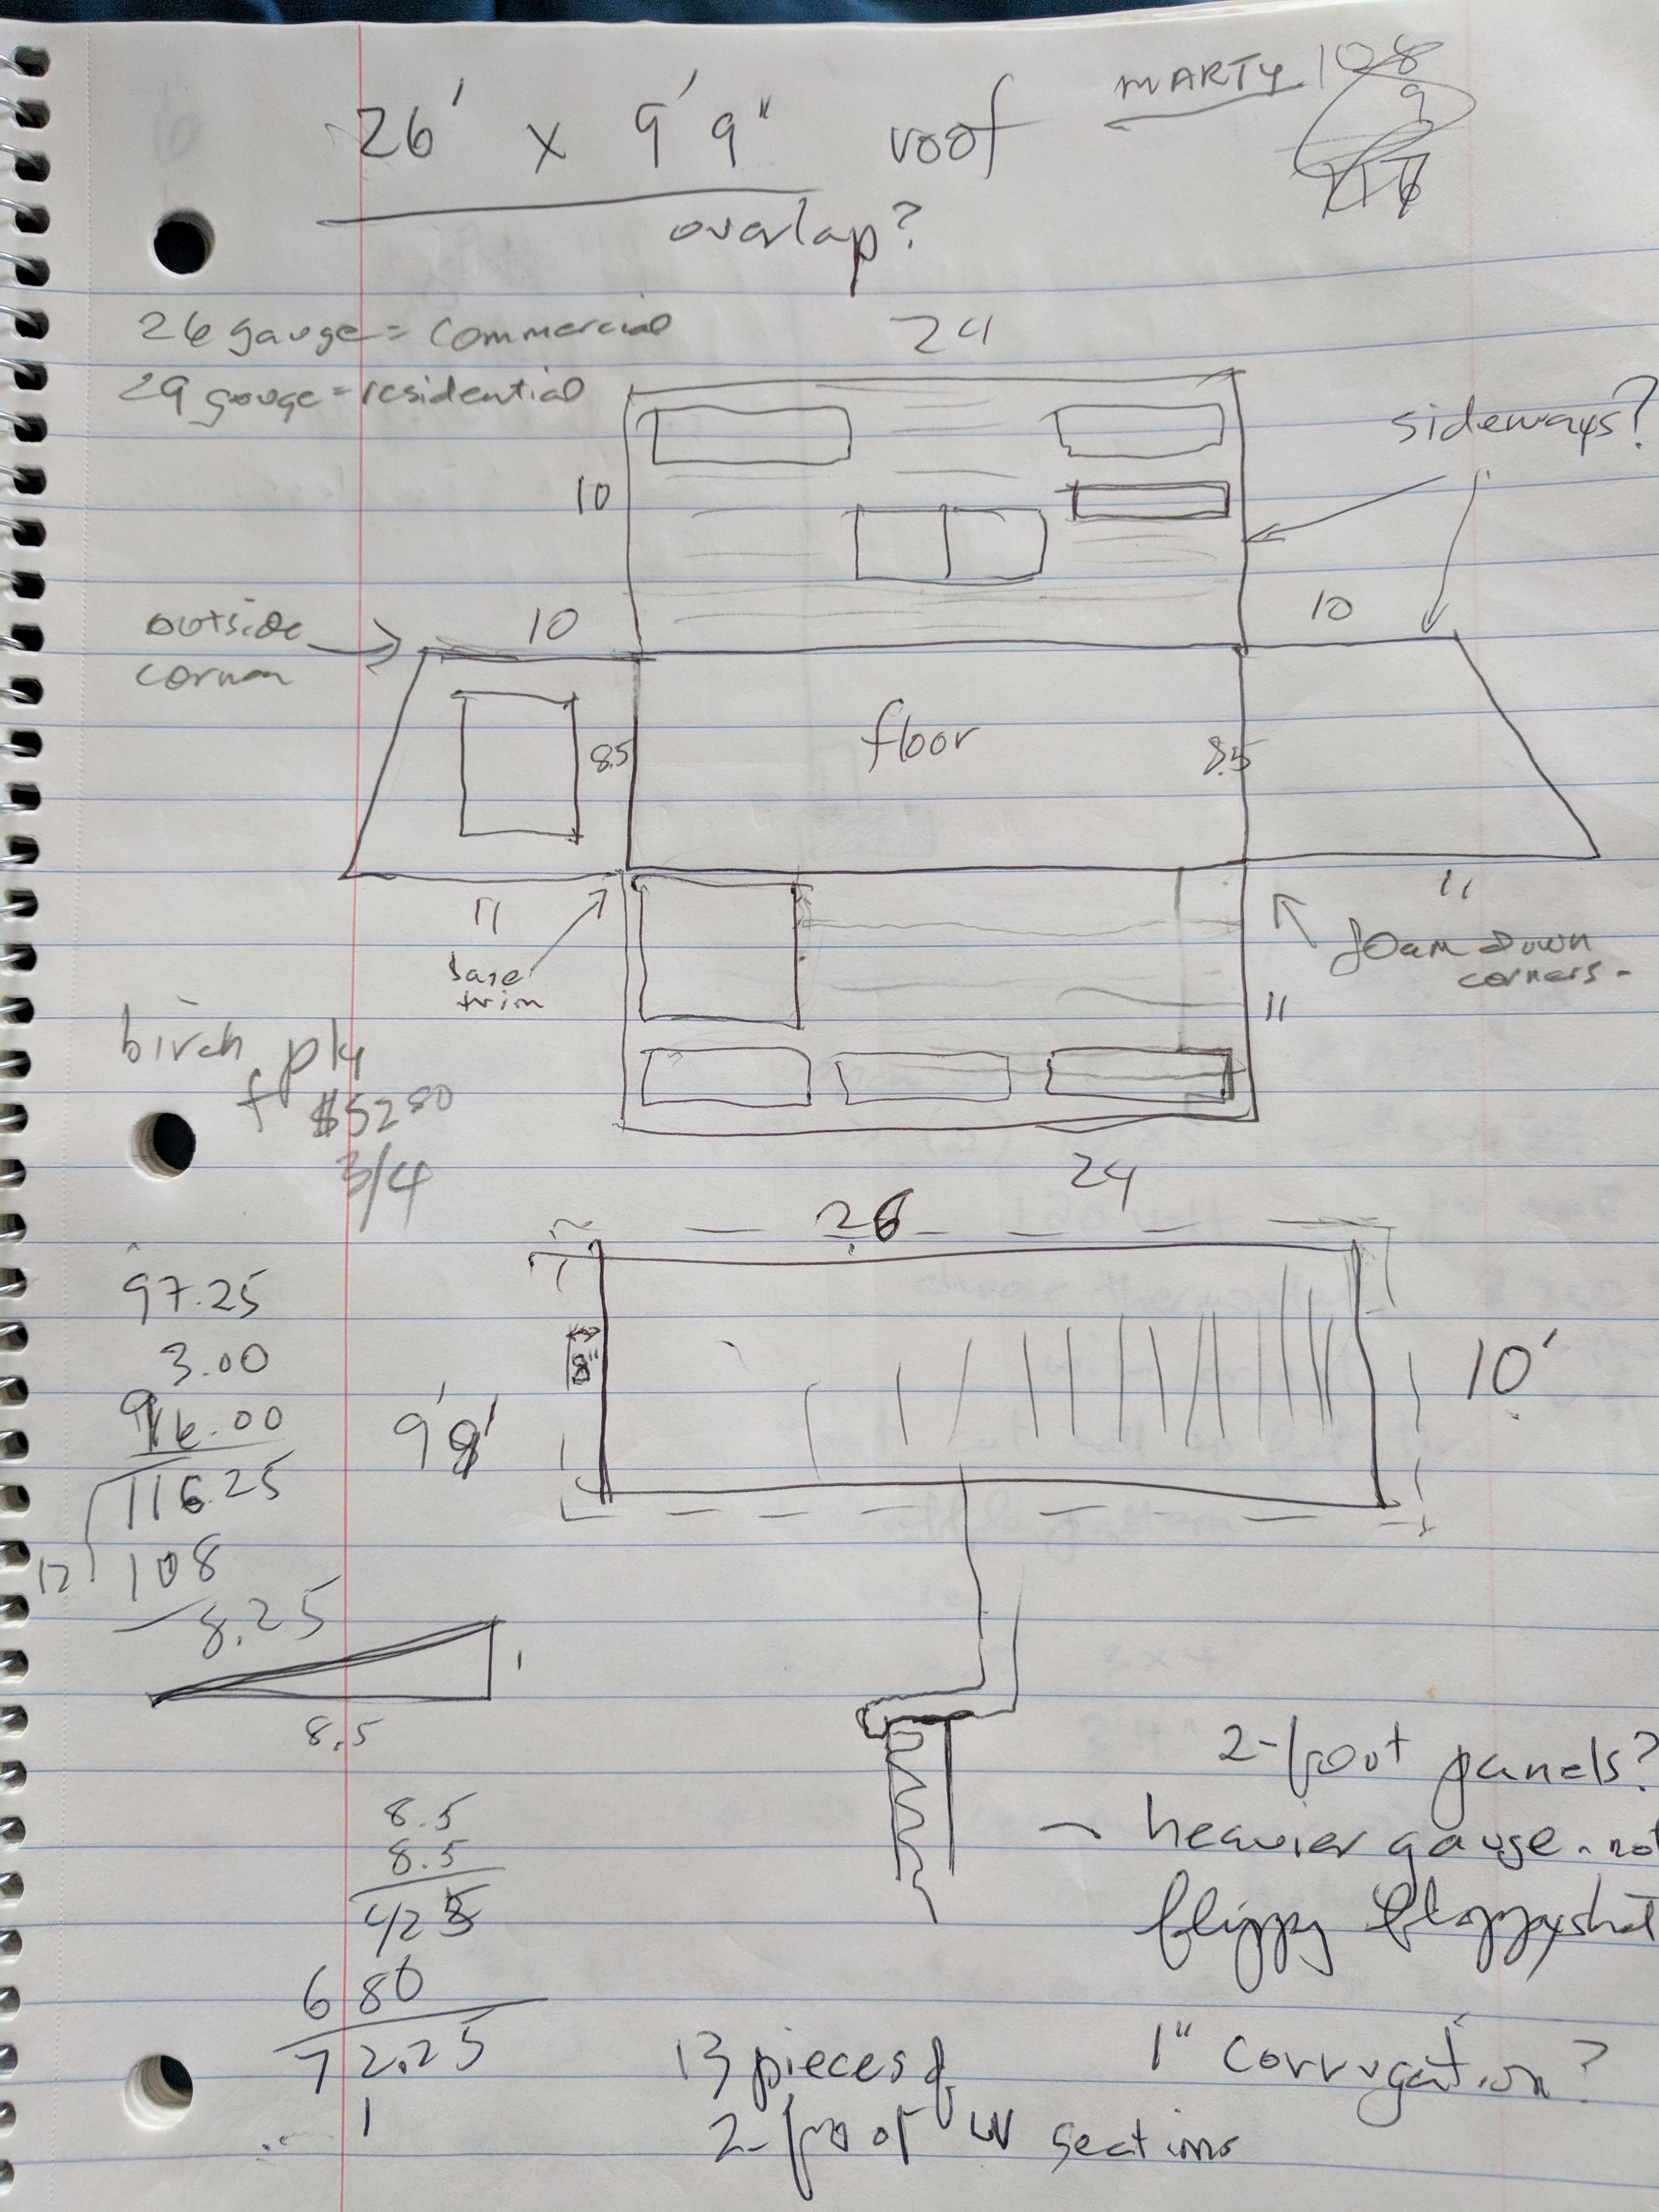
Pencil Sketch
This is one of our original pencil sketches for the tiny house. Dimensions aren't accurate but we already knew that we wanted corrugated roof and siding; based on the Kurtmudgeon's advice we've noted: heavier gauge, not flippy floppy shit.

SketchUp
This is one of our original SketchUp designs. It's reasonably close to the finished product, though it has the tongue of the trailer 180-degrees off were it ended up and we had yet to conceive of the shed. Plus we were still planning on two lofts.
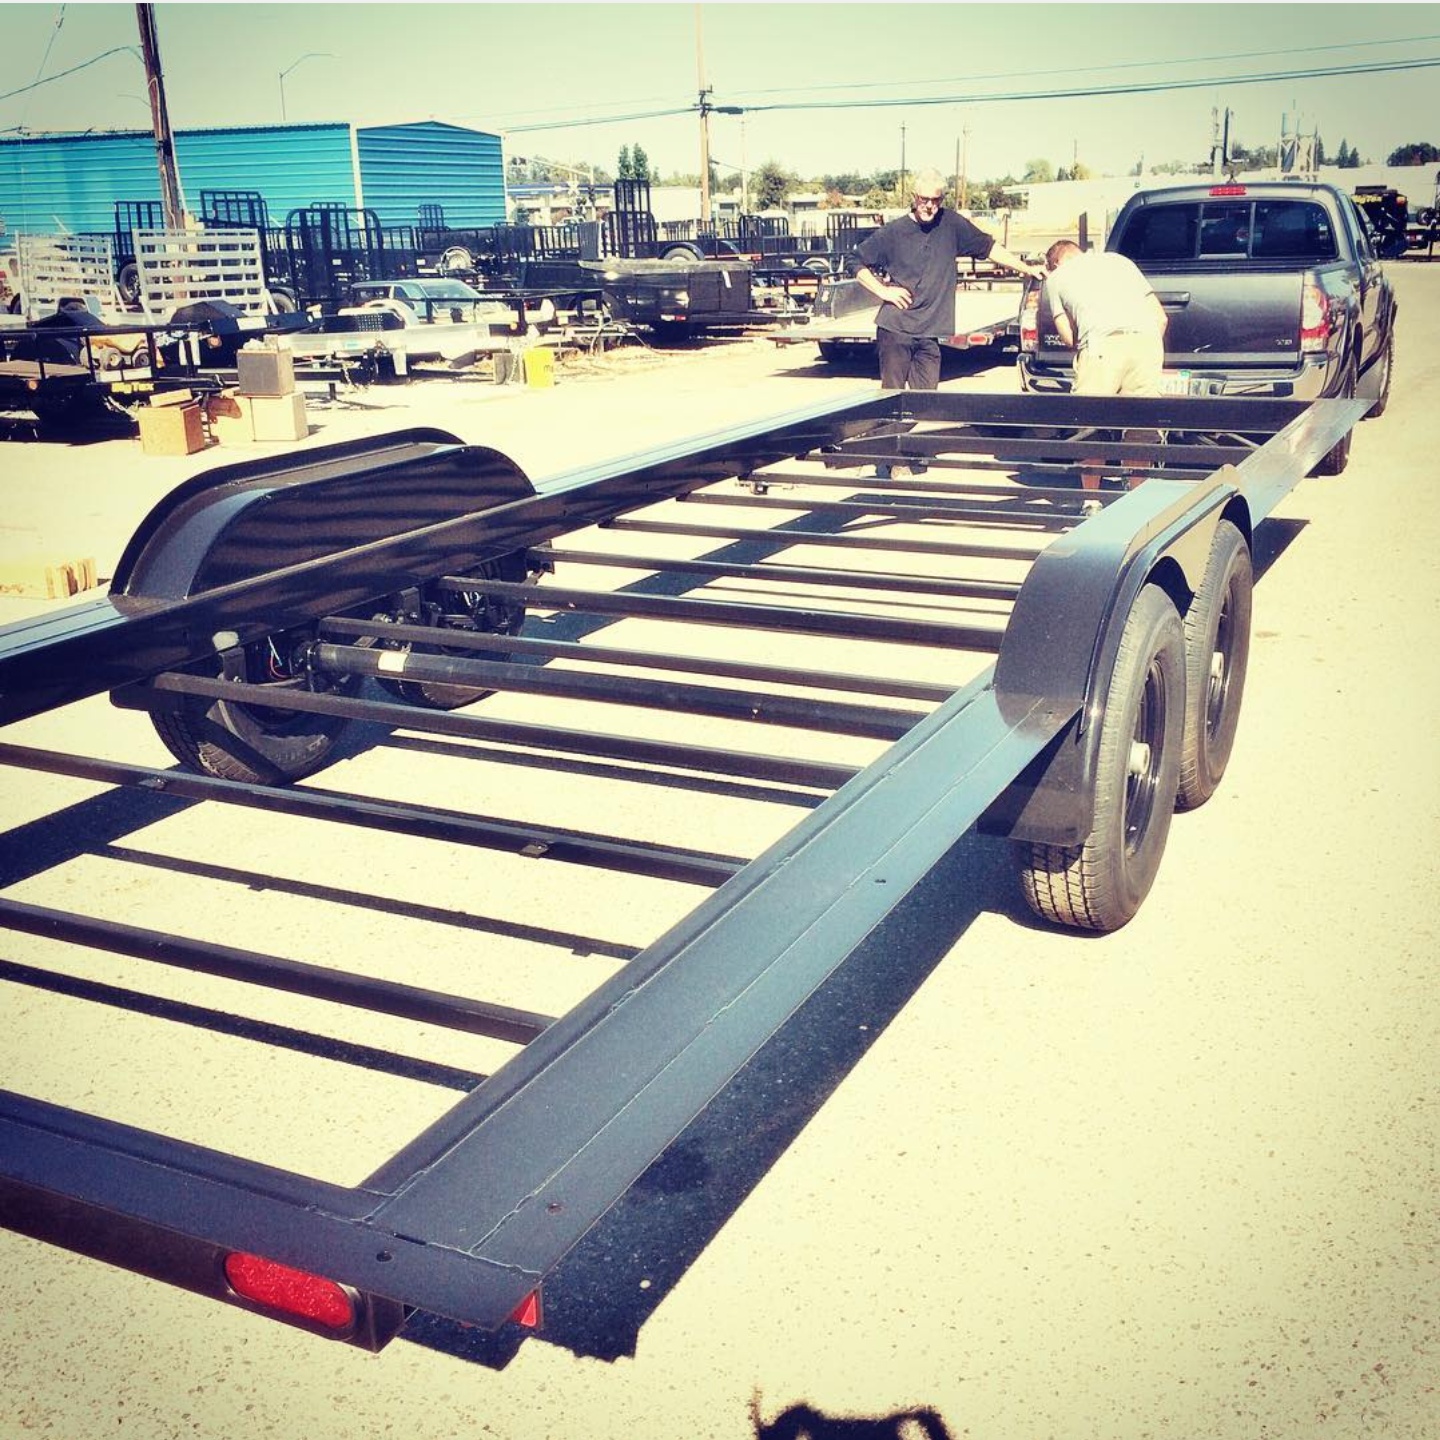
The Trailer
We started with an Iron Eagle trailer built specially for tiny houses. The company is based in Oregon and they delivered our trailer to Trailering U, a dealer in Redding, CA.
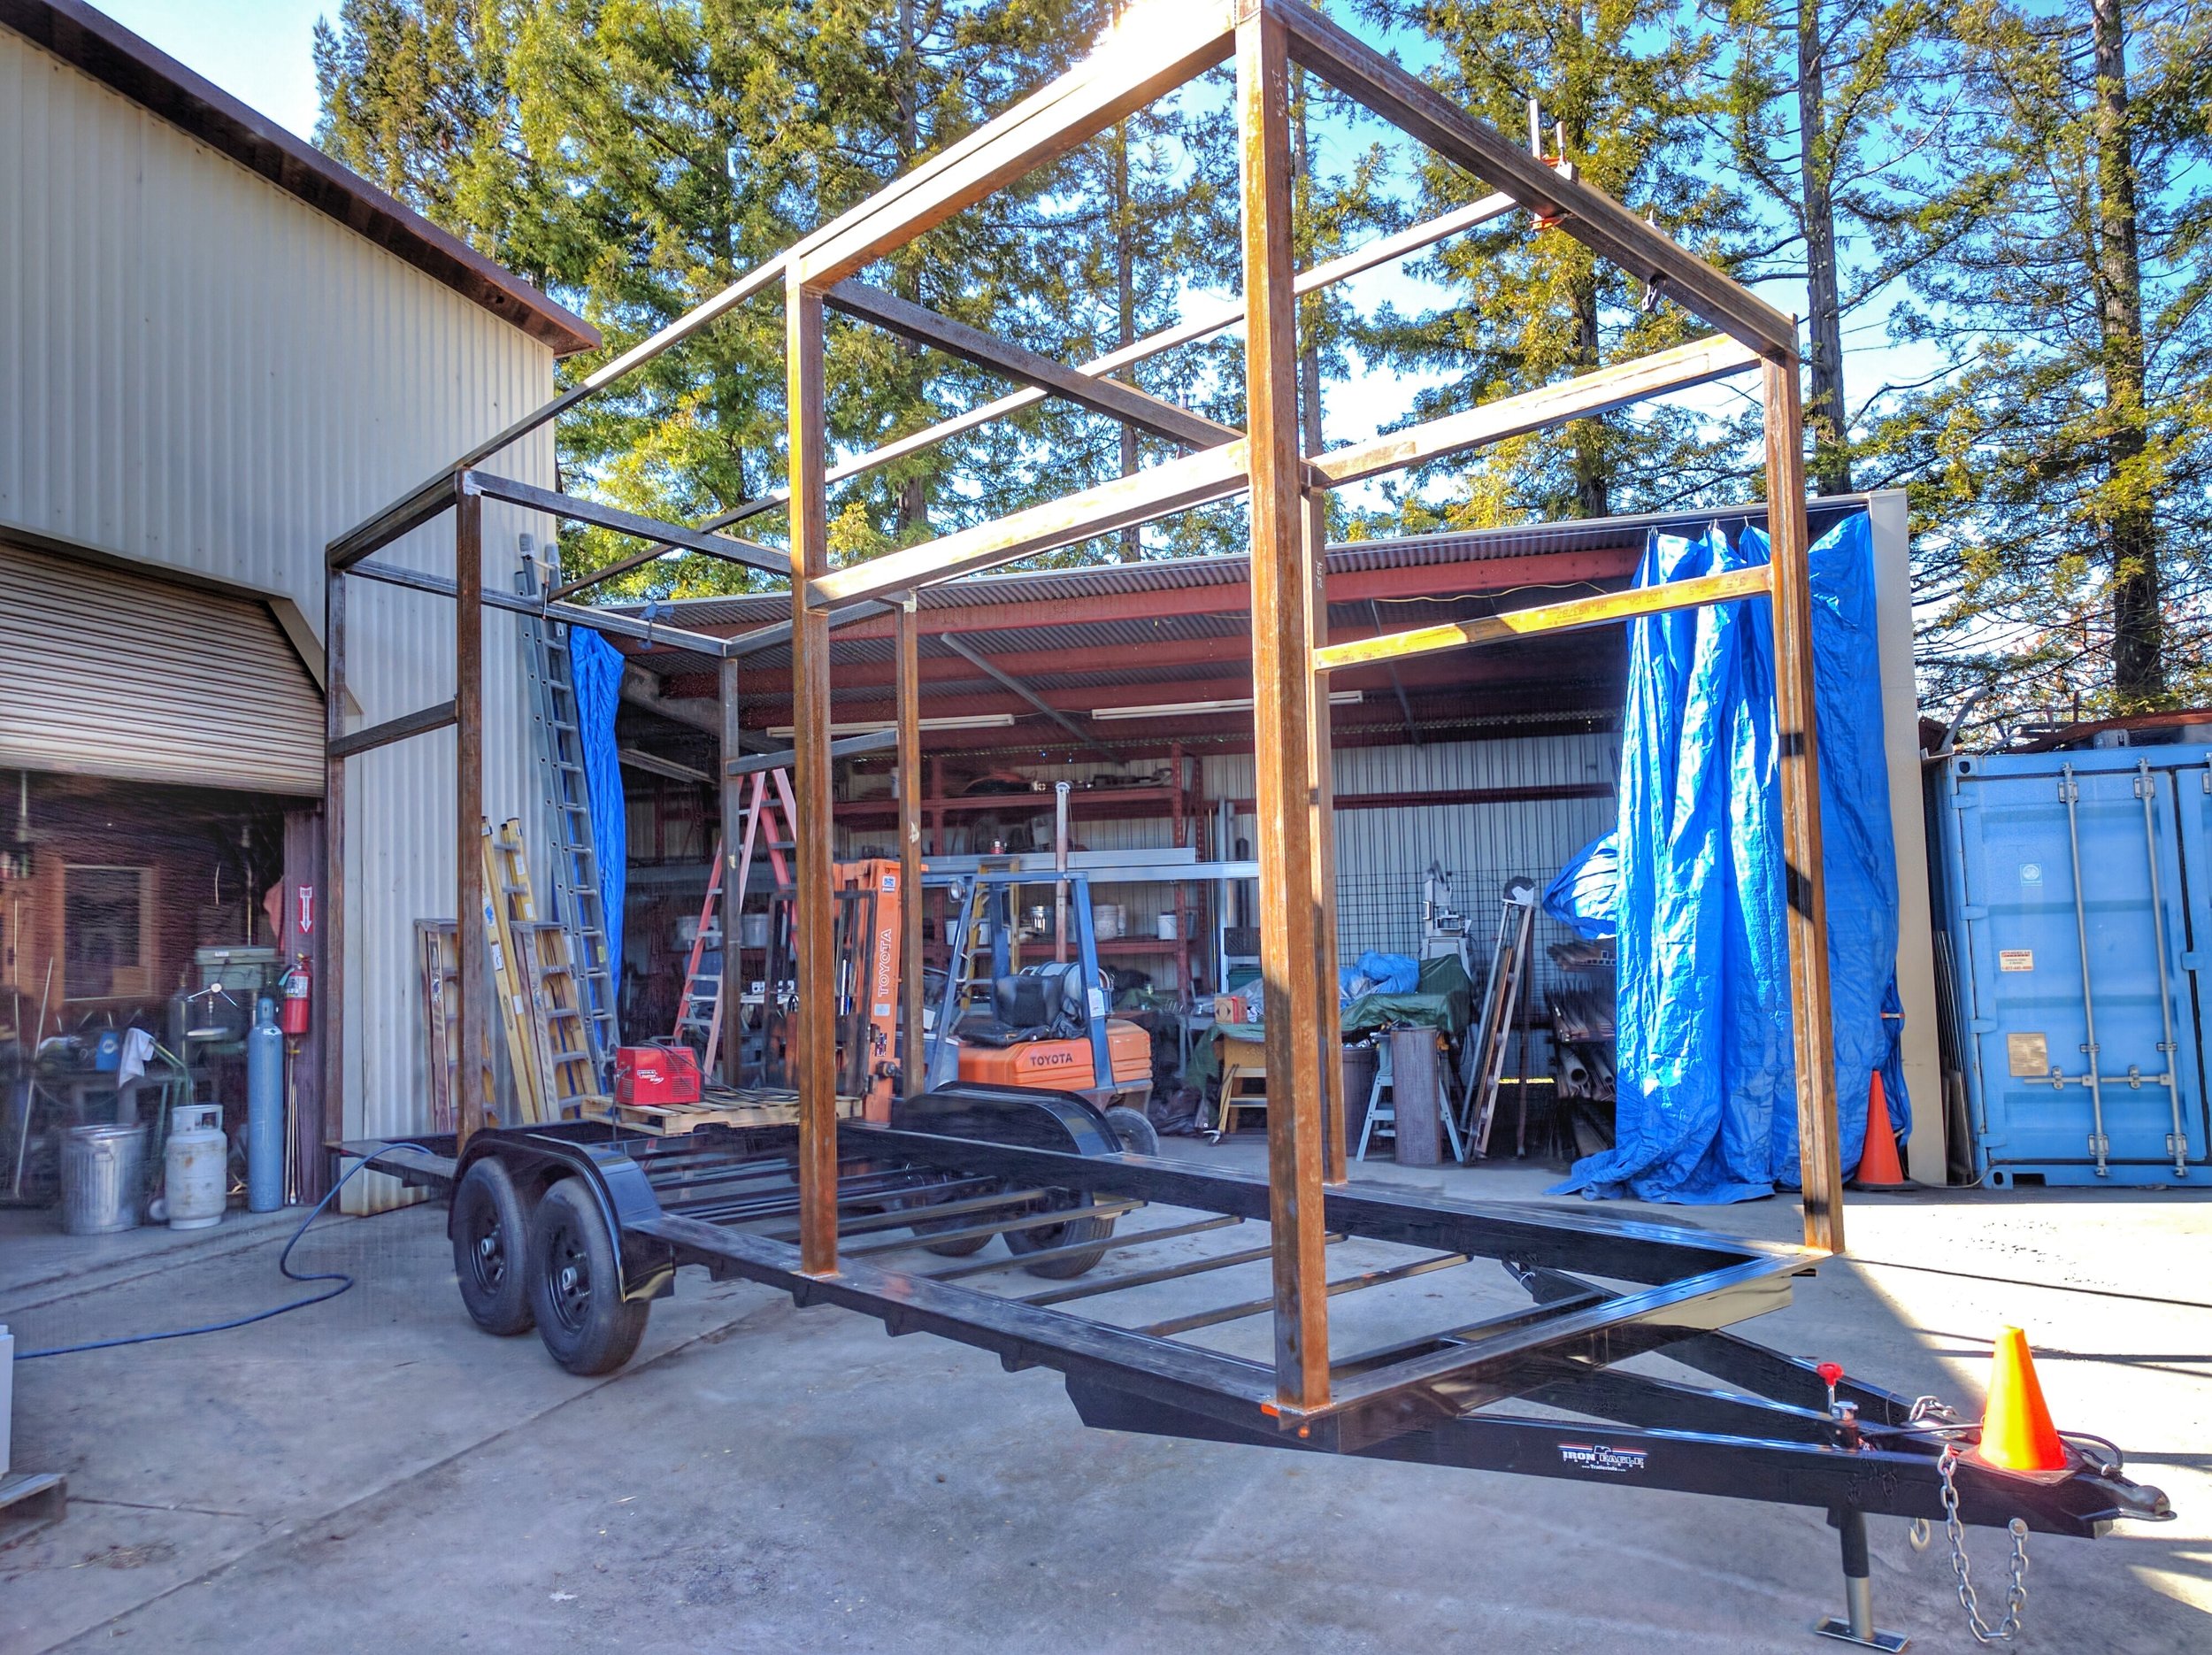
Welded Frame
We decided to go with a welded frame to have more structural strength and room for plenty of windows.
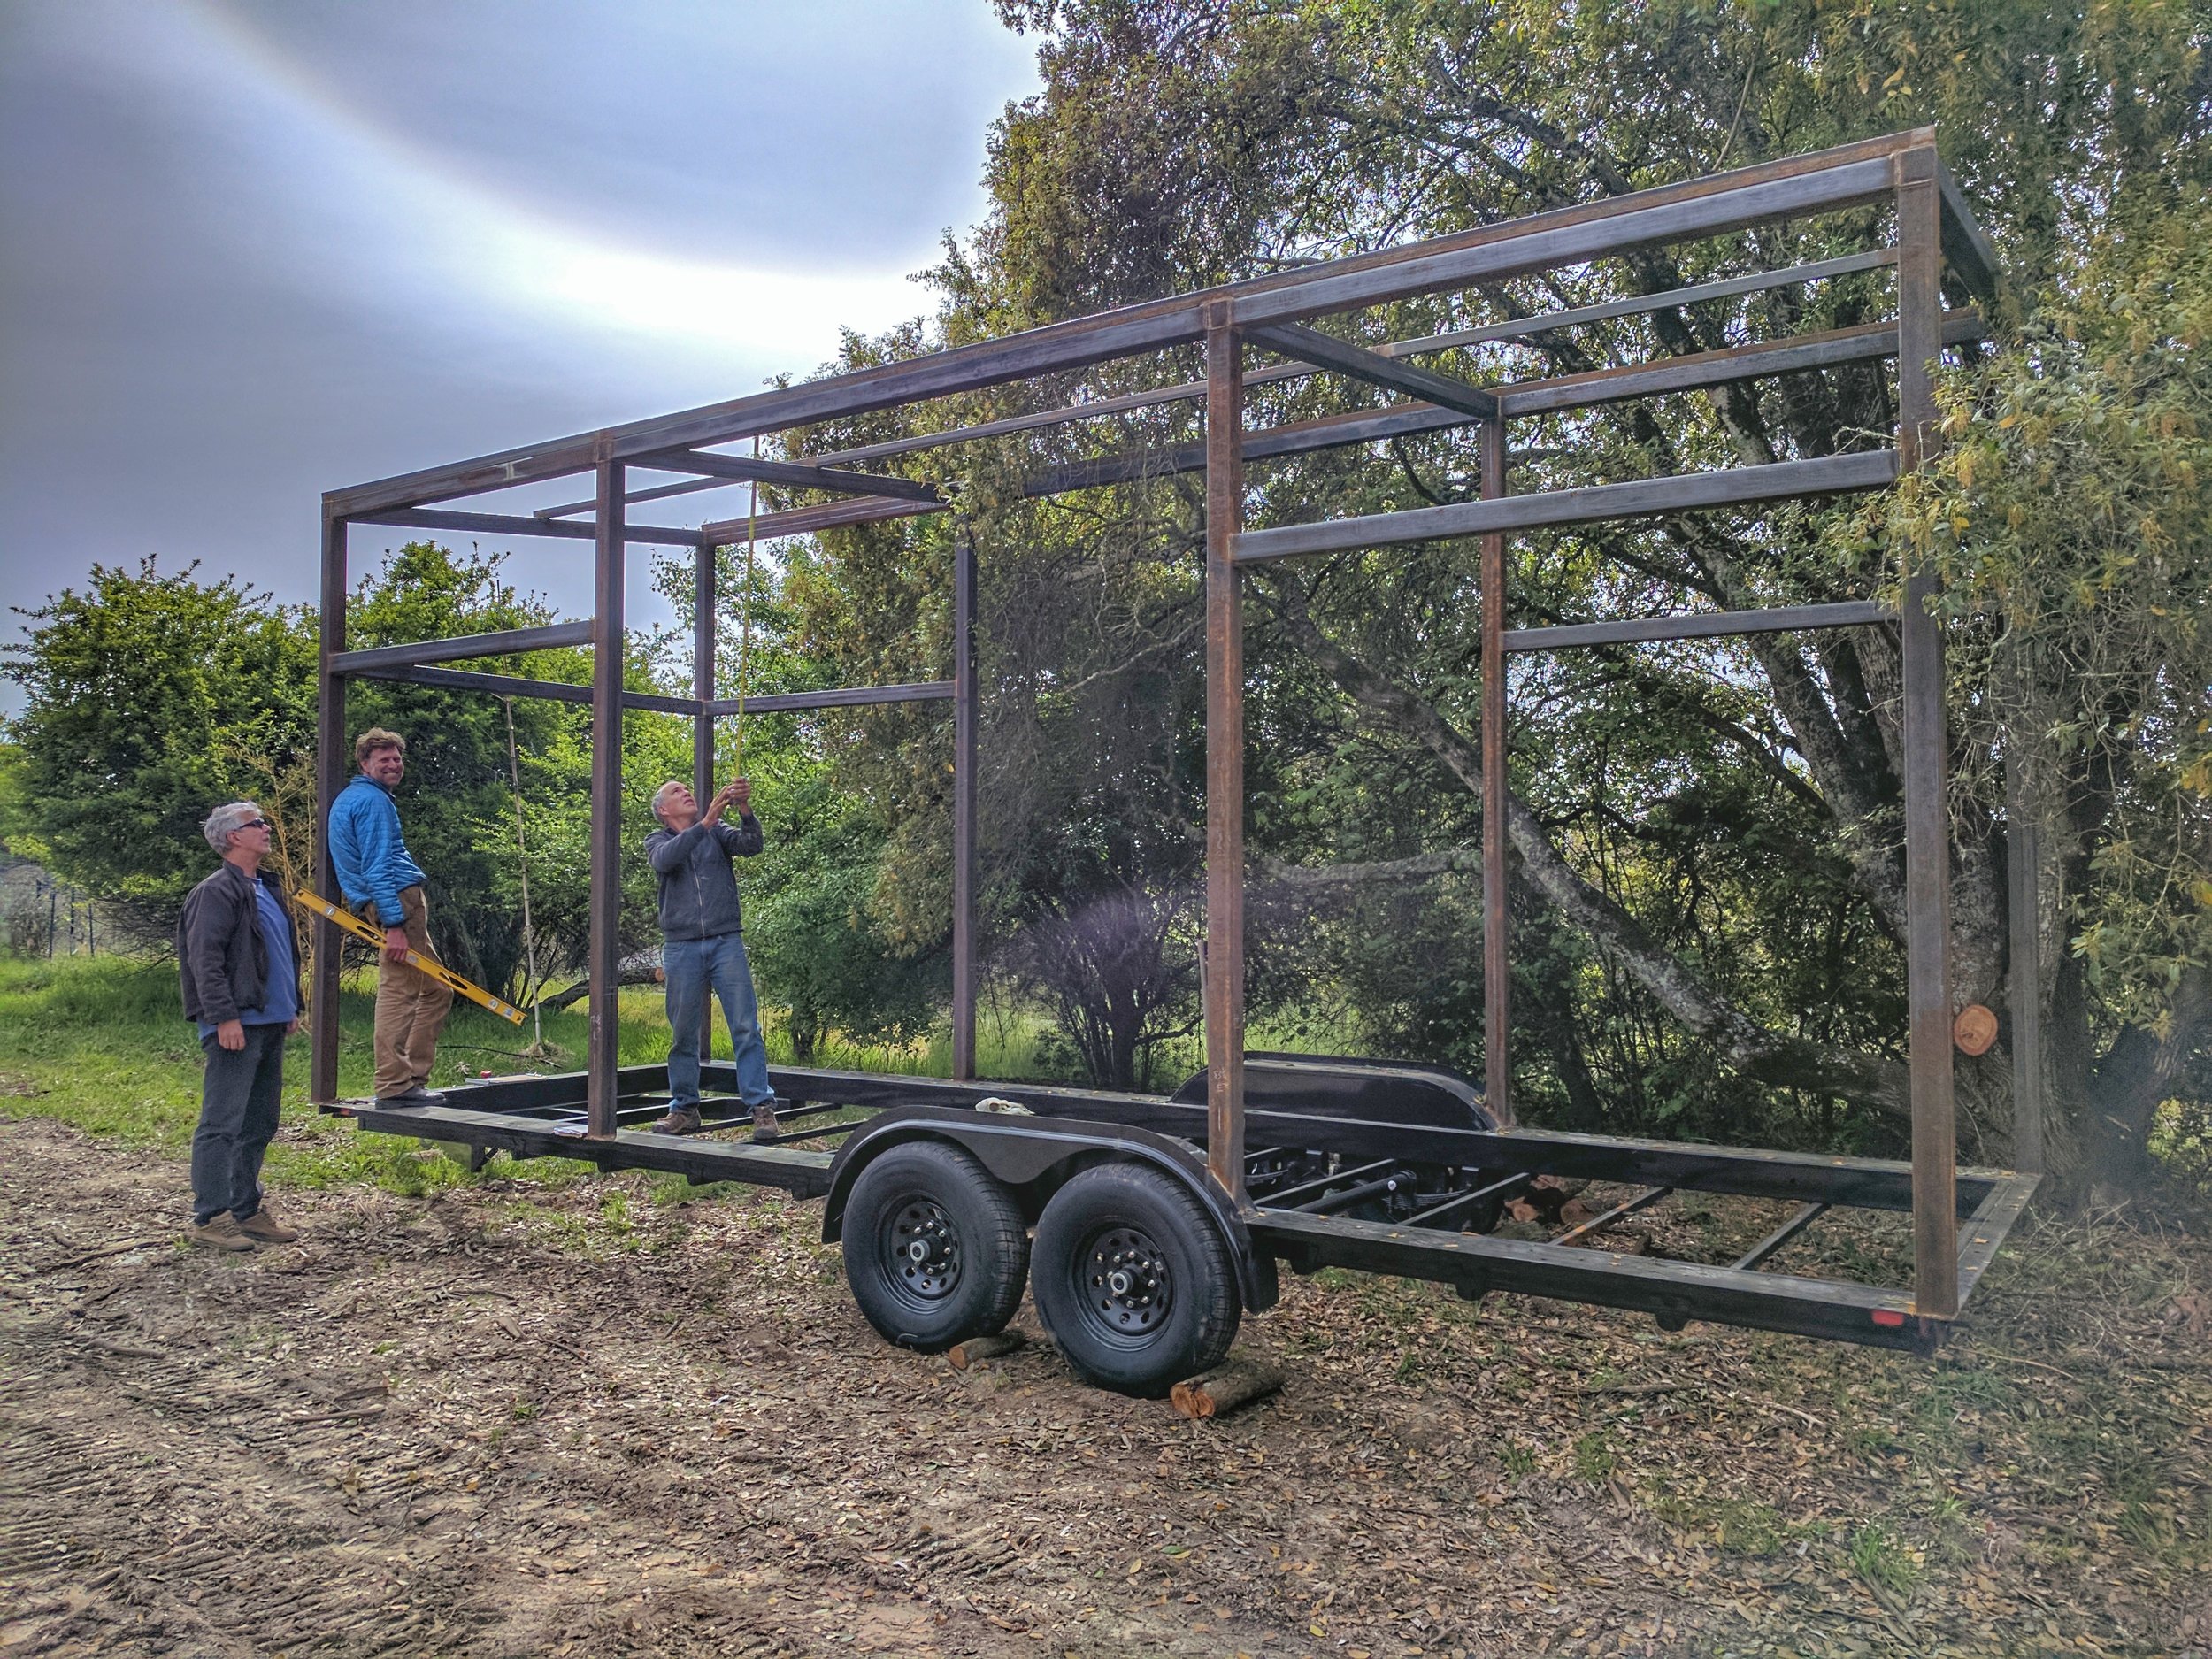
Picking The Site
The welders drove the frame to the property—trimming a few trees along the way—and we chose the site near a beautiful multi-trunked live oak.
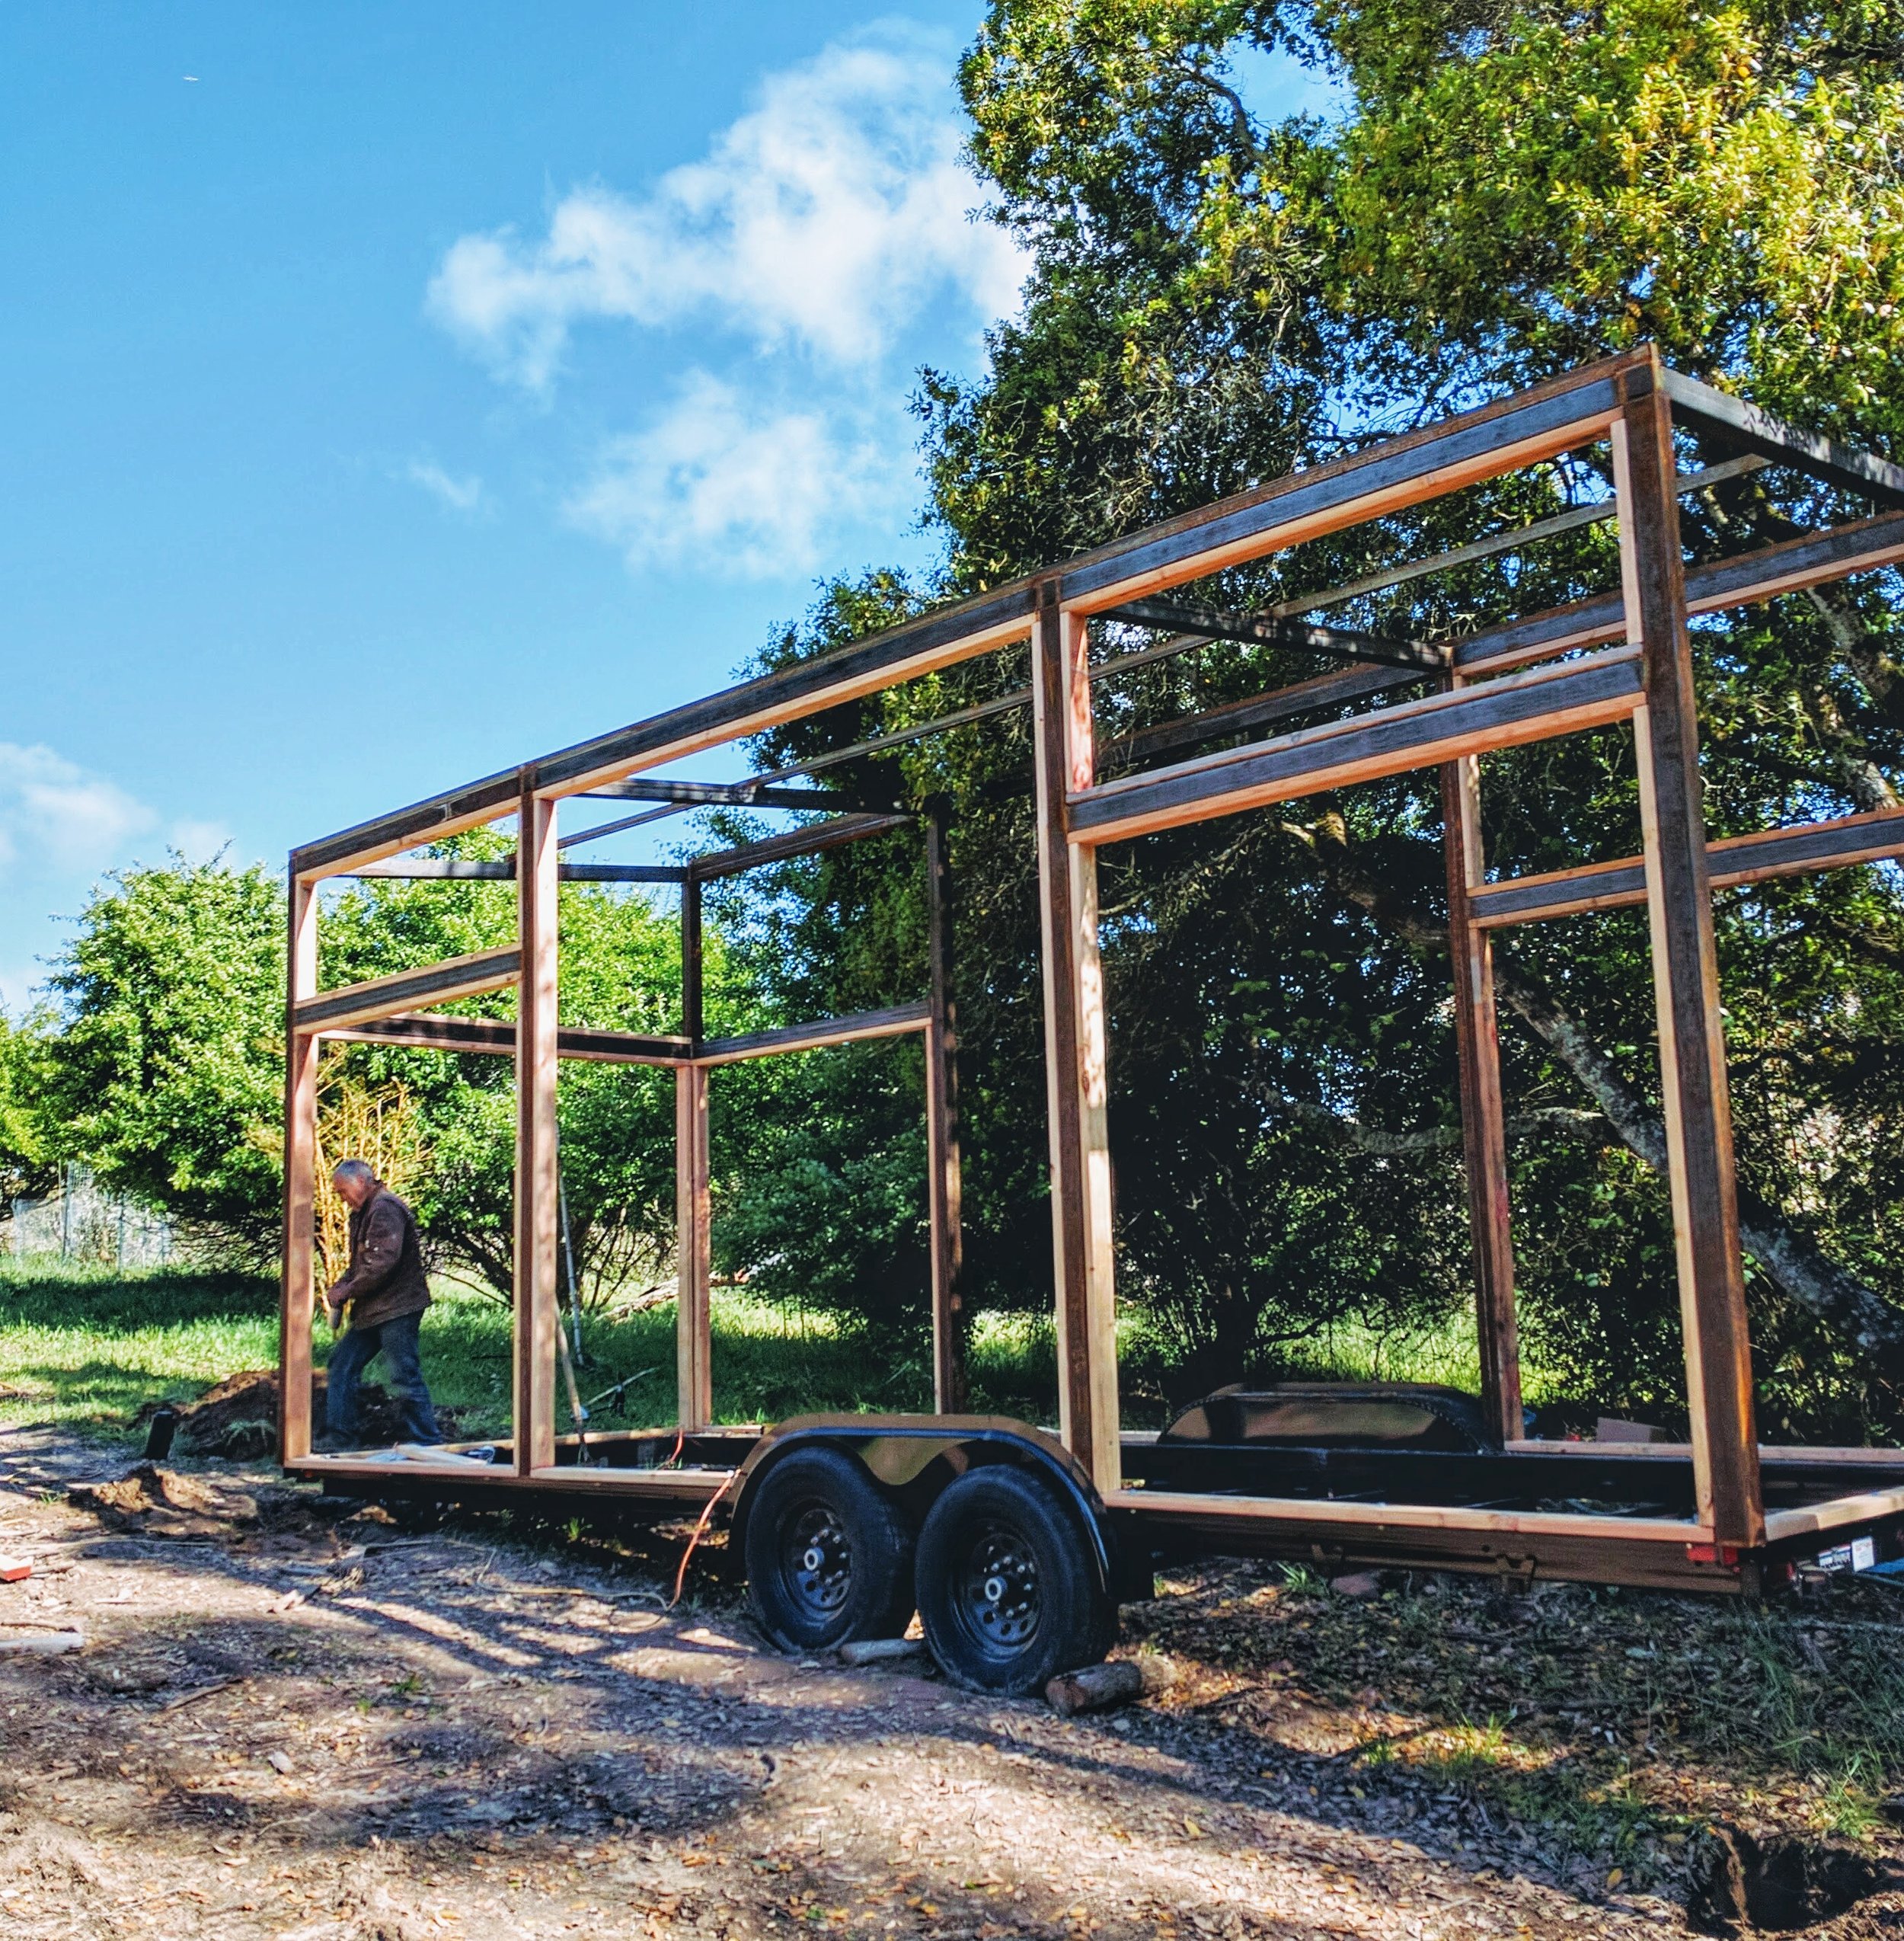
Flexibility In Framing
We lined the welded metal with 2x4s, which allowed us complete freedom as to where we could frame in doors and windows.
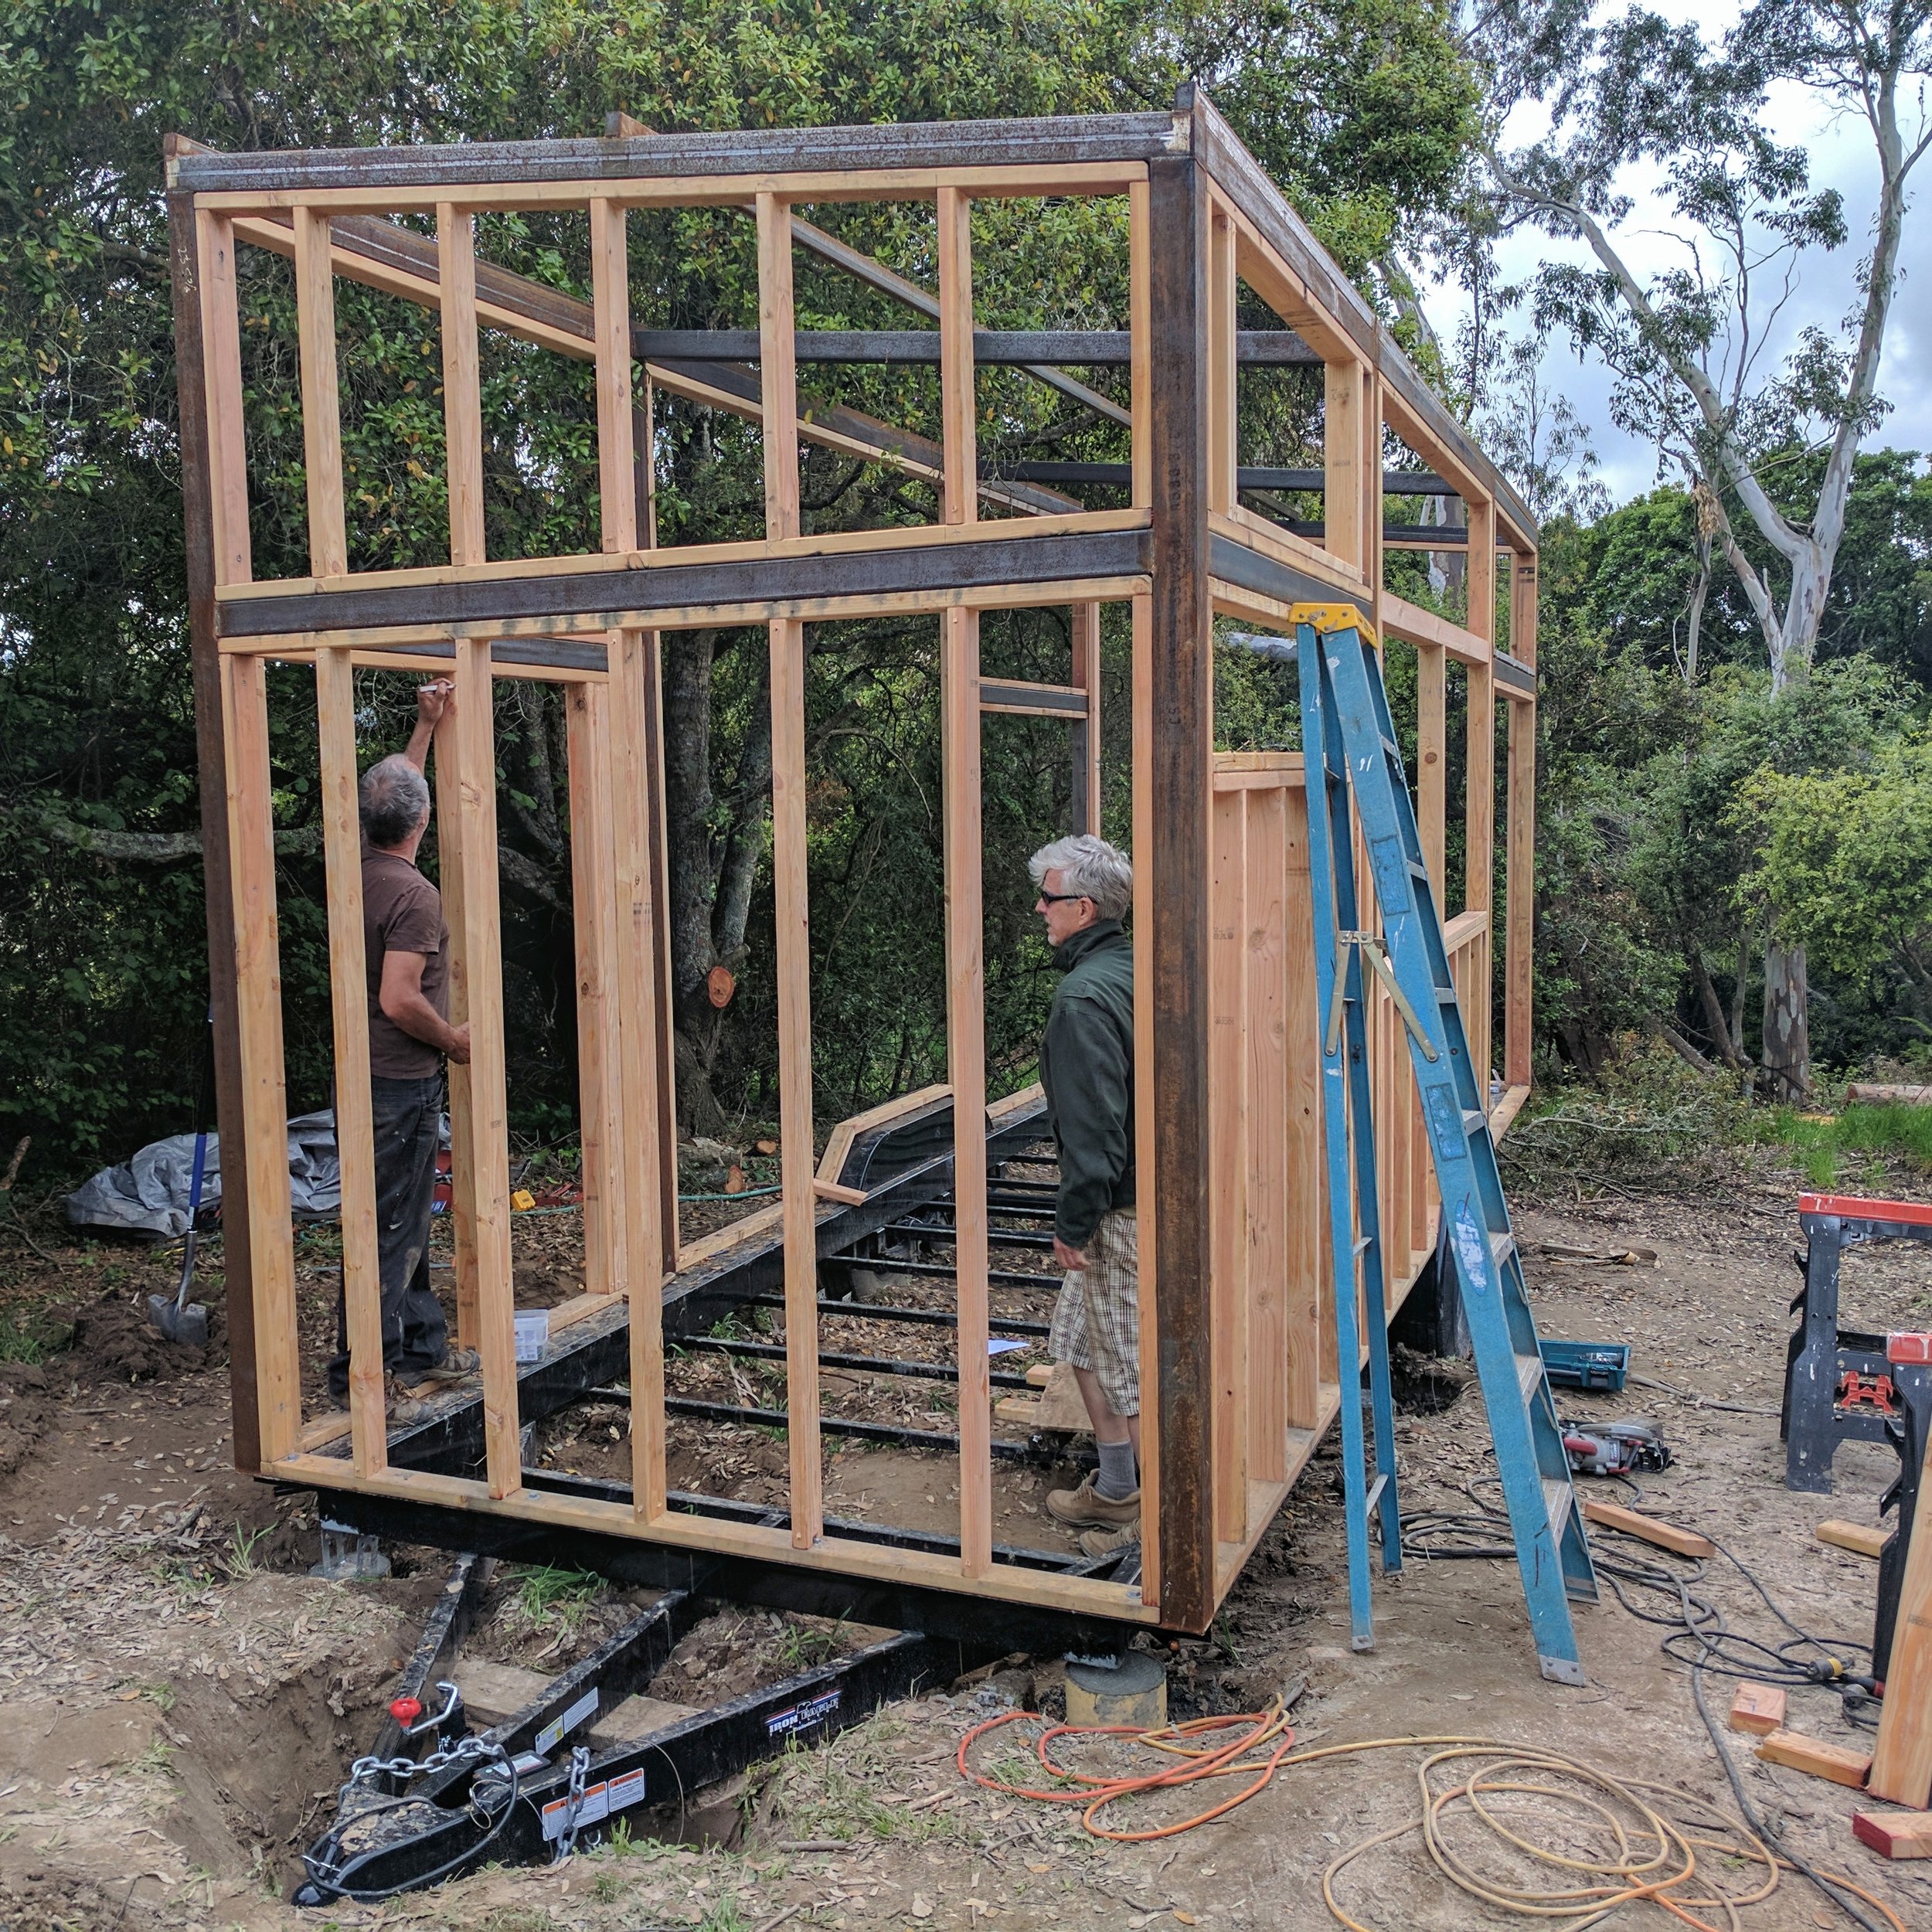
Wood Framing
After we decided window and door openings, we framed standard 16-inch-on-center studs.
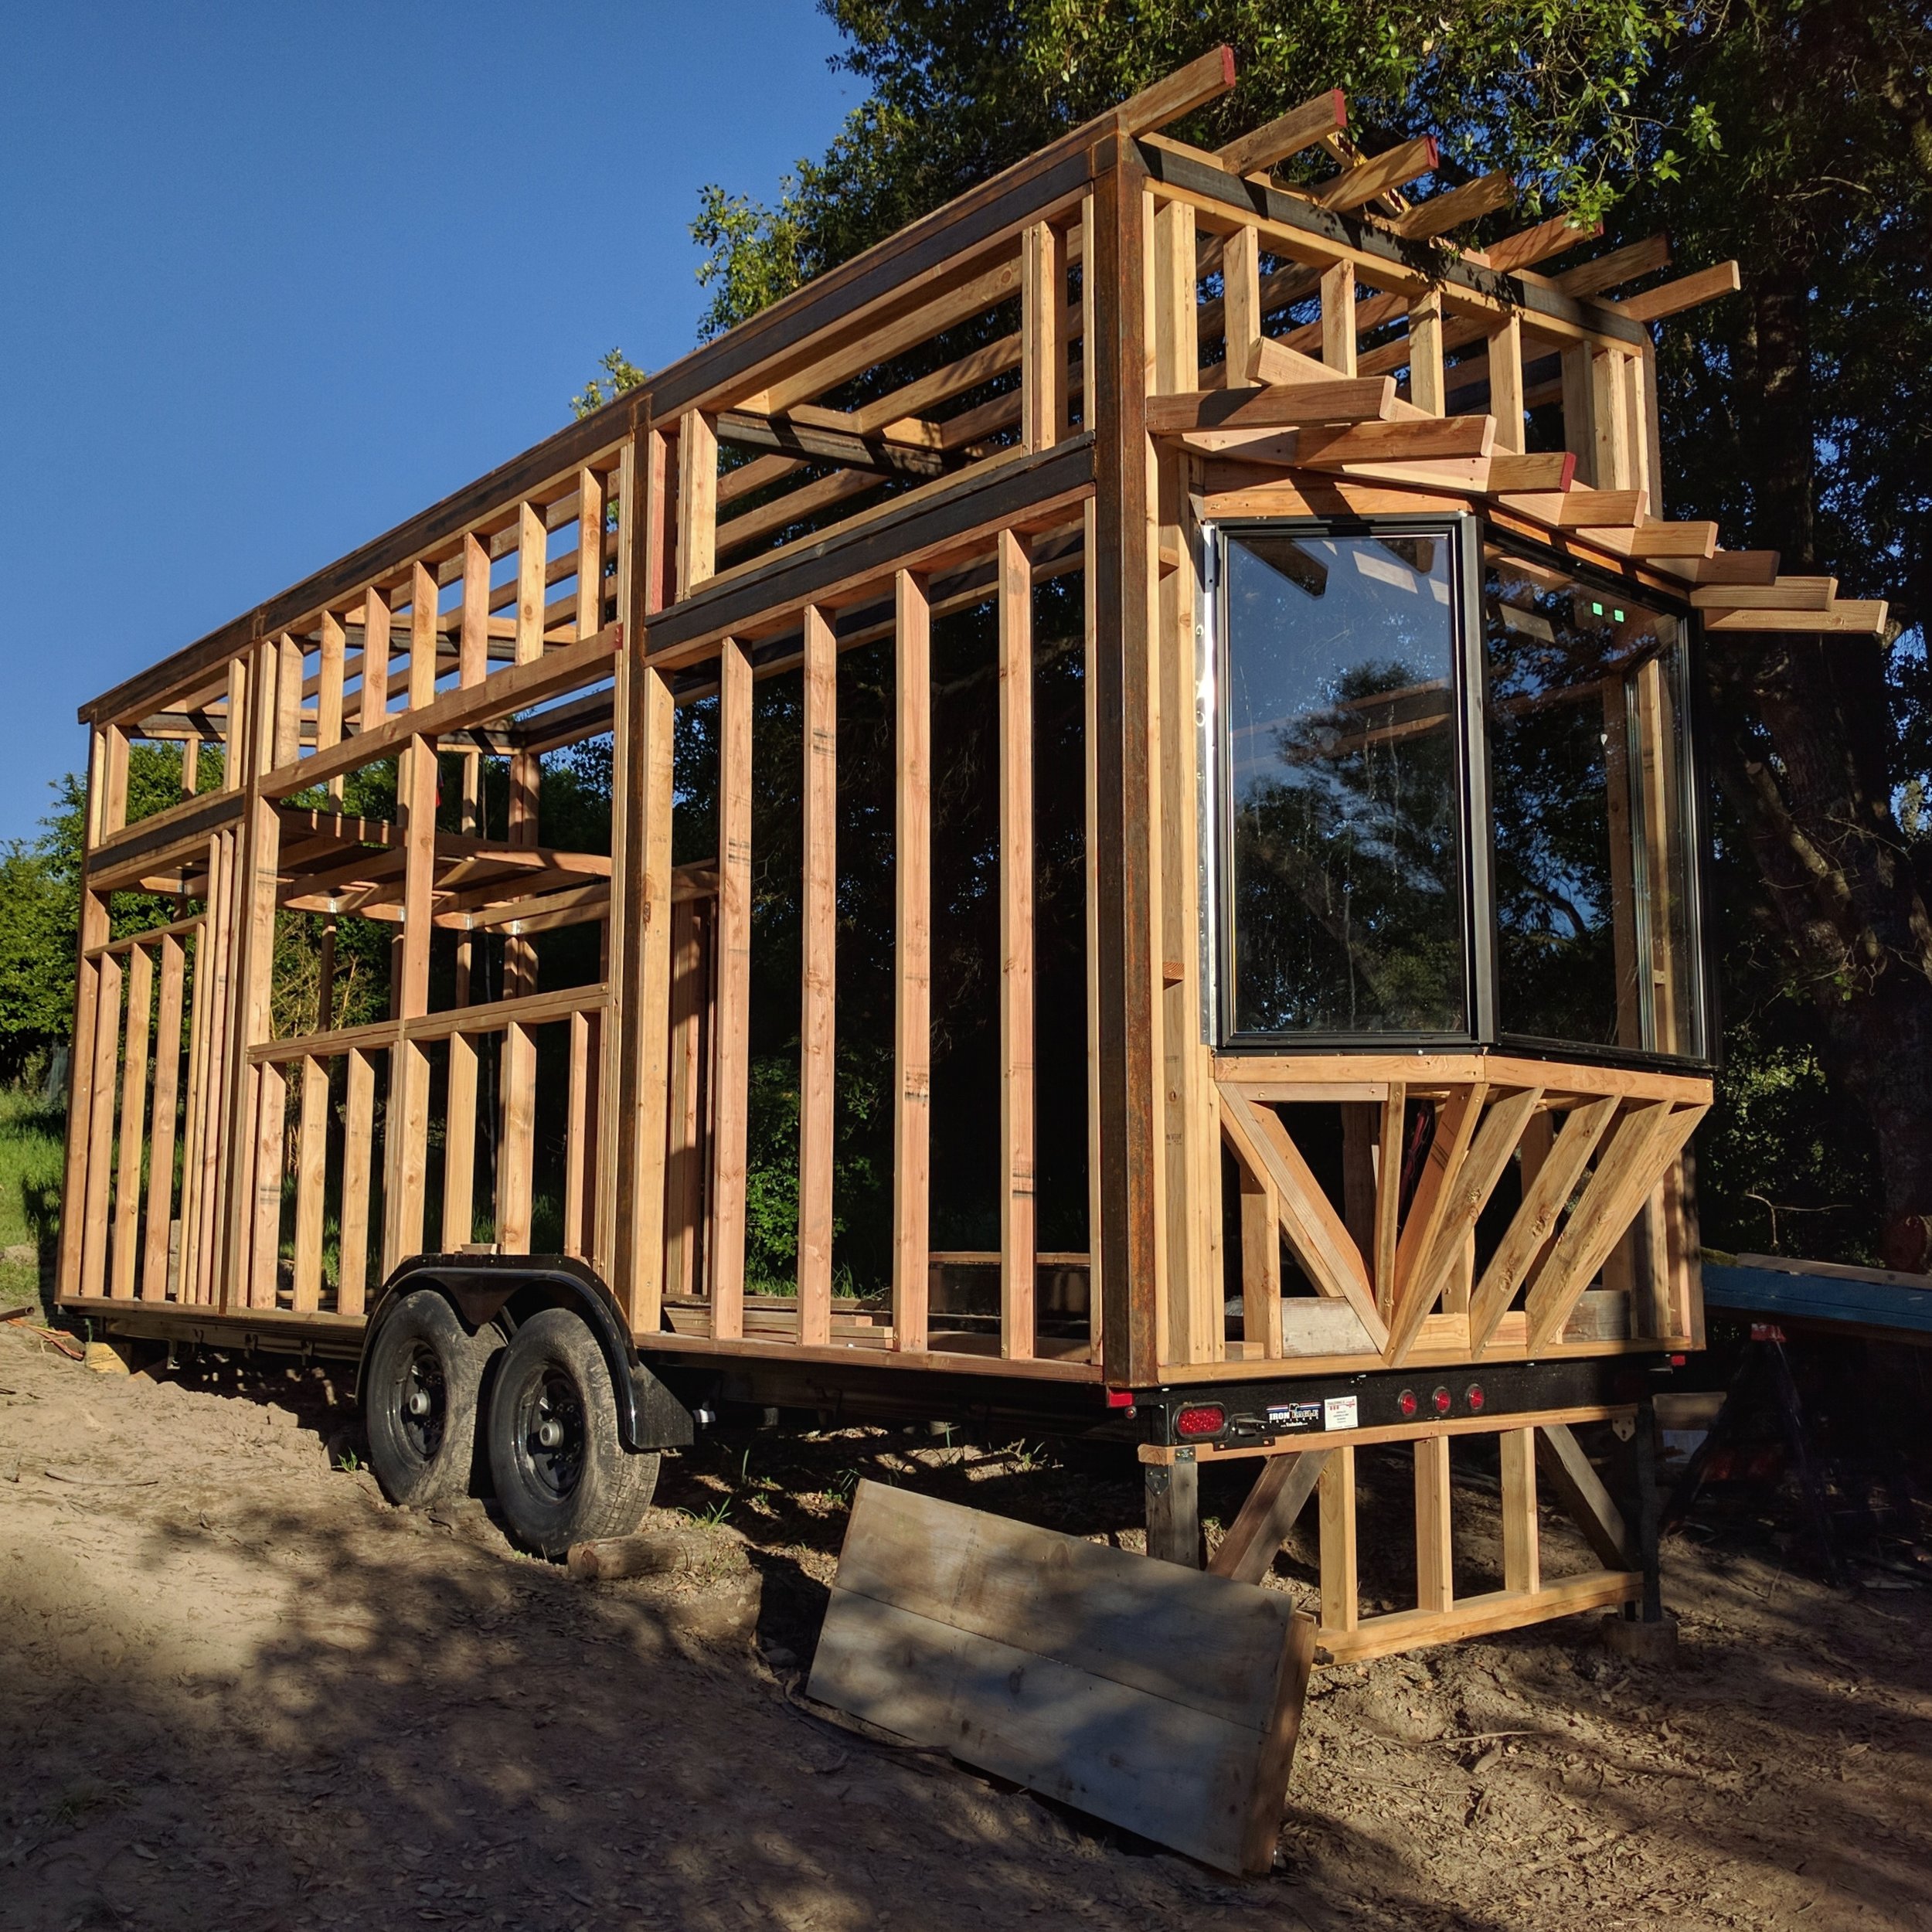
Windows
We scored half our windows at a recycling yard that carries salvaged materials from tear-downs and deconstructions. We were lucky to find a matching series of brand new Milgard windows. Most likely someone mismeasured and ended up with a bunch of glass that didn't fit. Their misfortune was our good fortune.
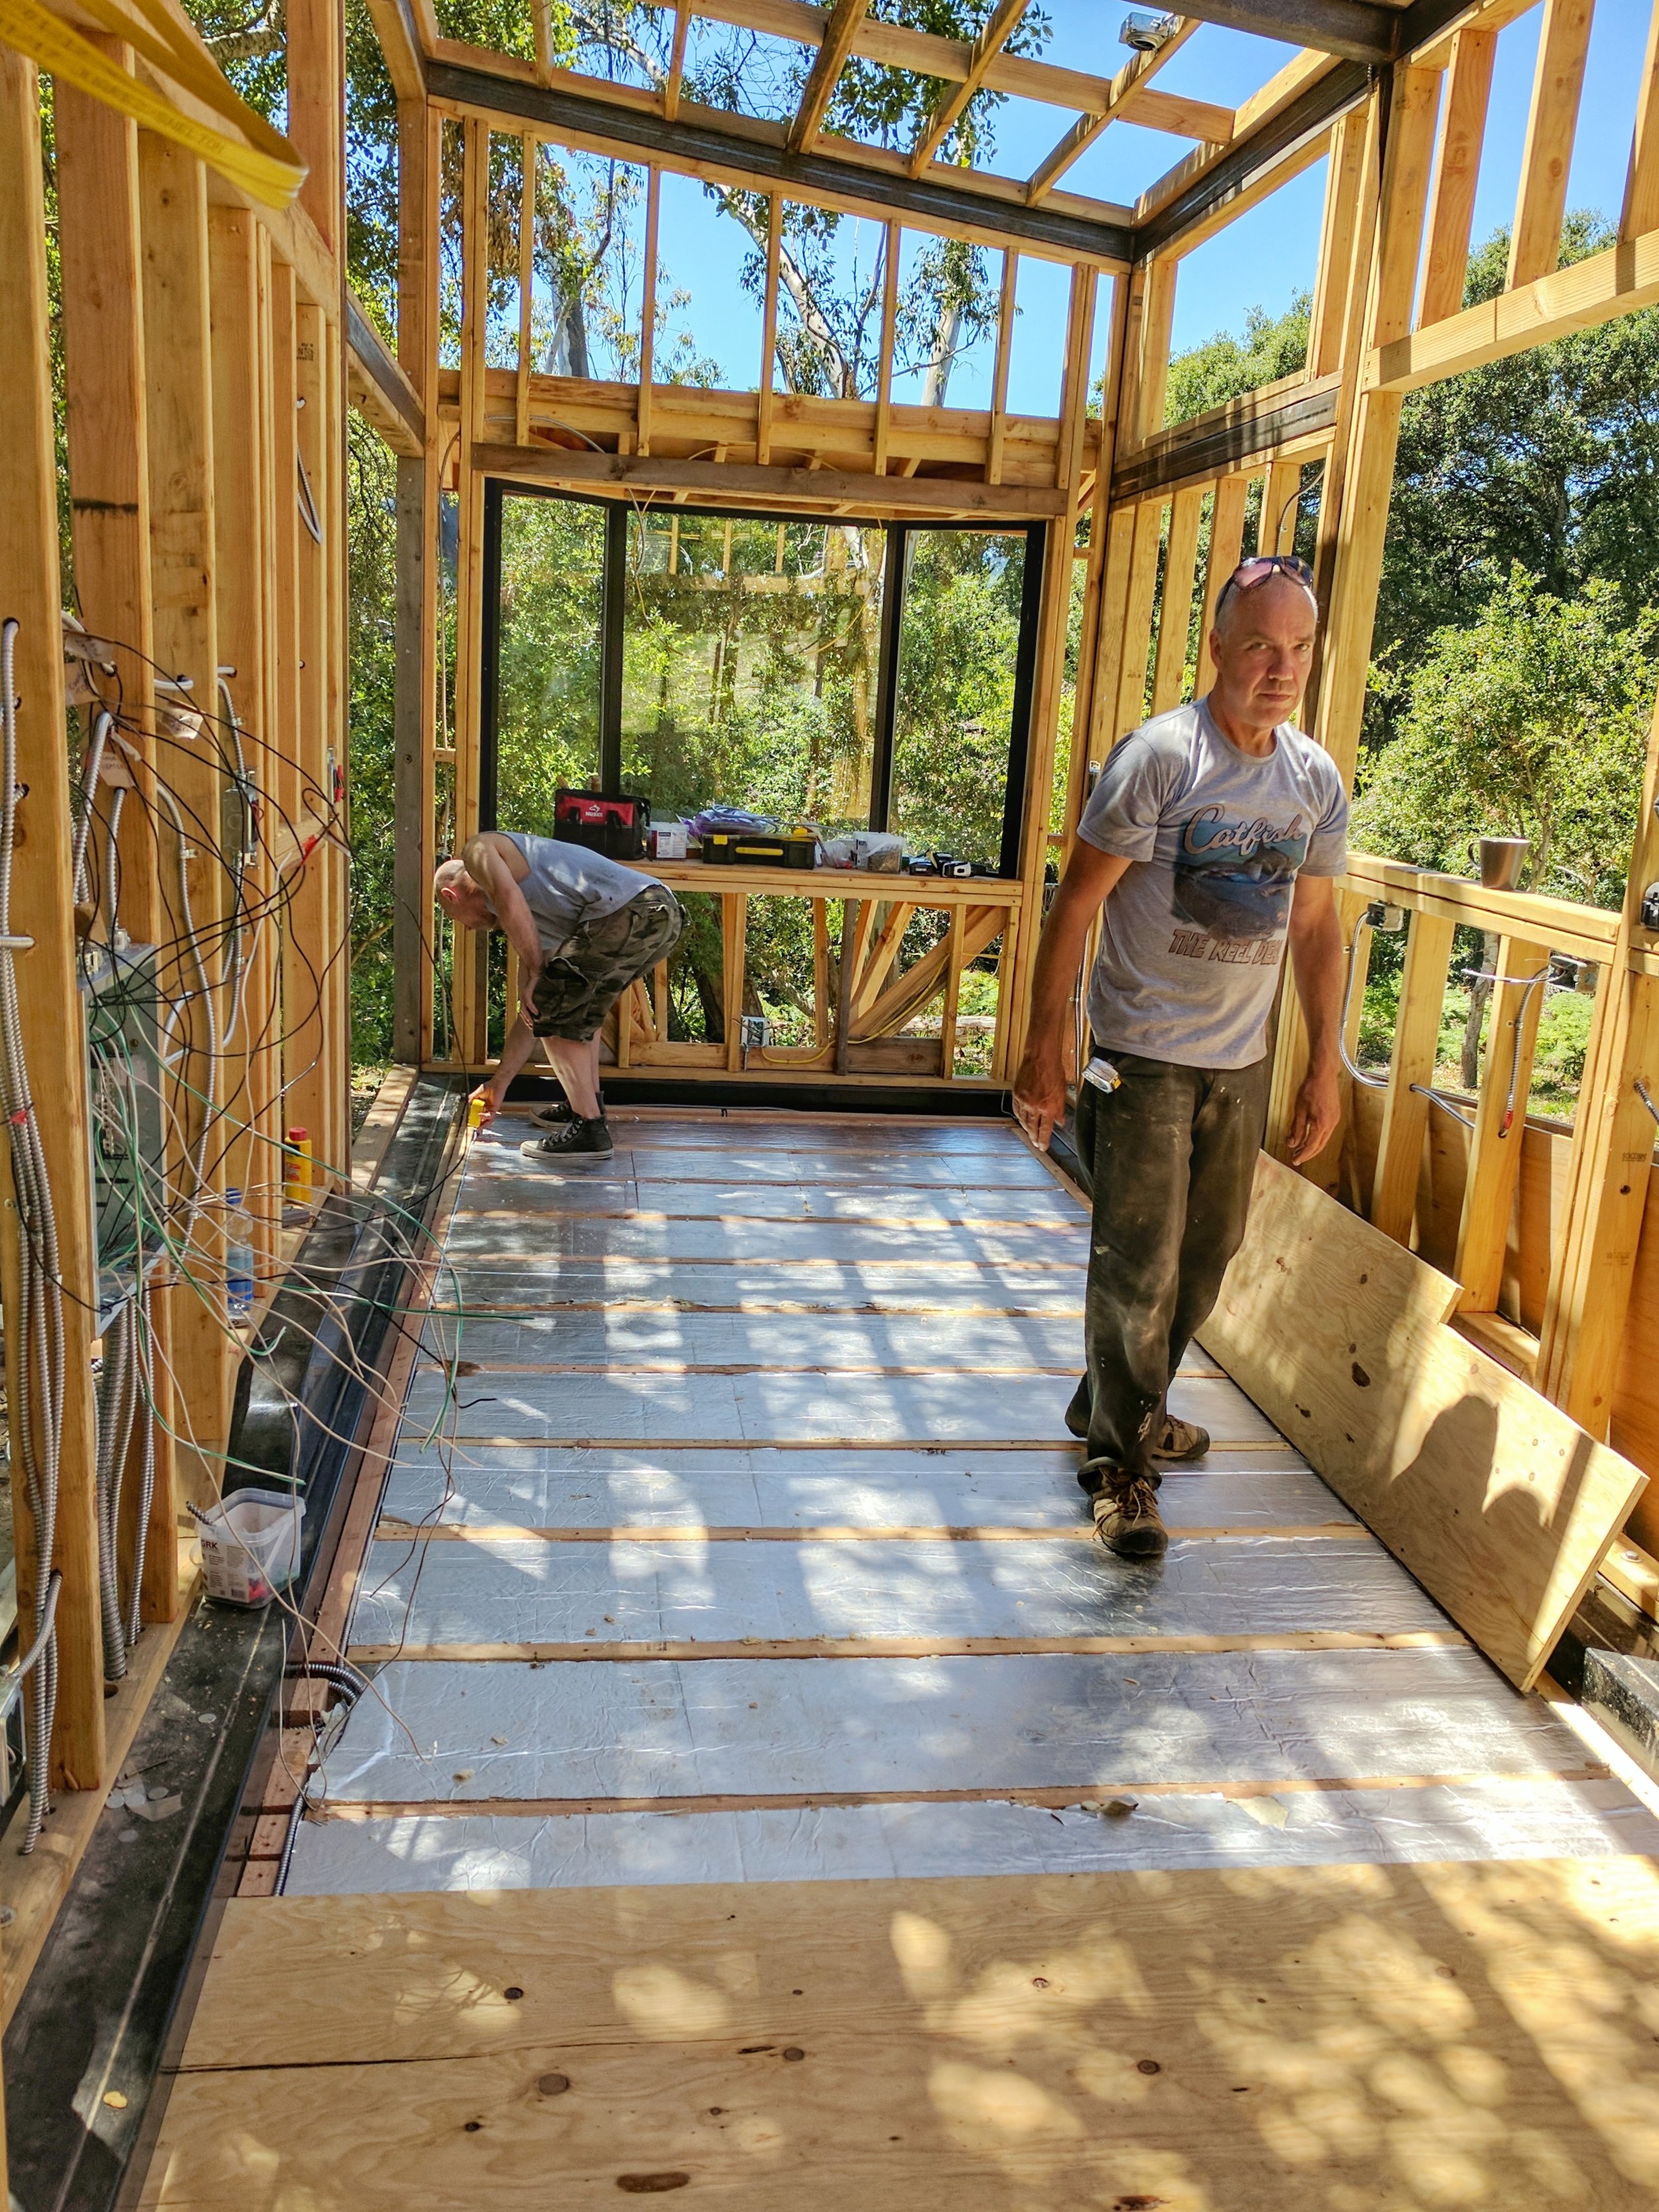
Subfloor
We used rigid insulation under the plywood subfloor for warmth and sound proofing. We also chose not to build the floor up to the height of the trailer edge, as intended, preferring instead the higher ceiling.
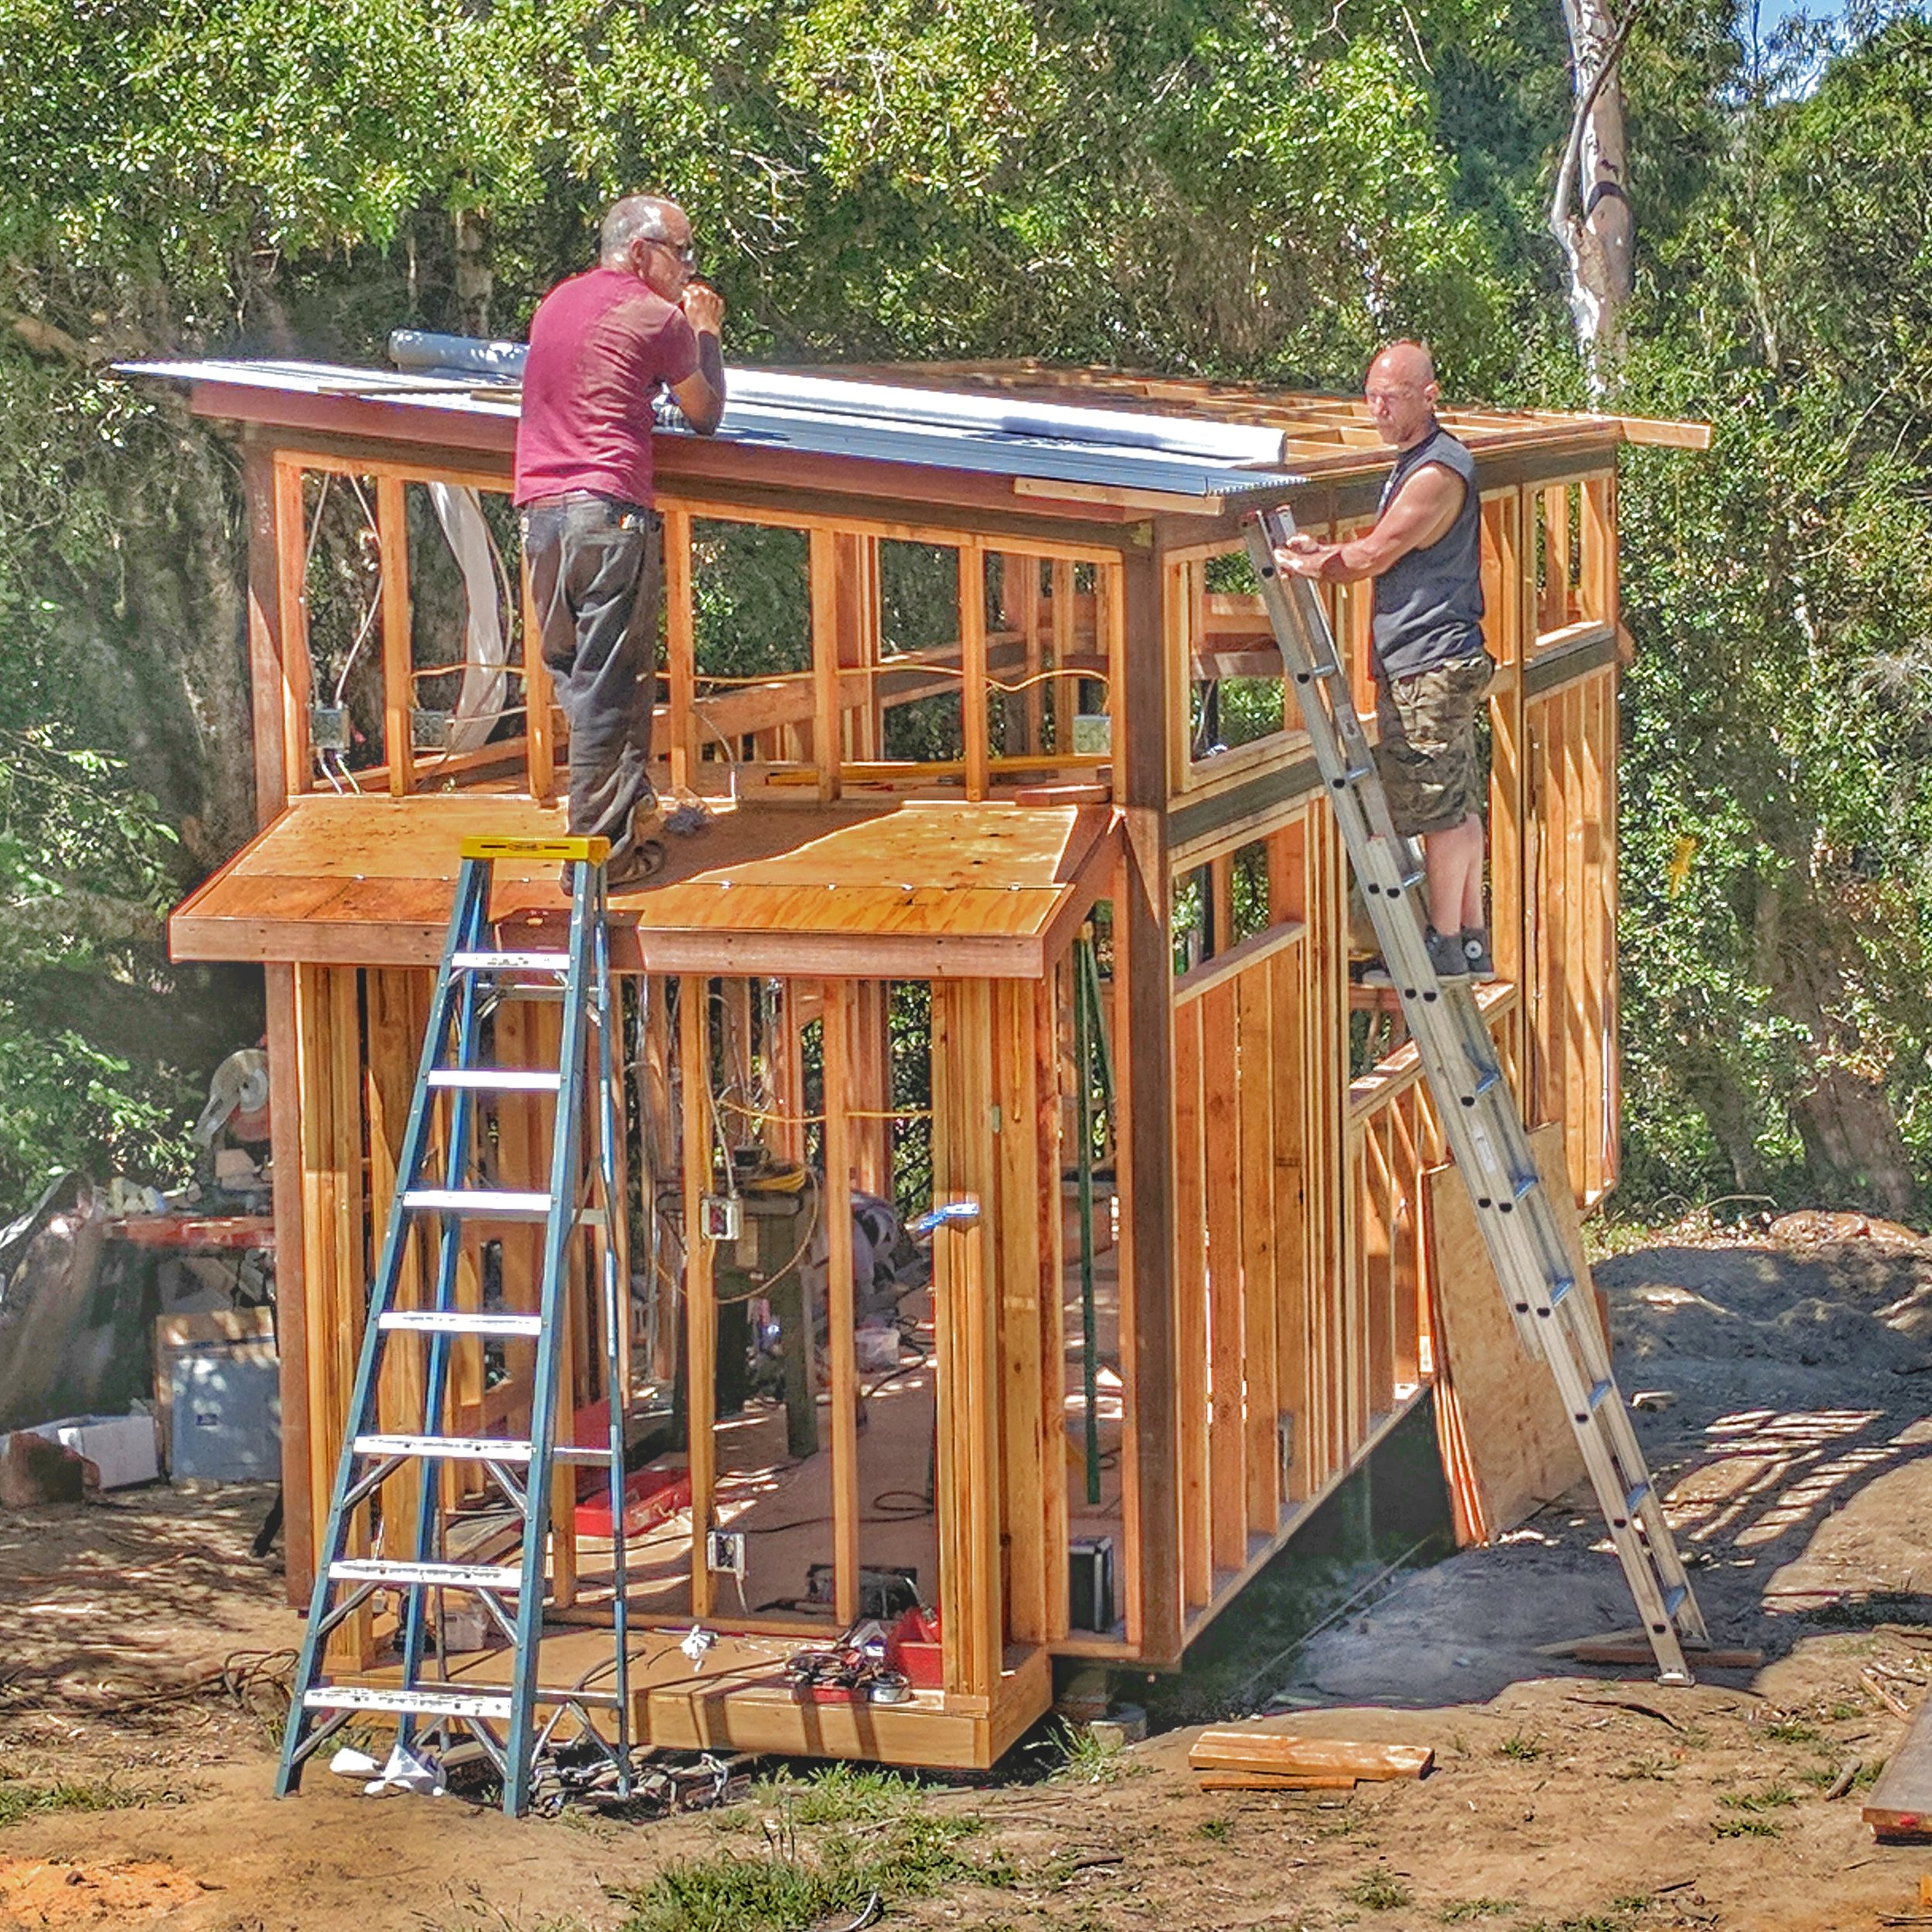
Roof
We chose Galvalume for the entire exterior of the house for its clean good looks and fire proofing. Thanks to Kurtmudgeon and Scorch for excellent friendship and hard work.
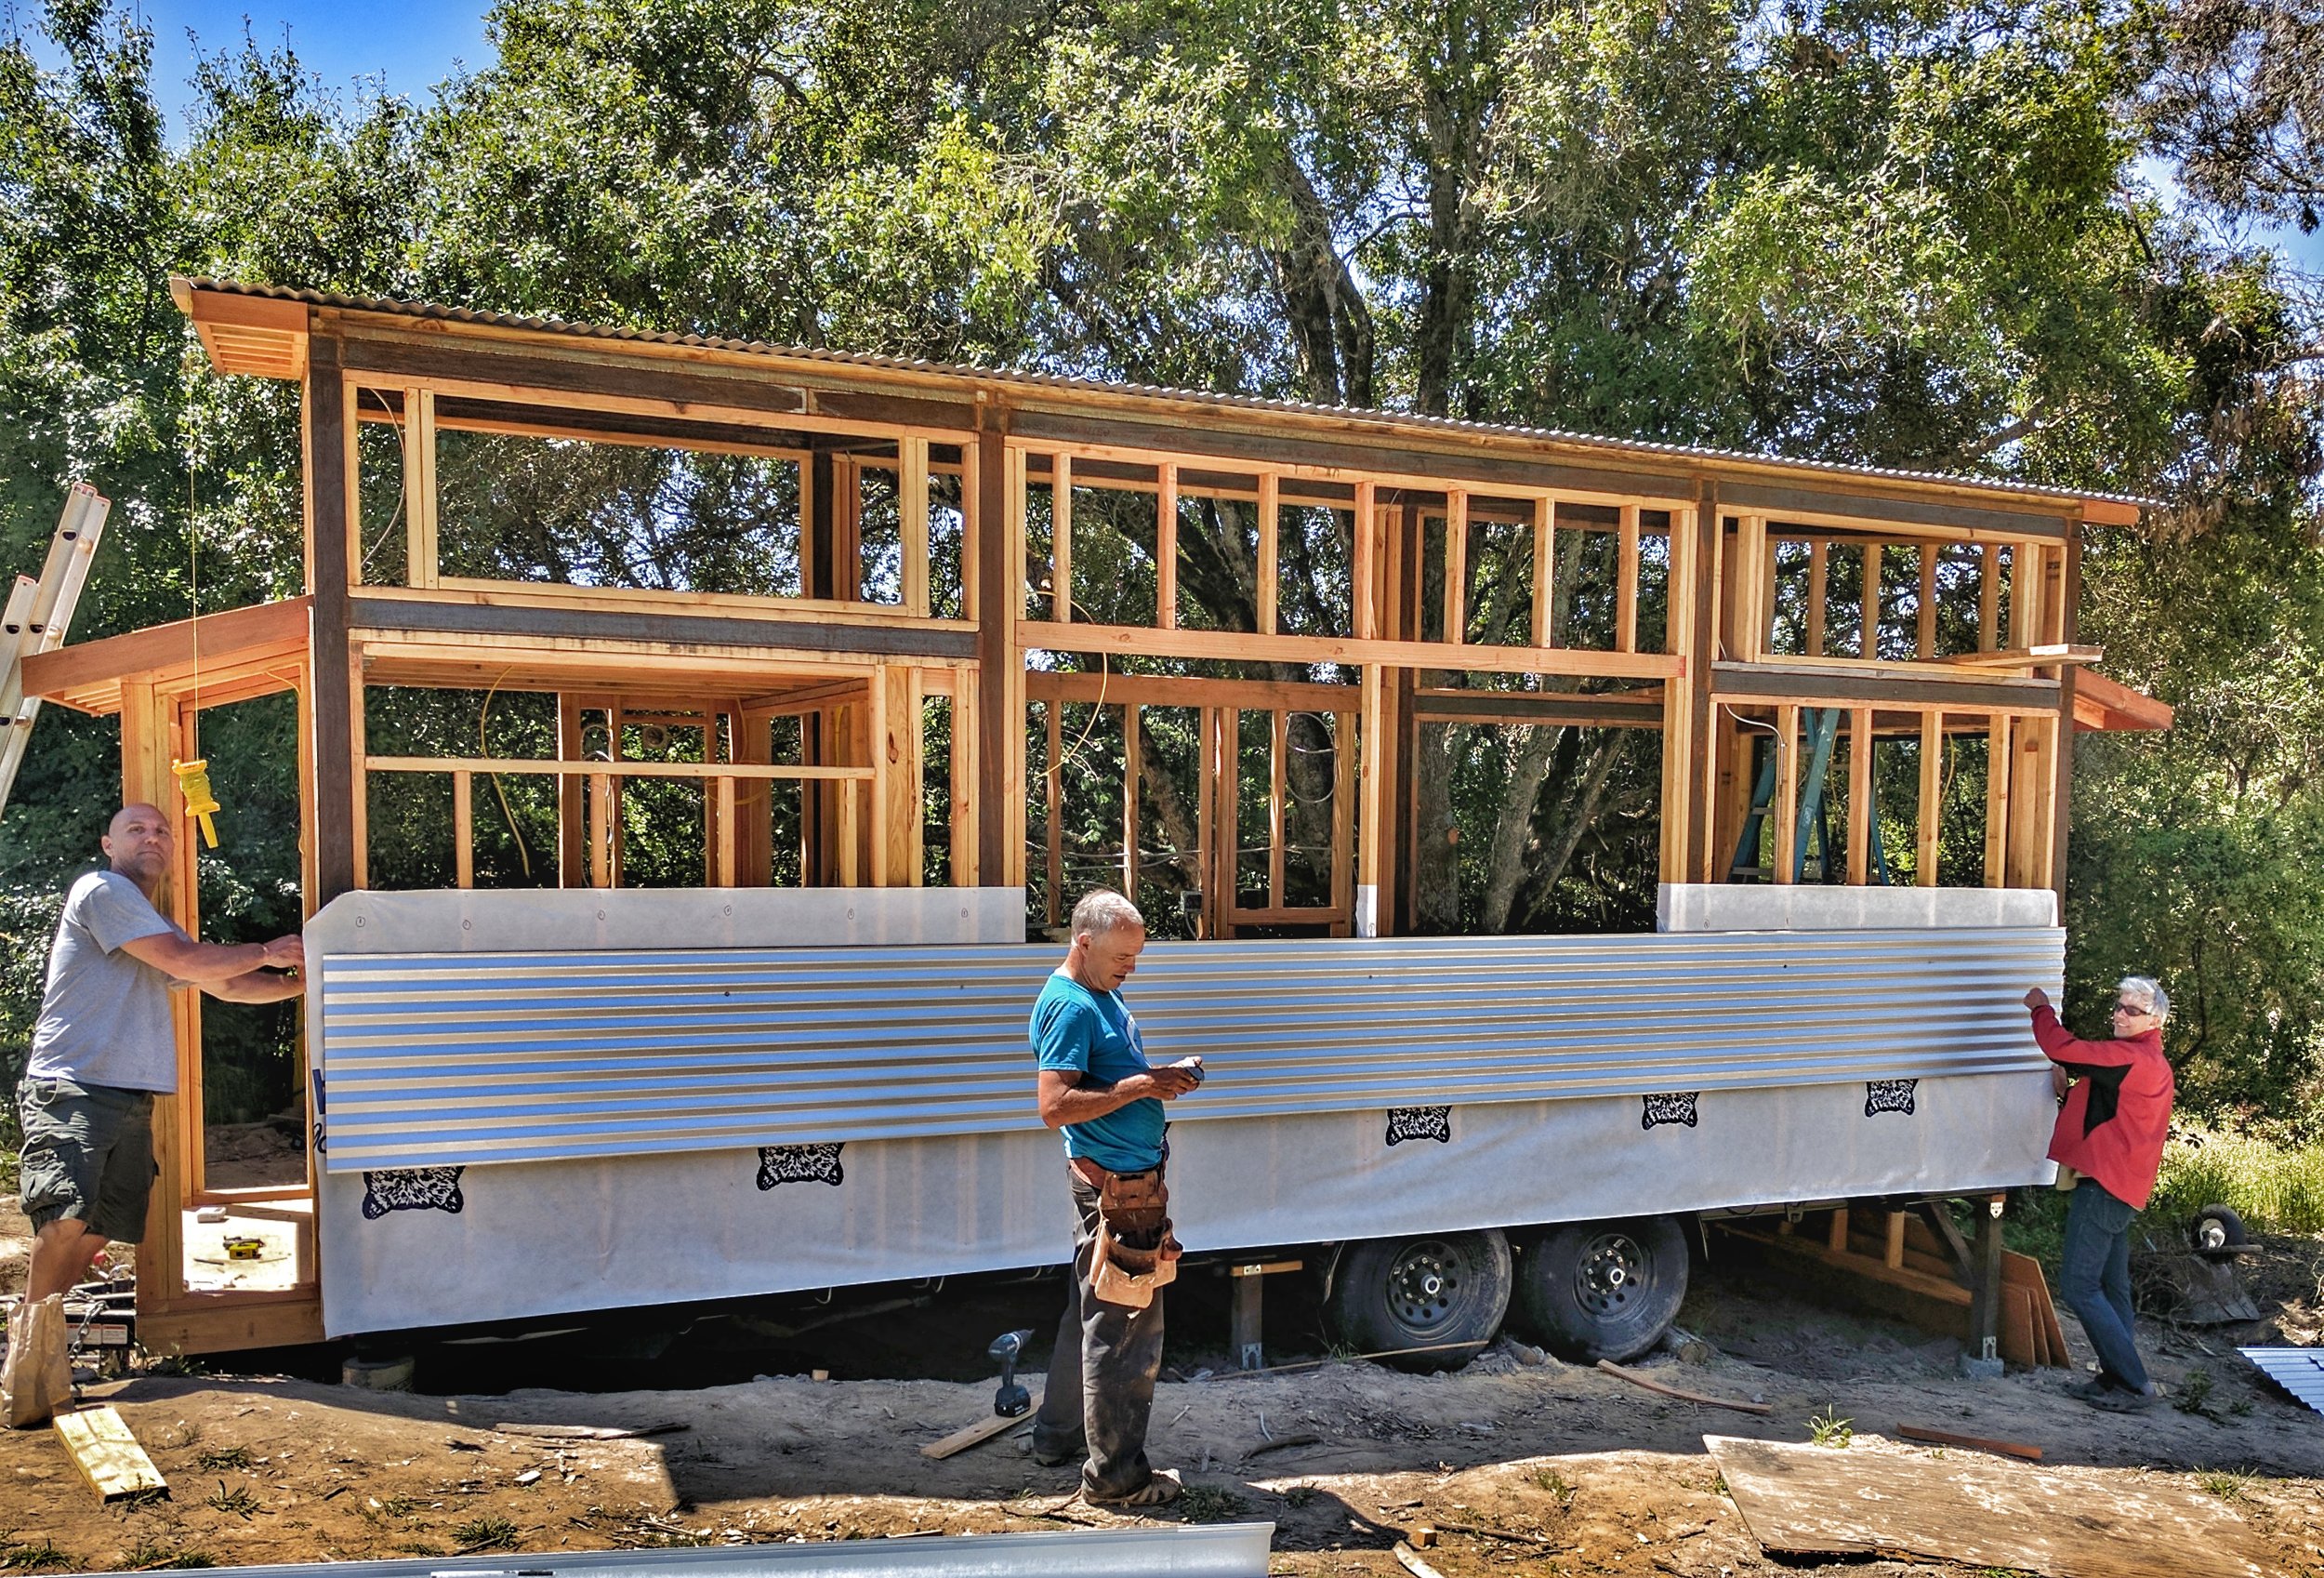
Siding
We used a Barricade underlayment to wrap the whole house before installing the Galvalume siding.
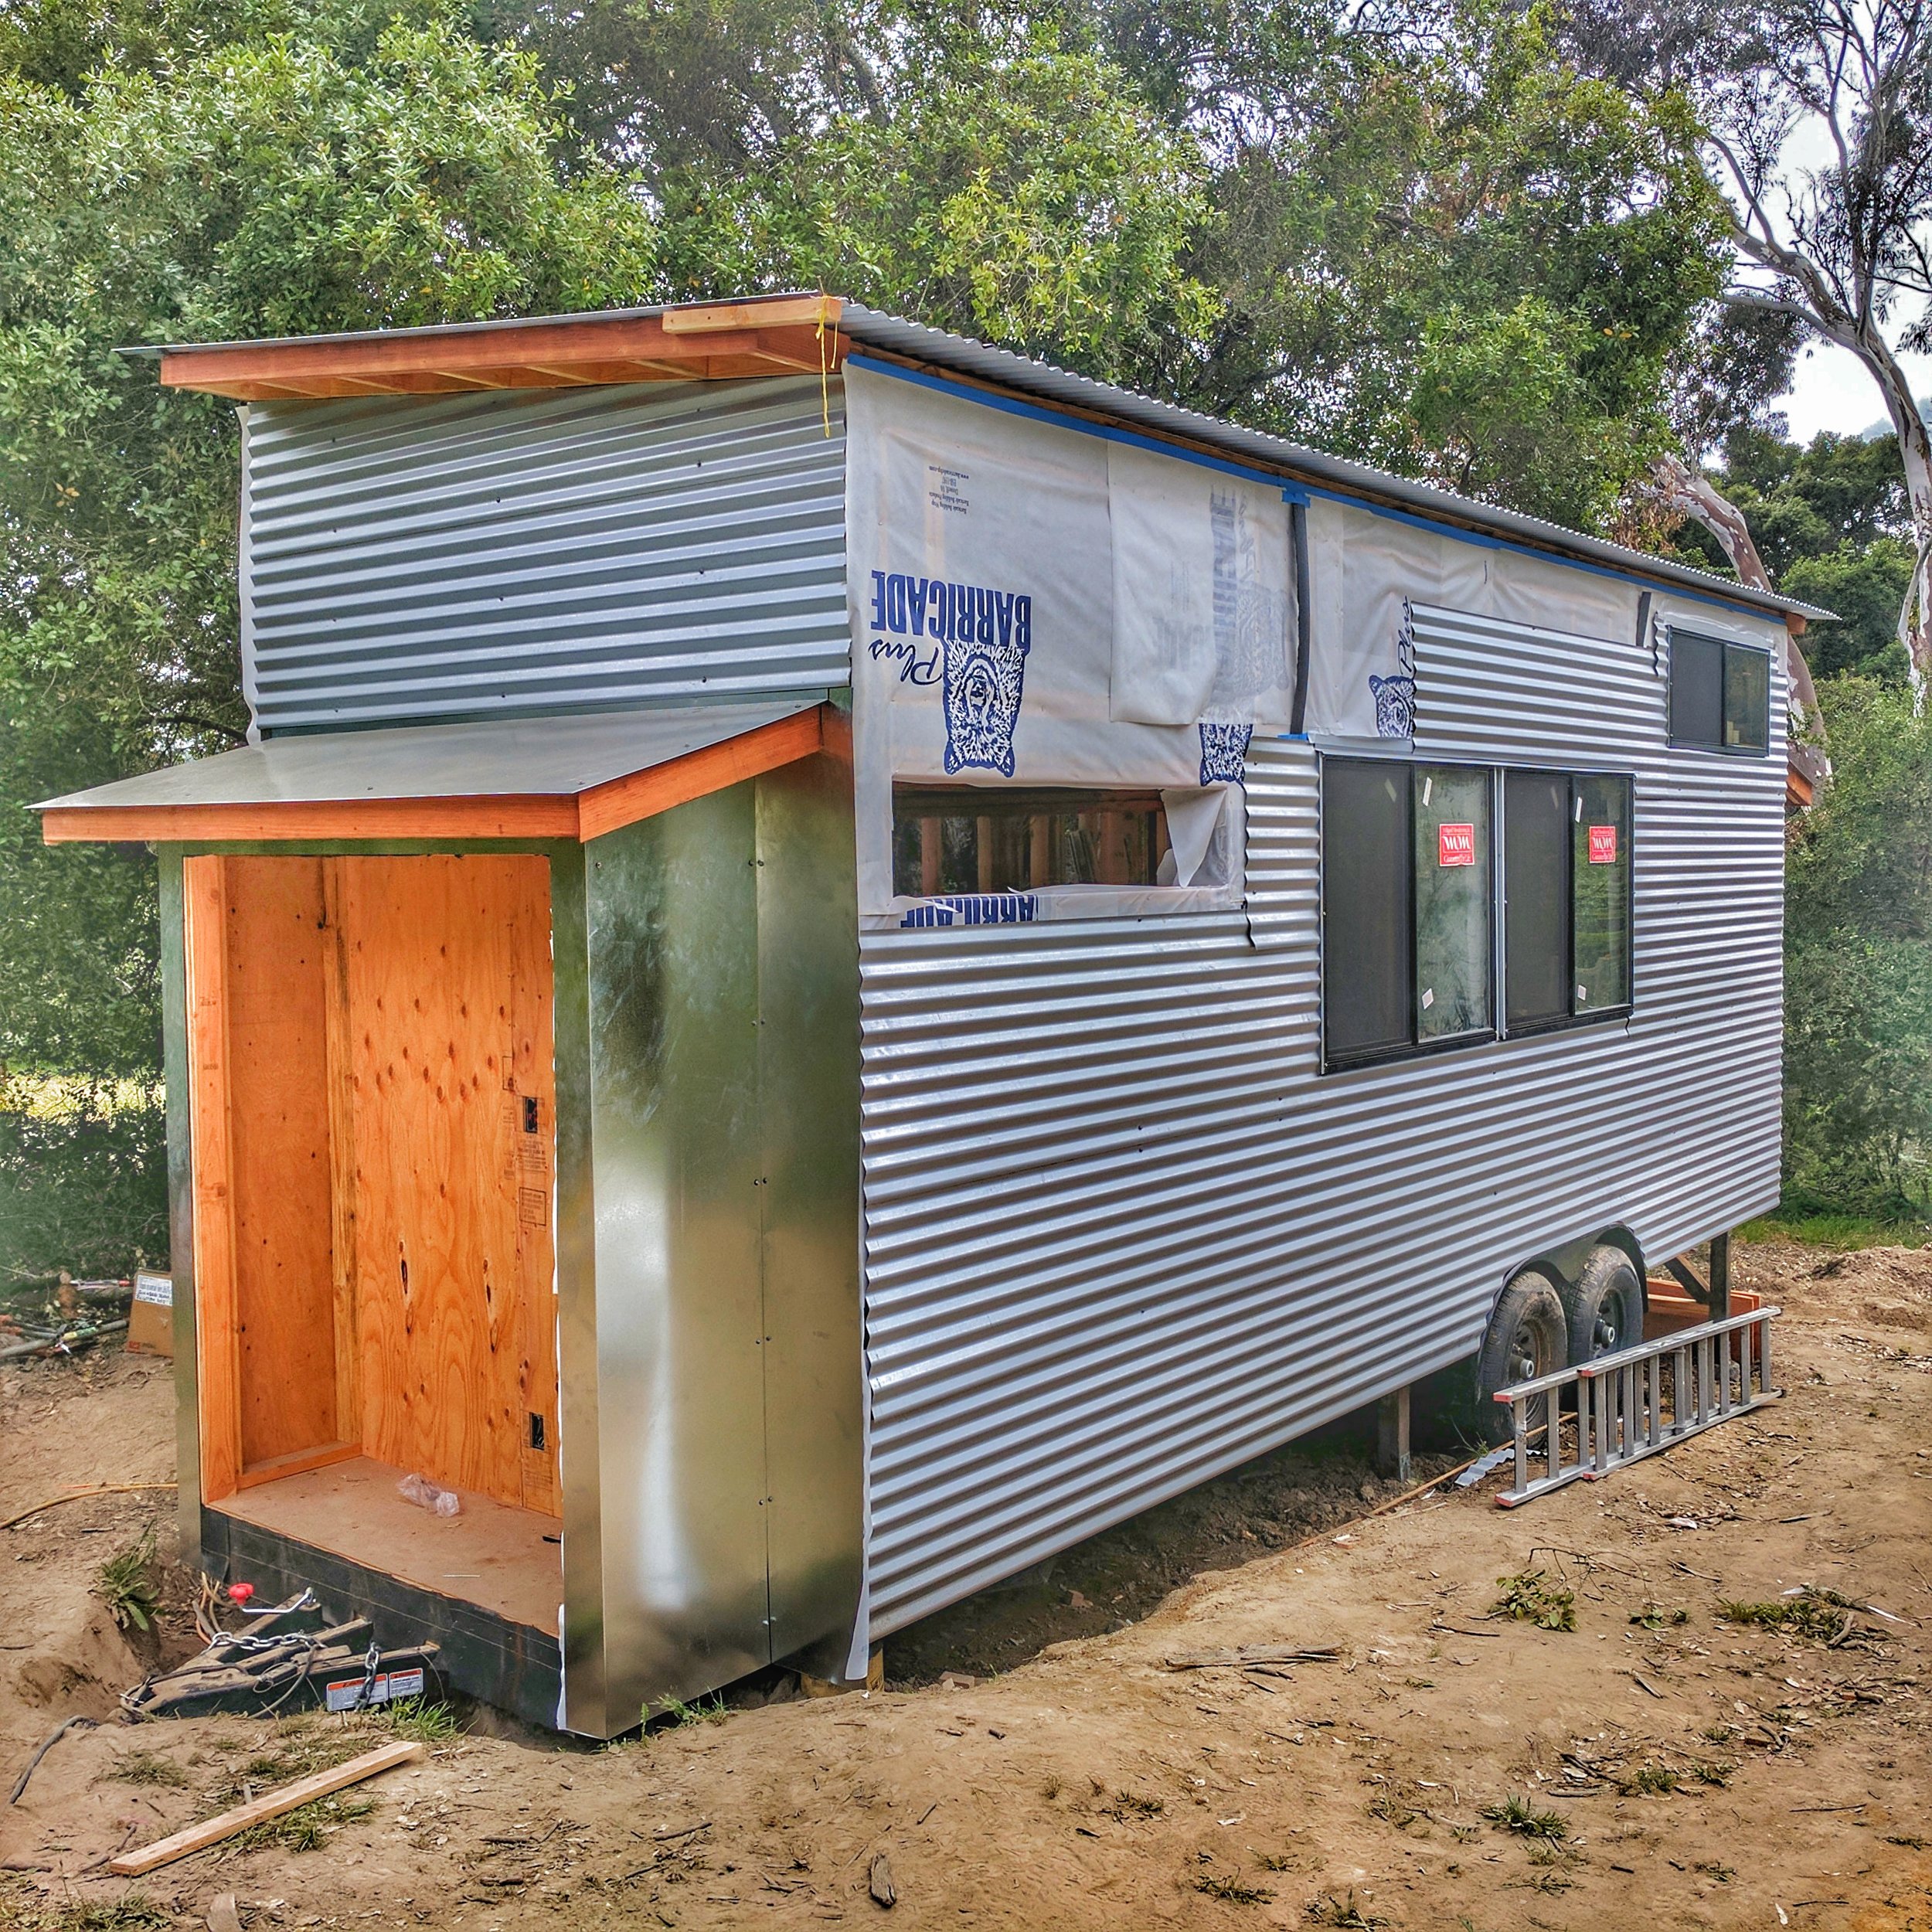
The Shed
Many of our decisions were made as we built, not in advance. Building the shed on the east side of the tiny house was one such decision. It turned out to be an incredibly useful addition.
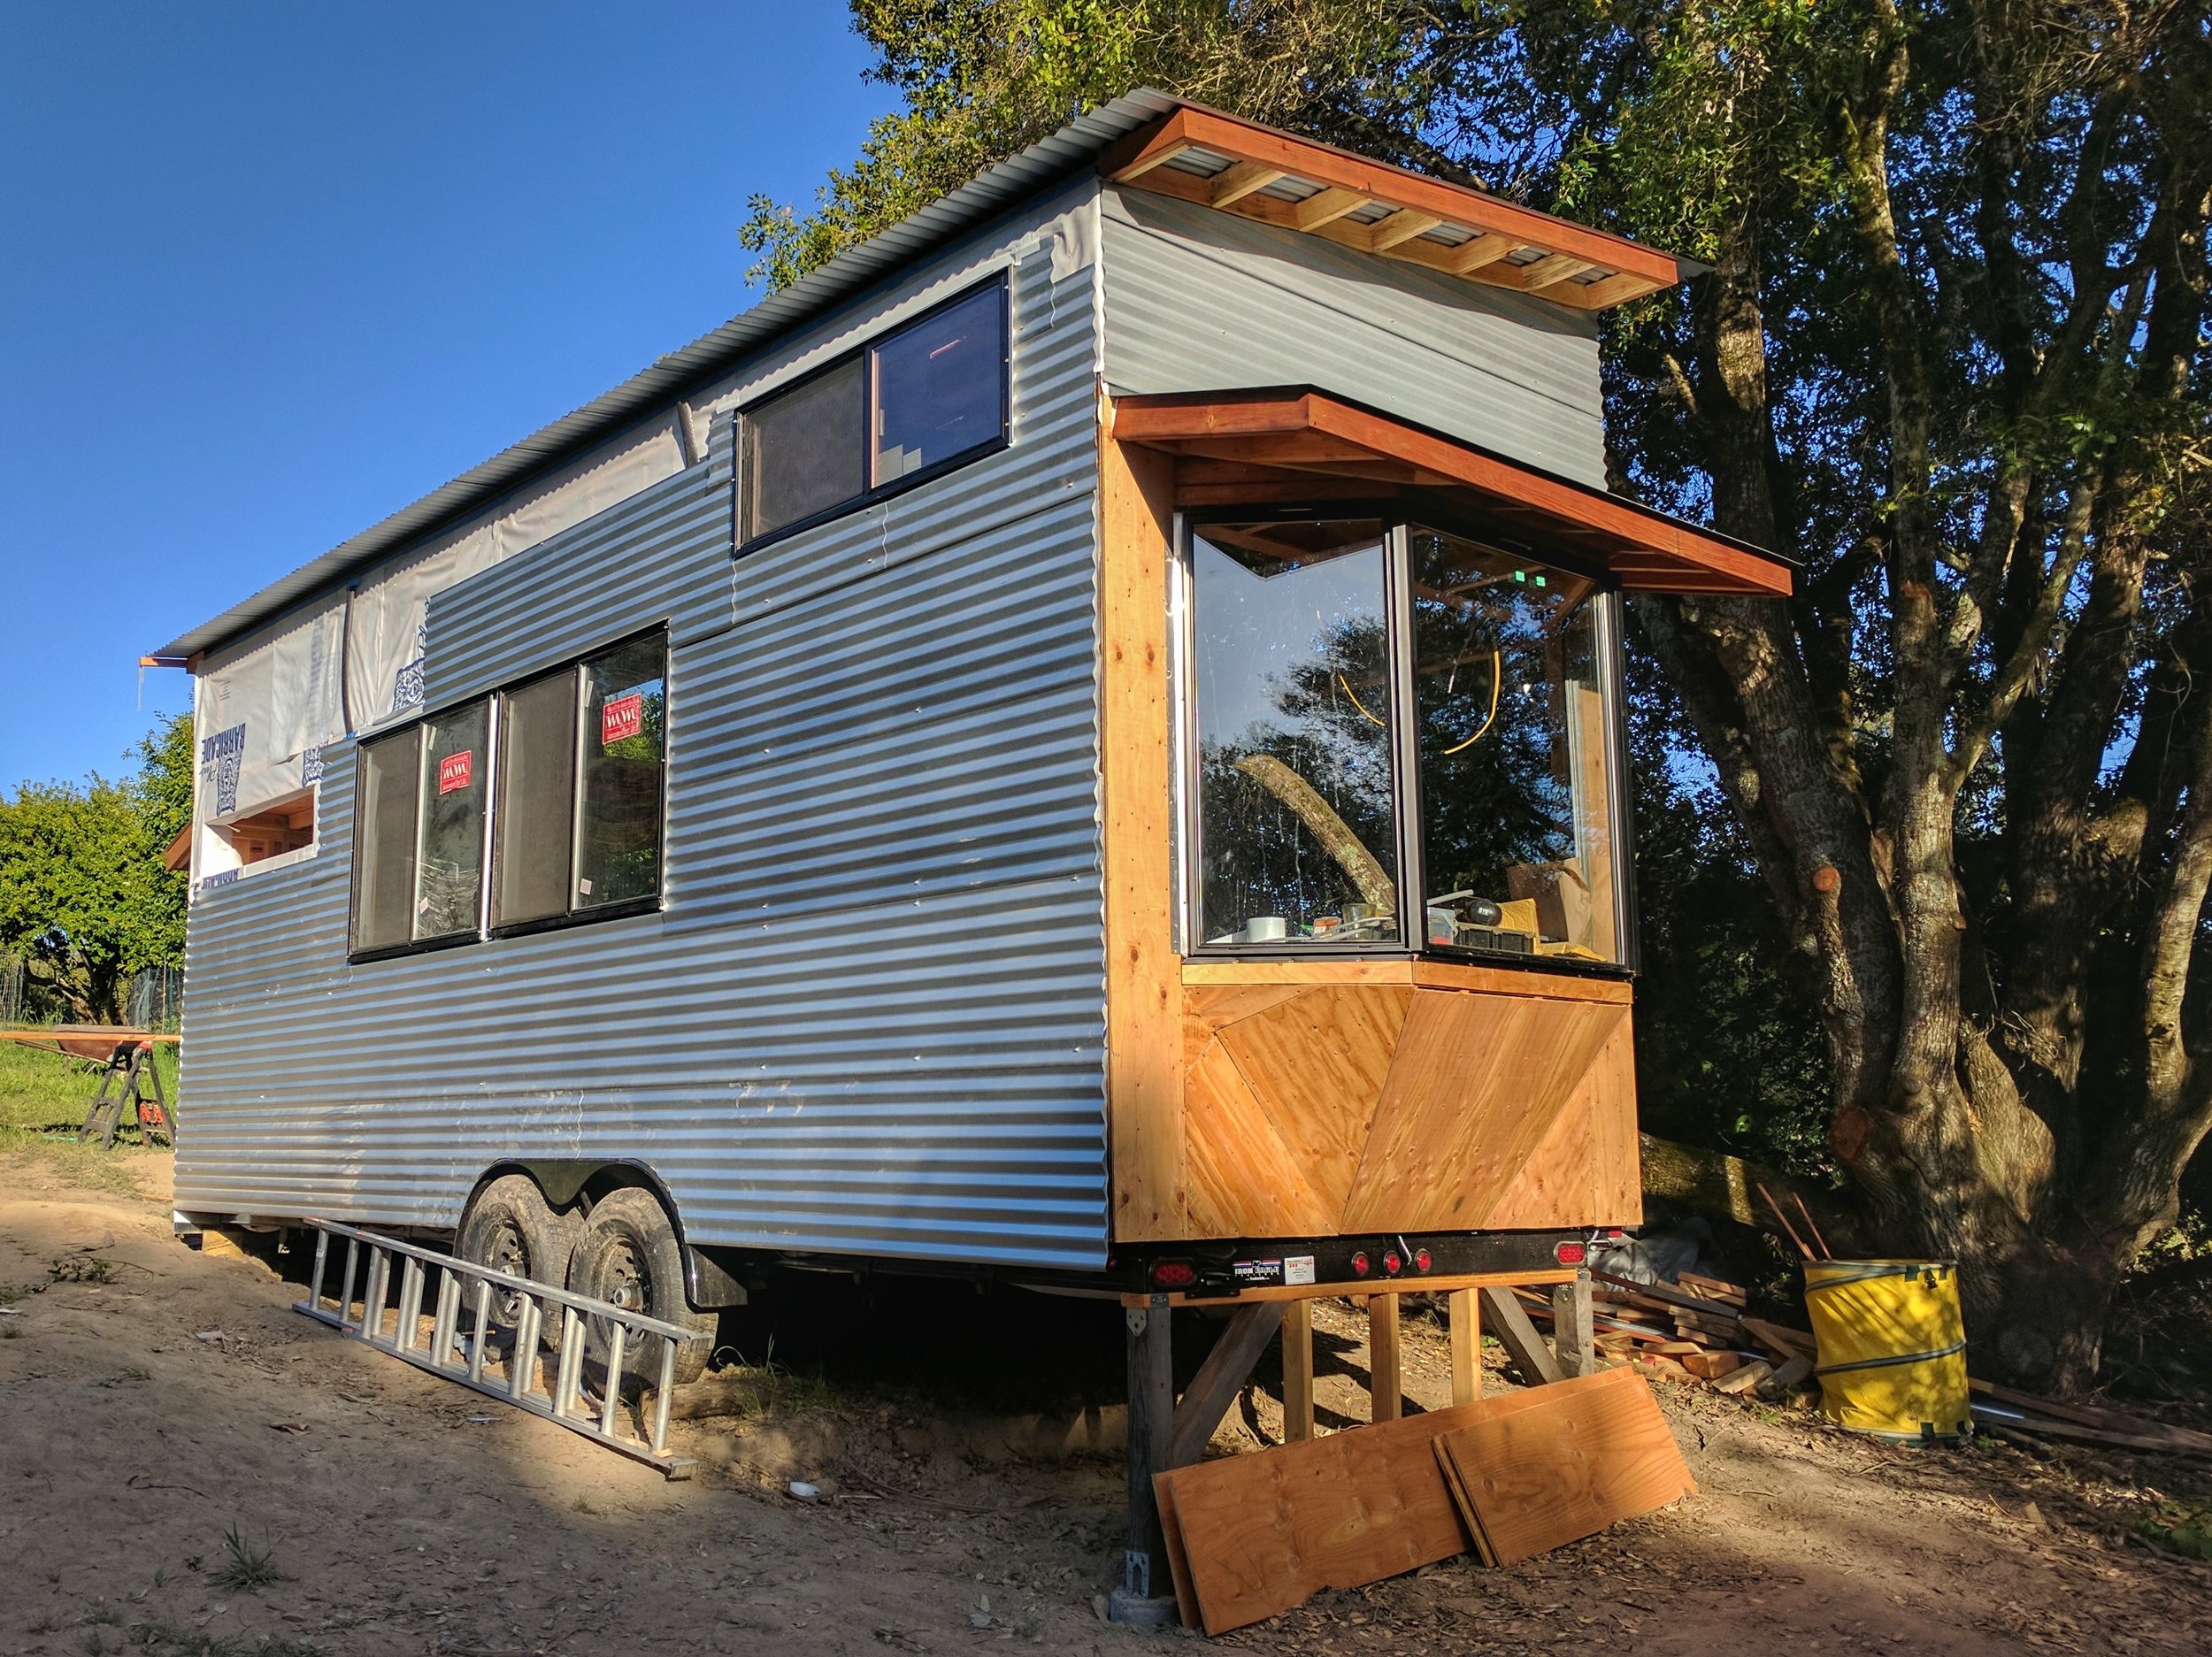
Bay Window Roof
We chose the same roof design as for the shed, with a flat metal slope.
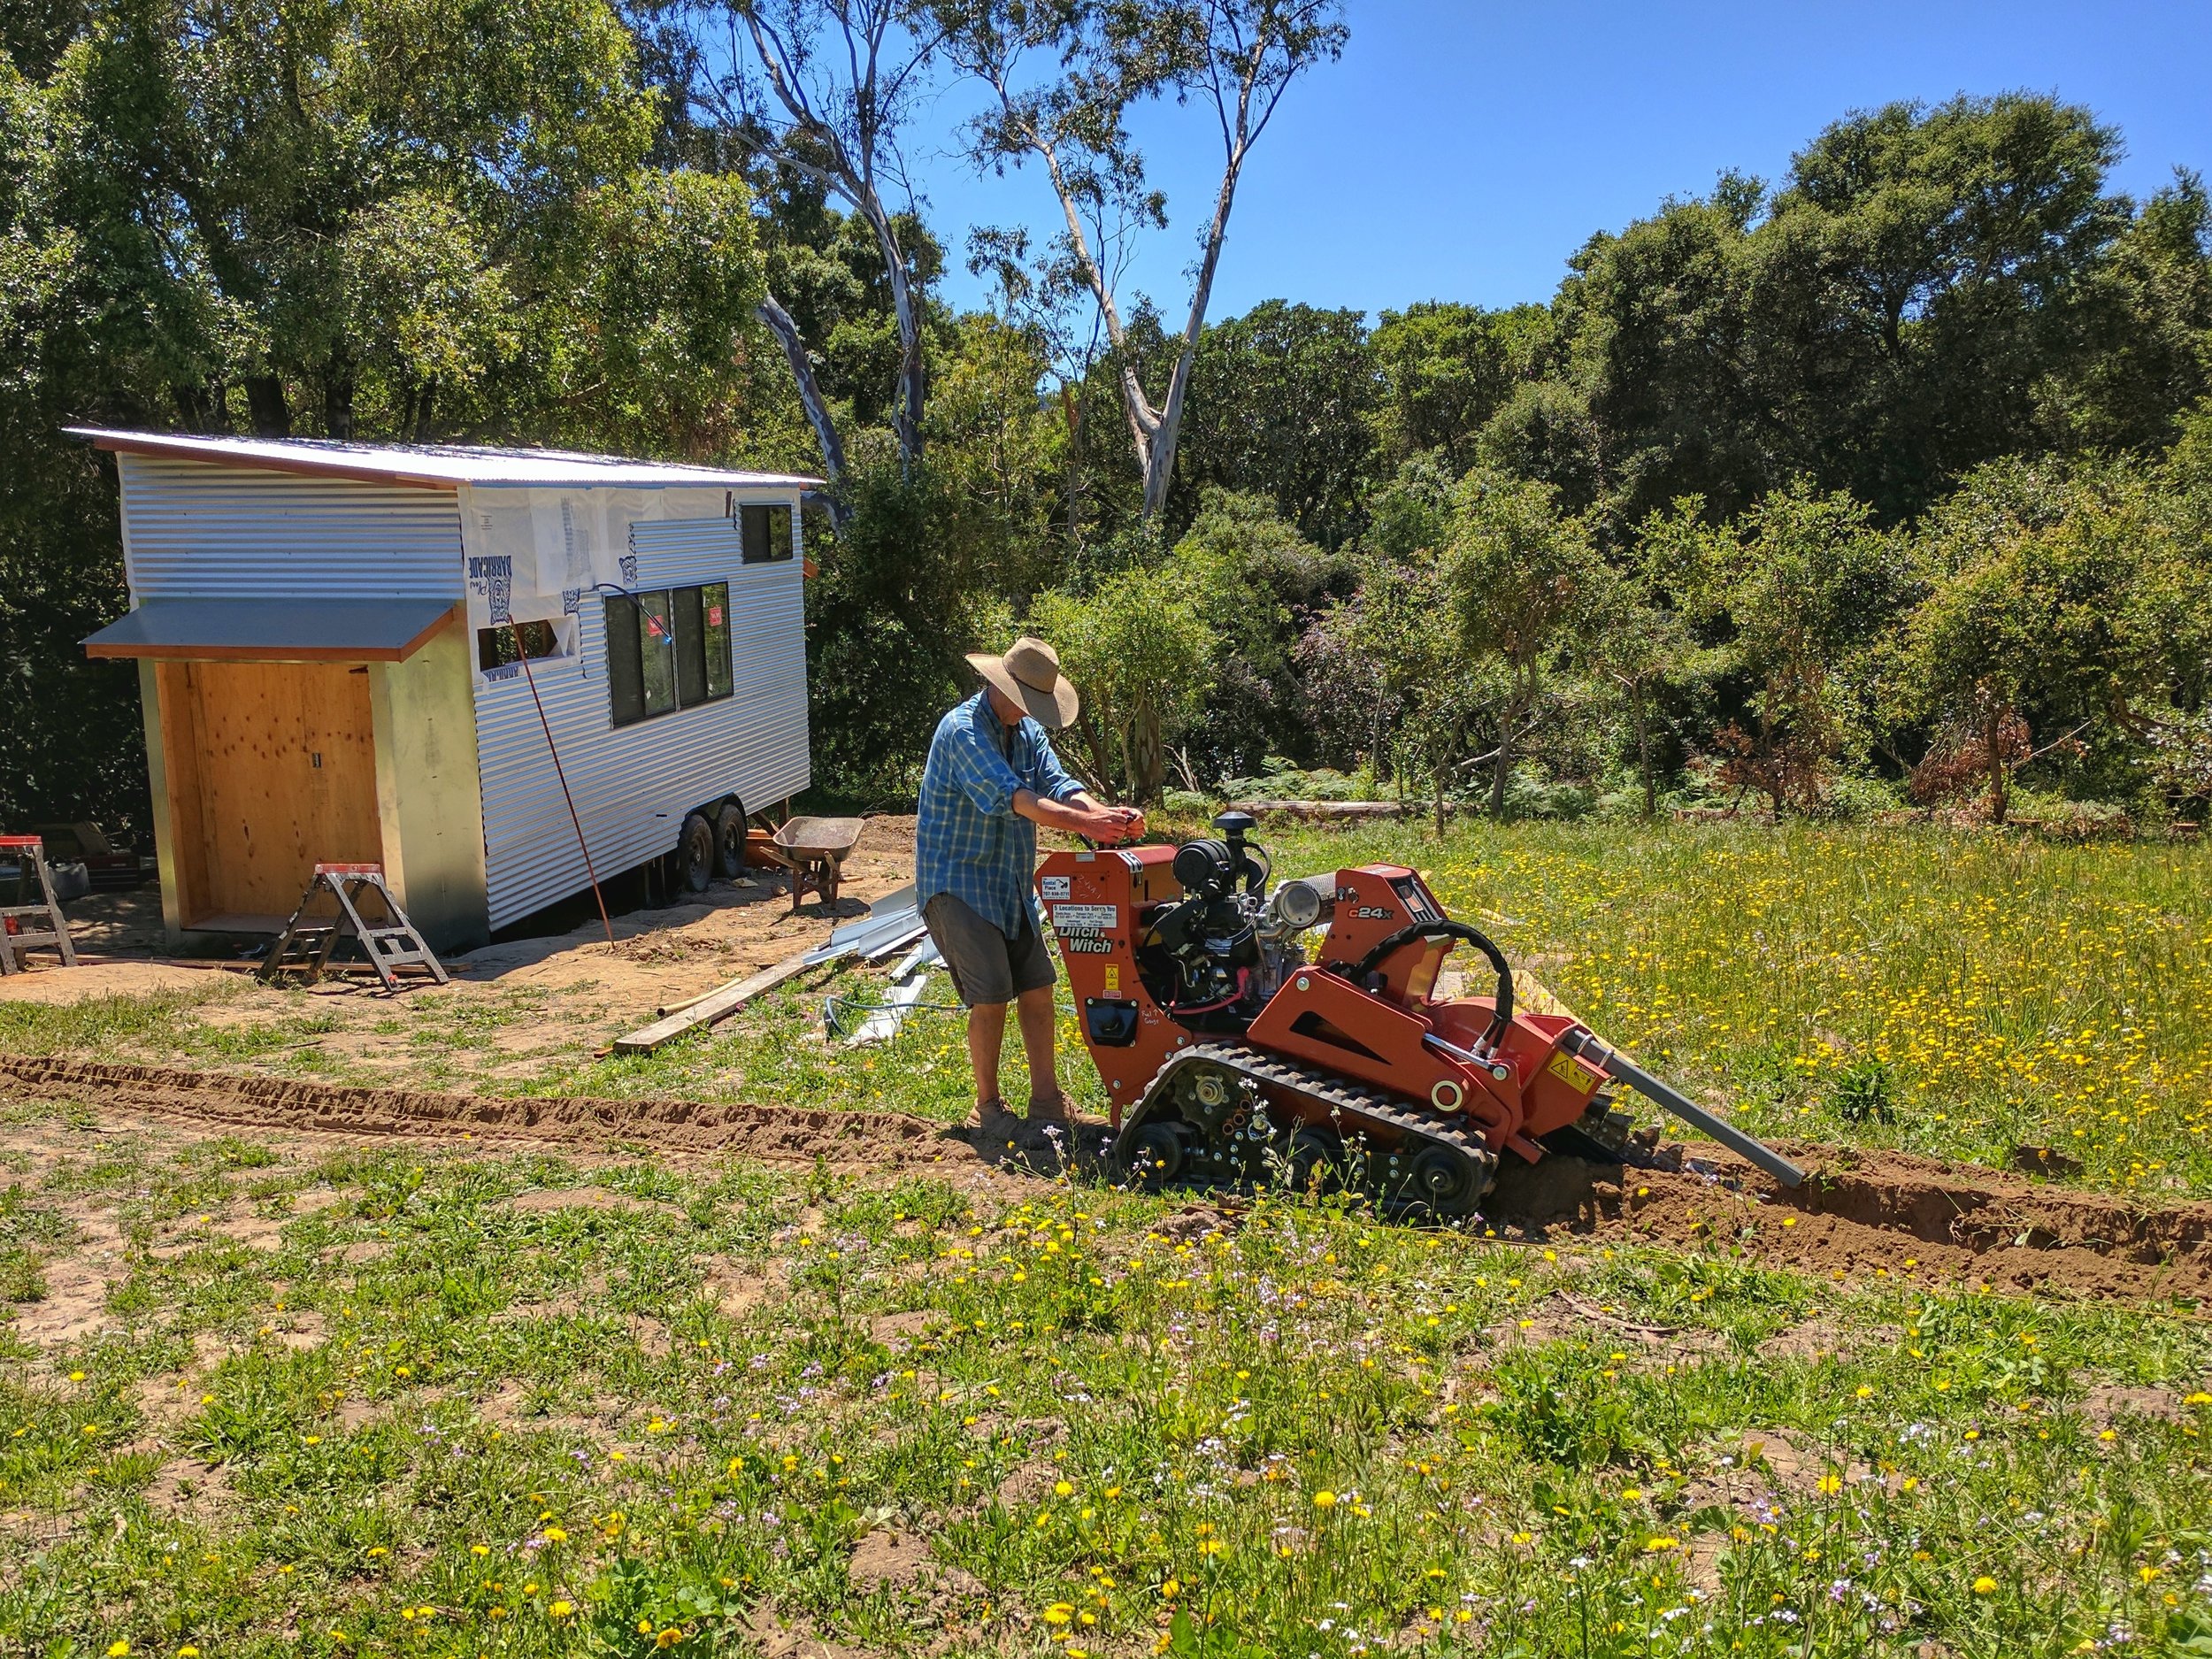
Ditch Digging
We rented a Ditch Witch and dug trenches to run electrical and water to the tiny house.
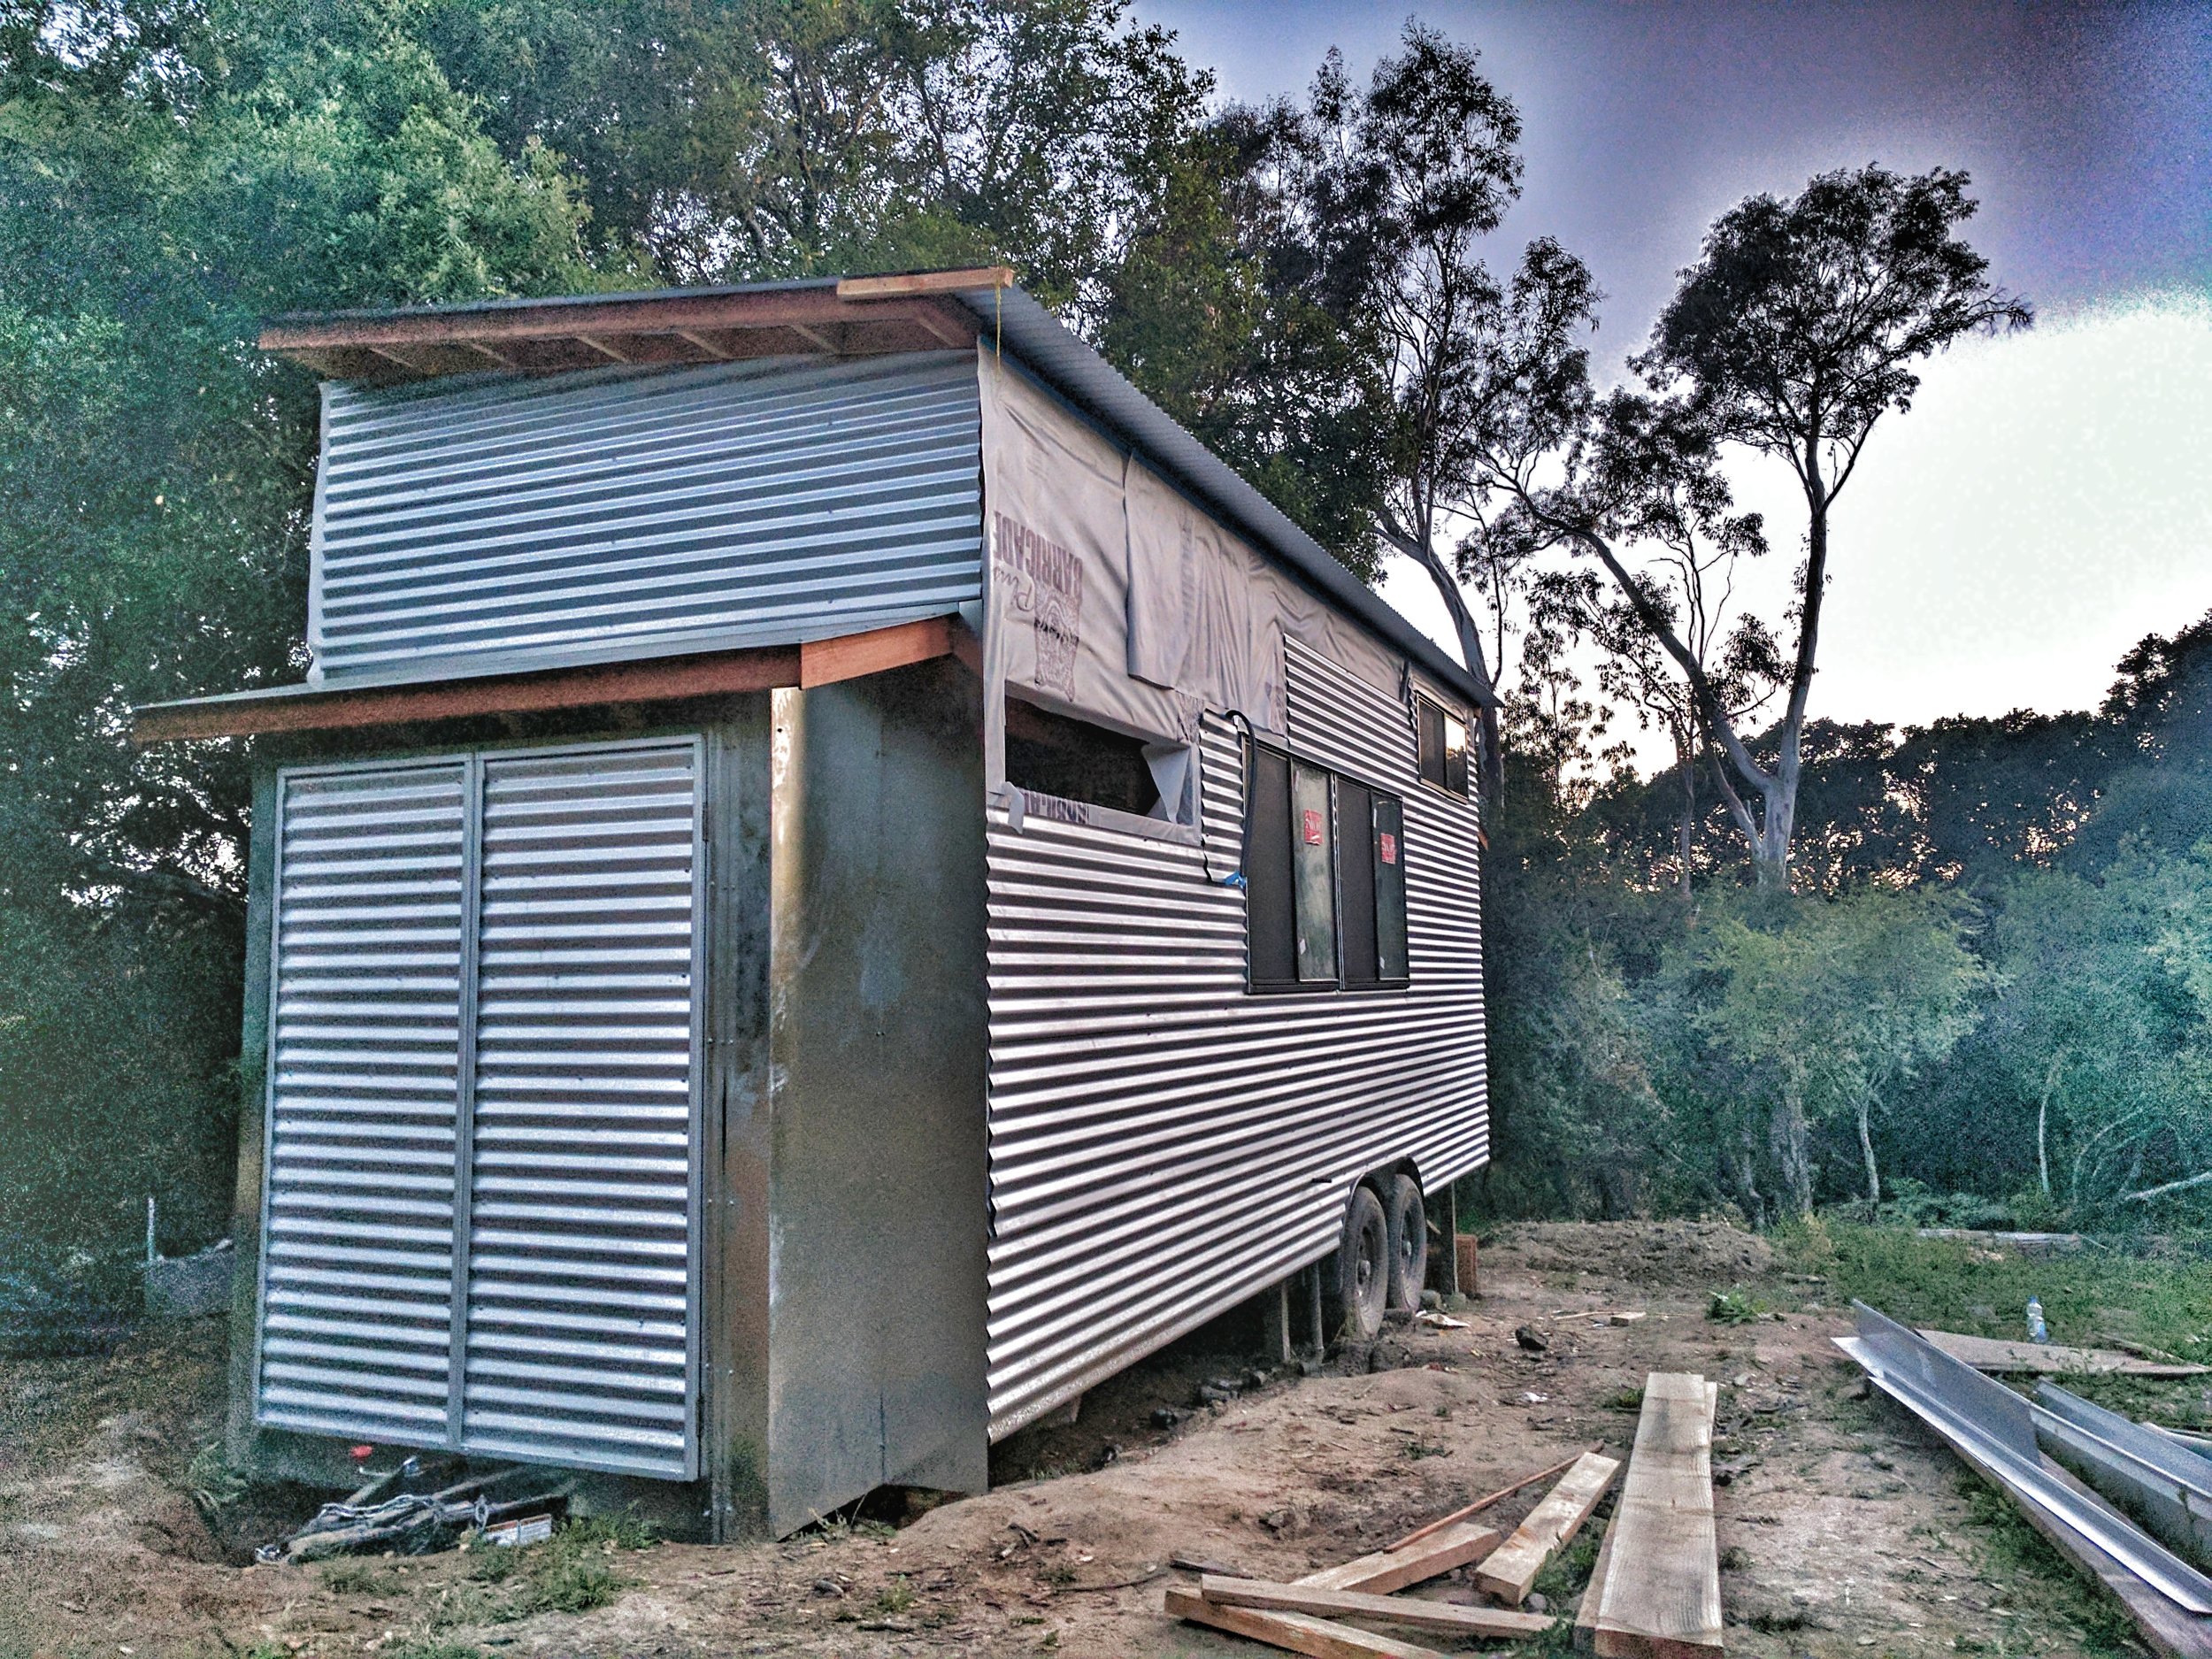
Shed Doors
The Kurtmudgeon built the shed doors to his own design and liking and we couldn't have been happier.
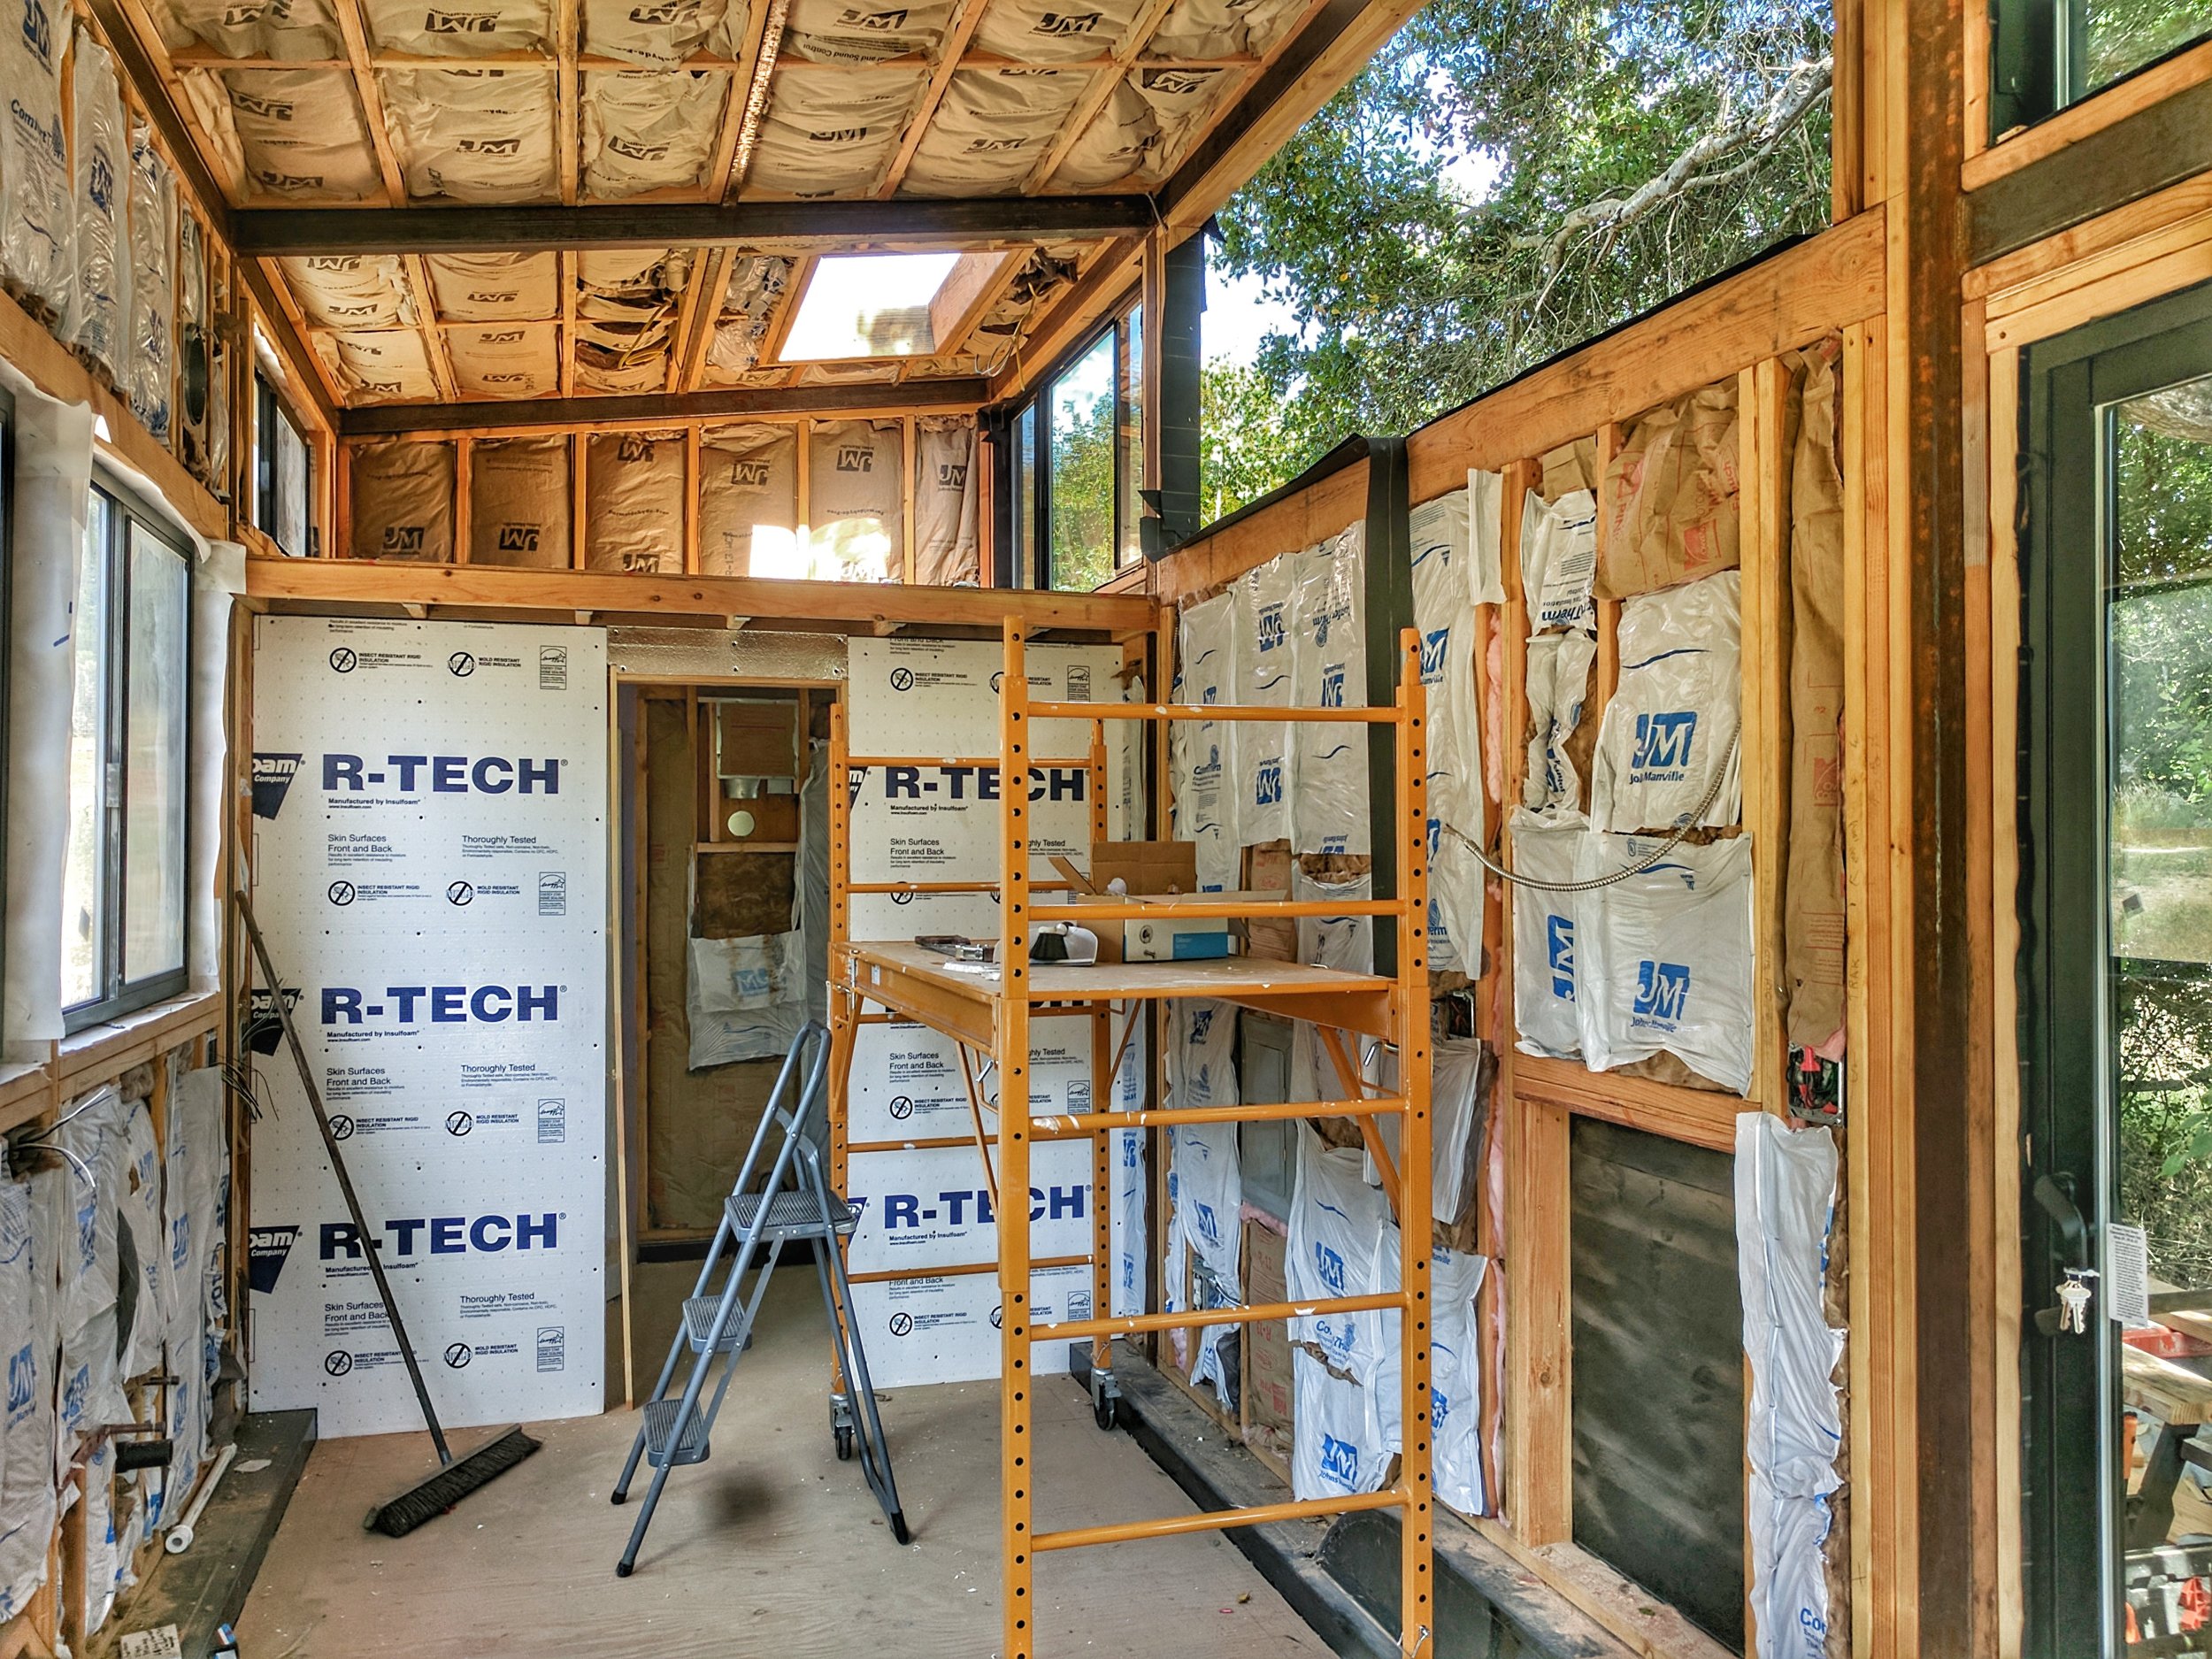
Insulation
With the exterior mostly finished we moved inside and began to insulate. Mostly with batts of fiberglass, but here and there some rigid insulation, particularly for extra sound proofing in the bathroom.
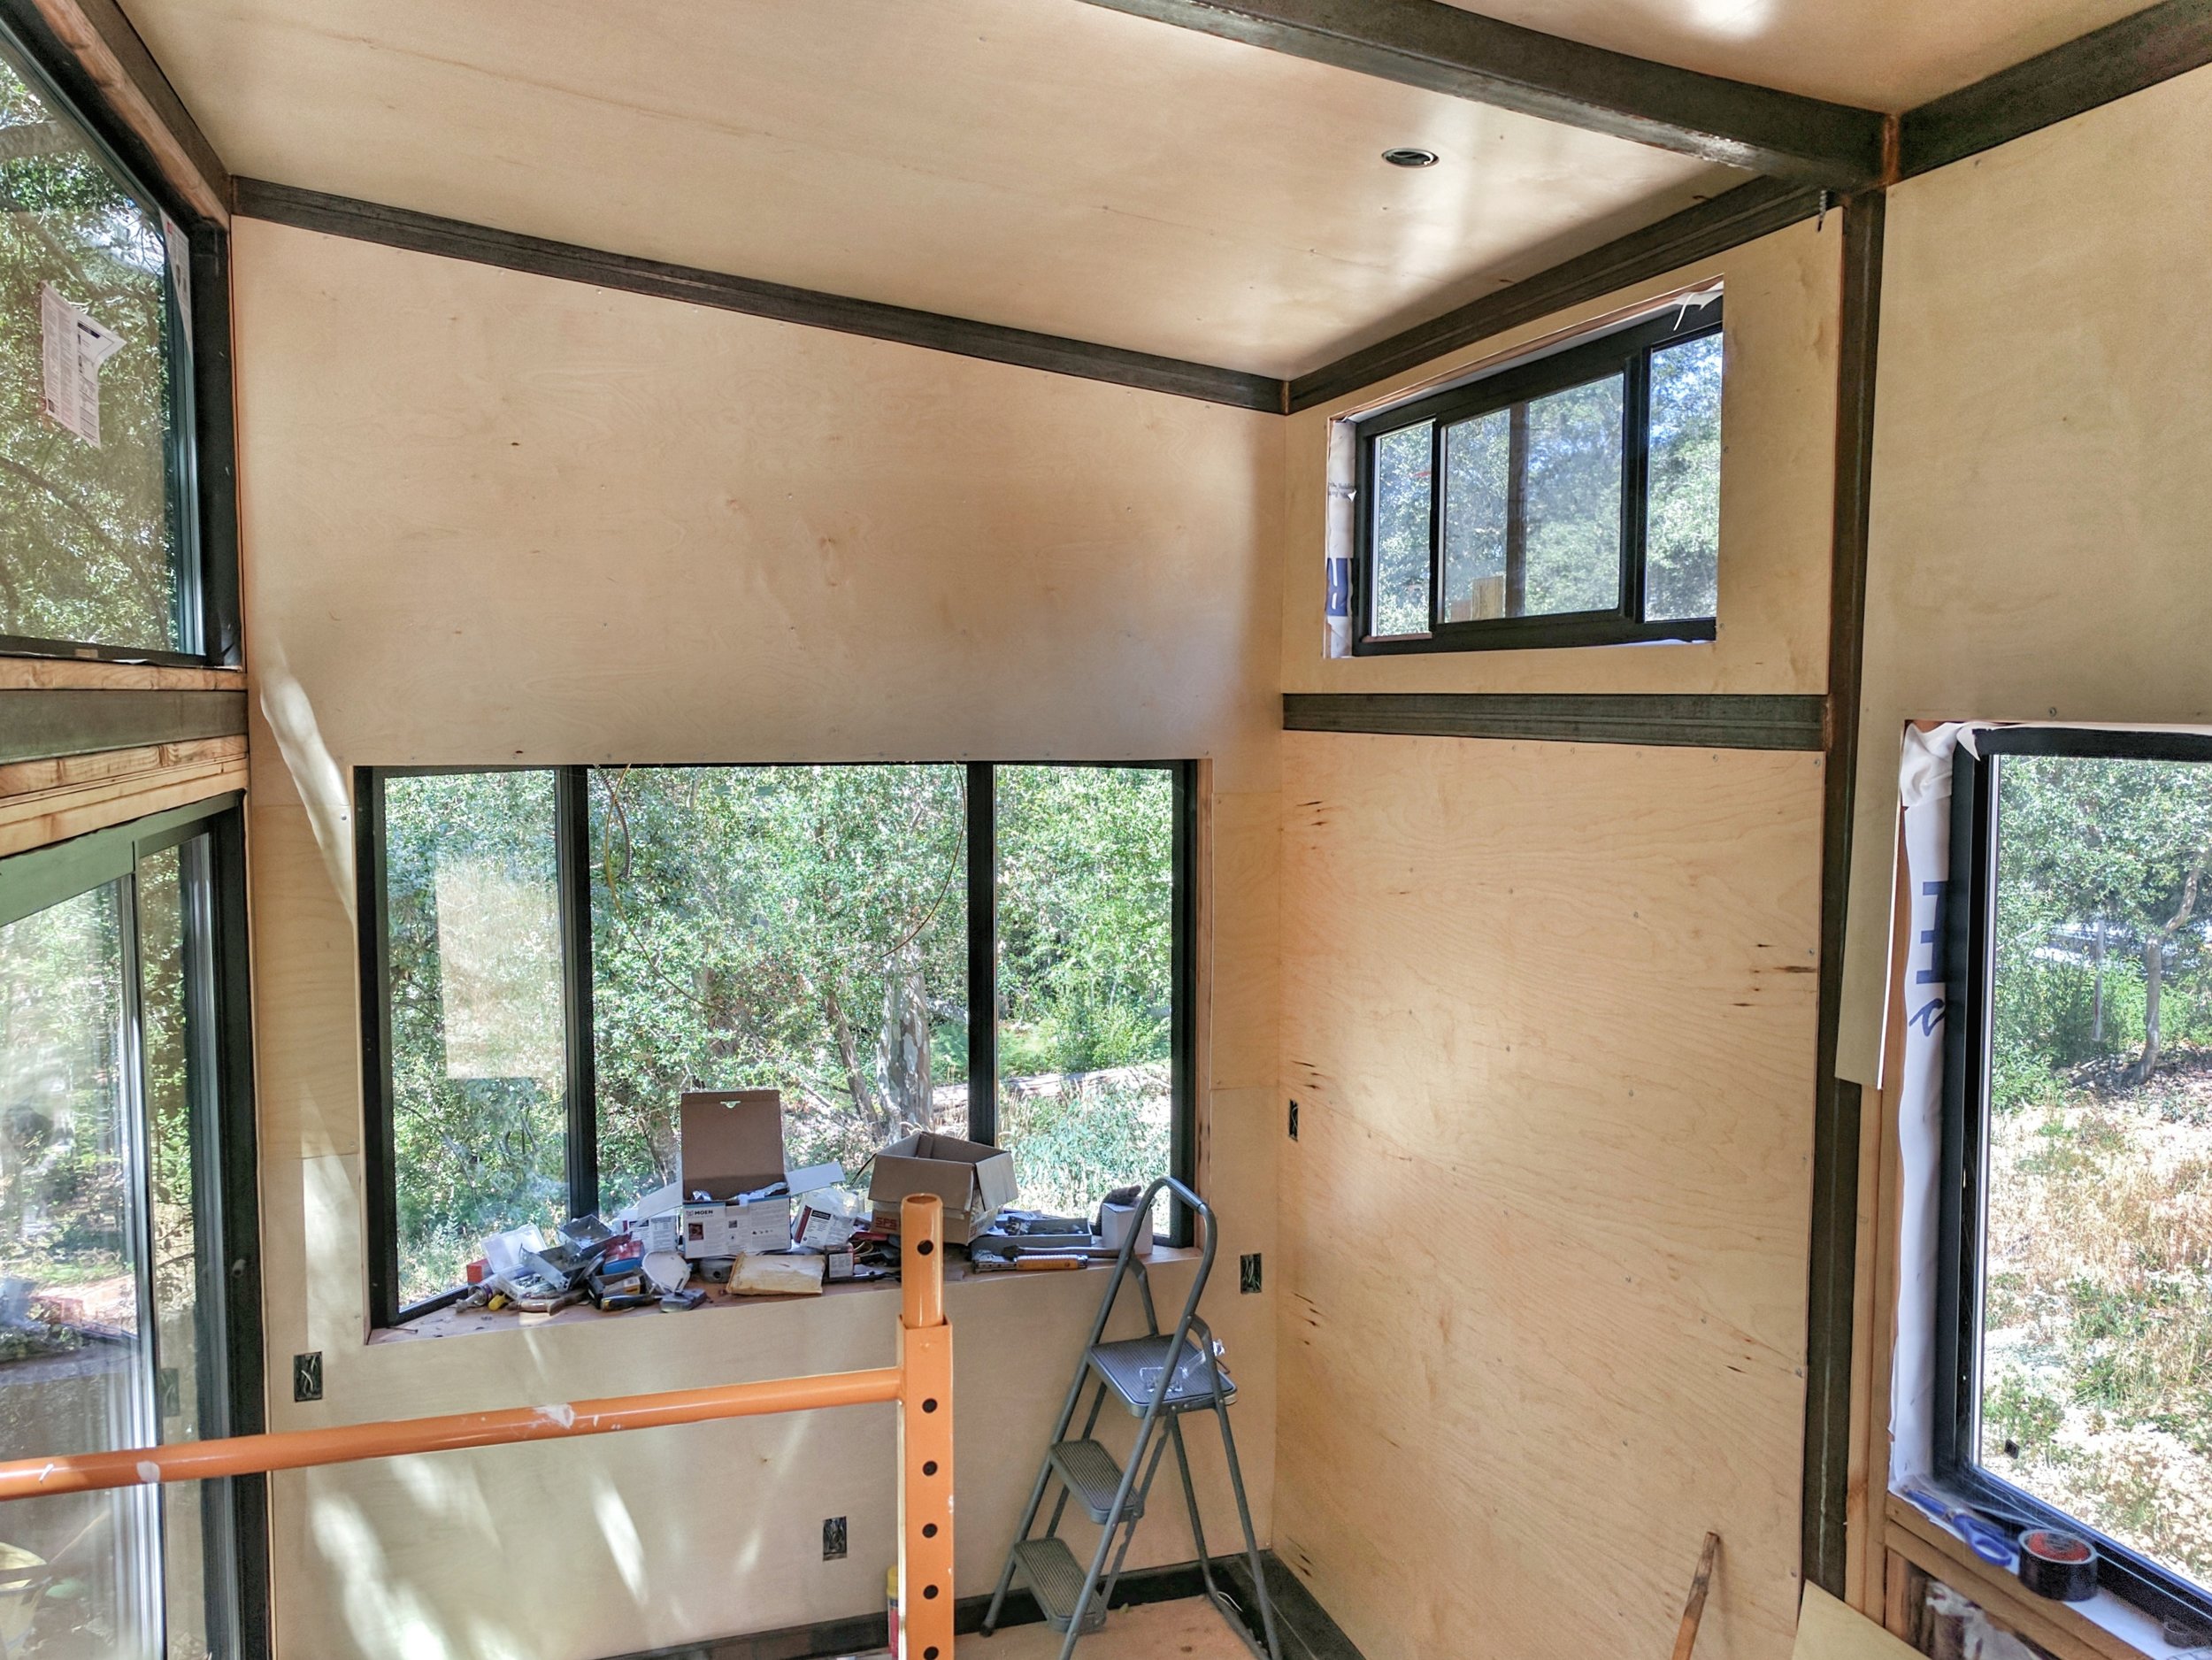
Birch Plywood
We chose a finished birch plywood for the entire interior, ceiling and walls. We wanted the clean and bright look inspired by Le Corbusier's Le Cabanon. We also decided to leave the steel beams showing, since the bones of the structure would be visually interesting. And we ended up not building a second loft, preferring instead the spaciousness of the 11-foot-high ceiling.
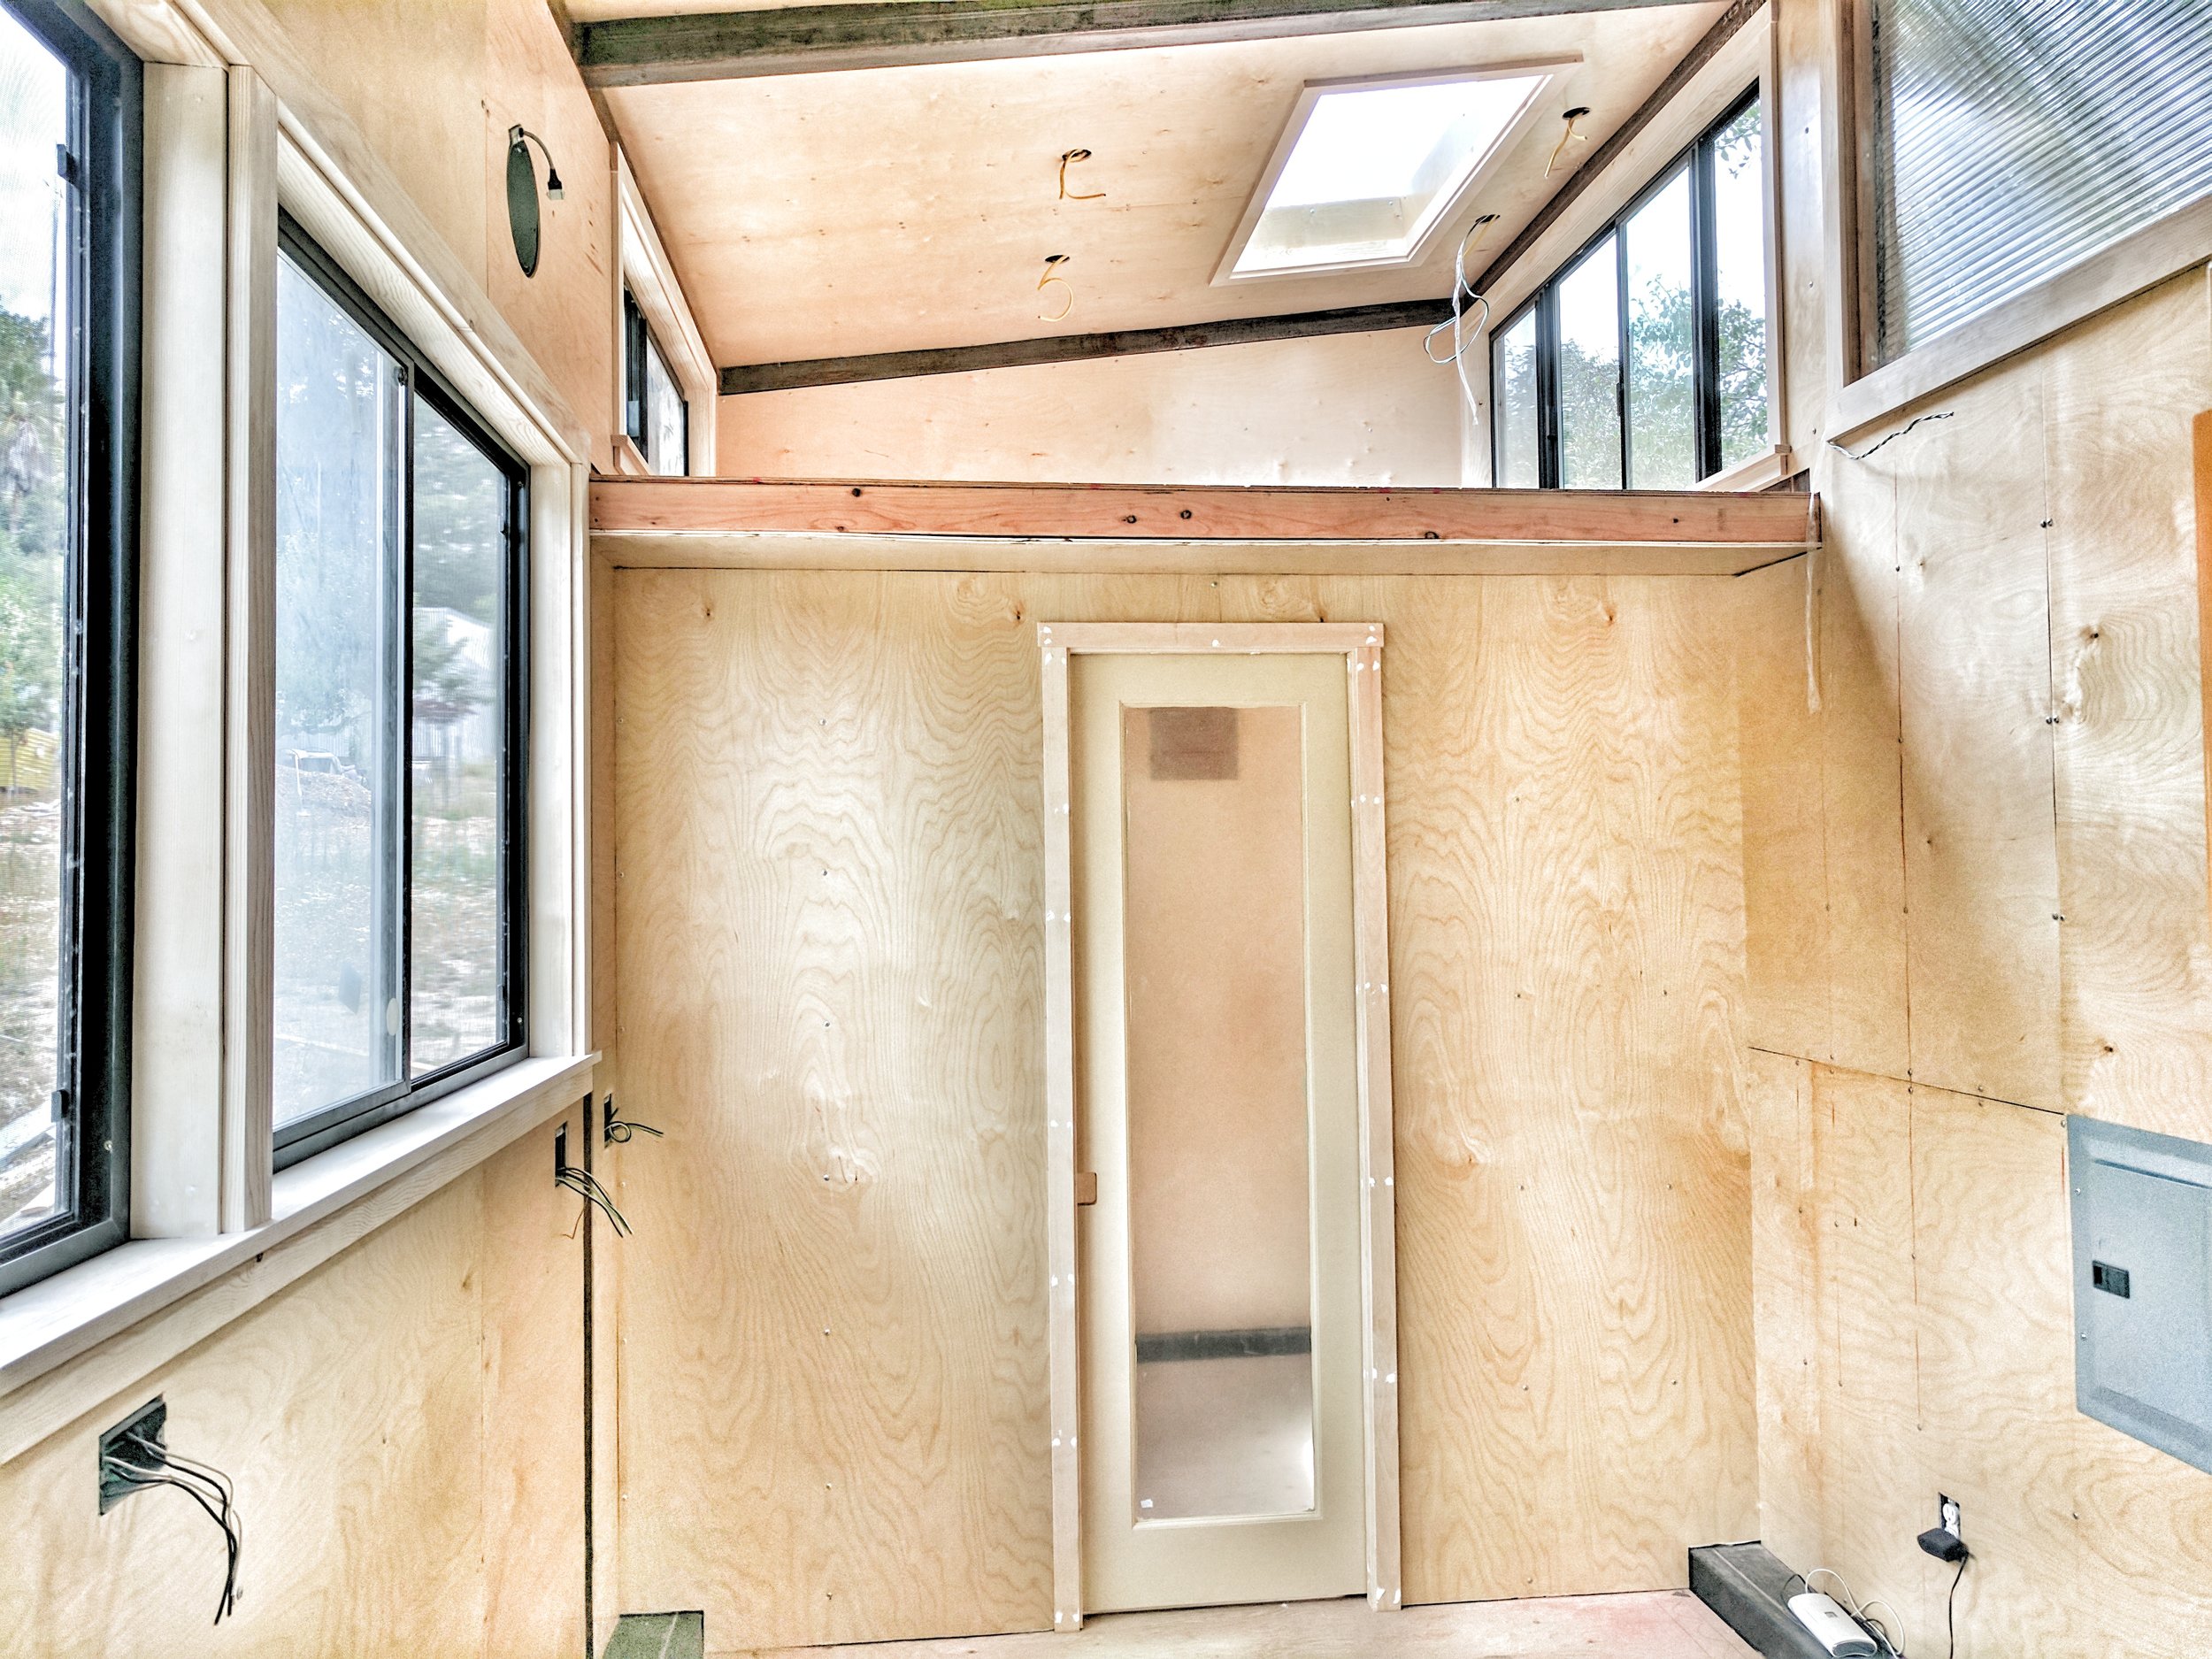
Pocket Door
To save space, we installed a pocket door into the bathroom, which is tucked under the sleeping loft.
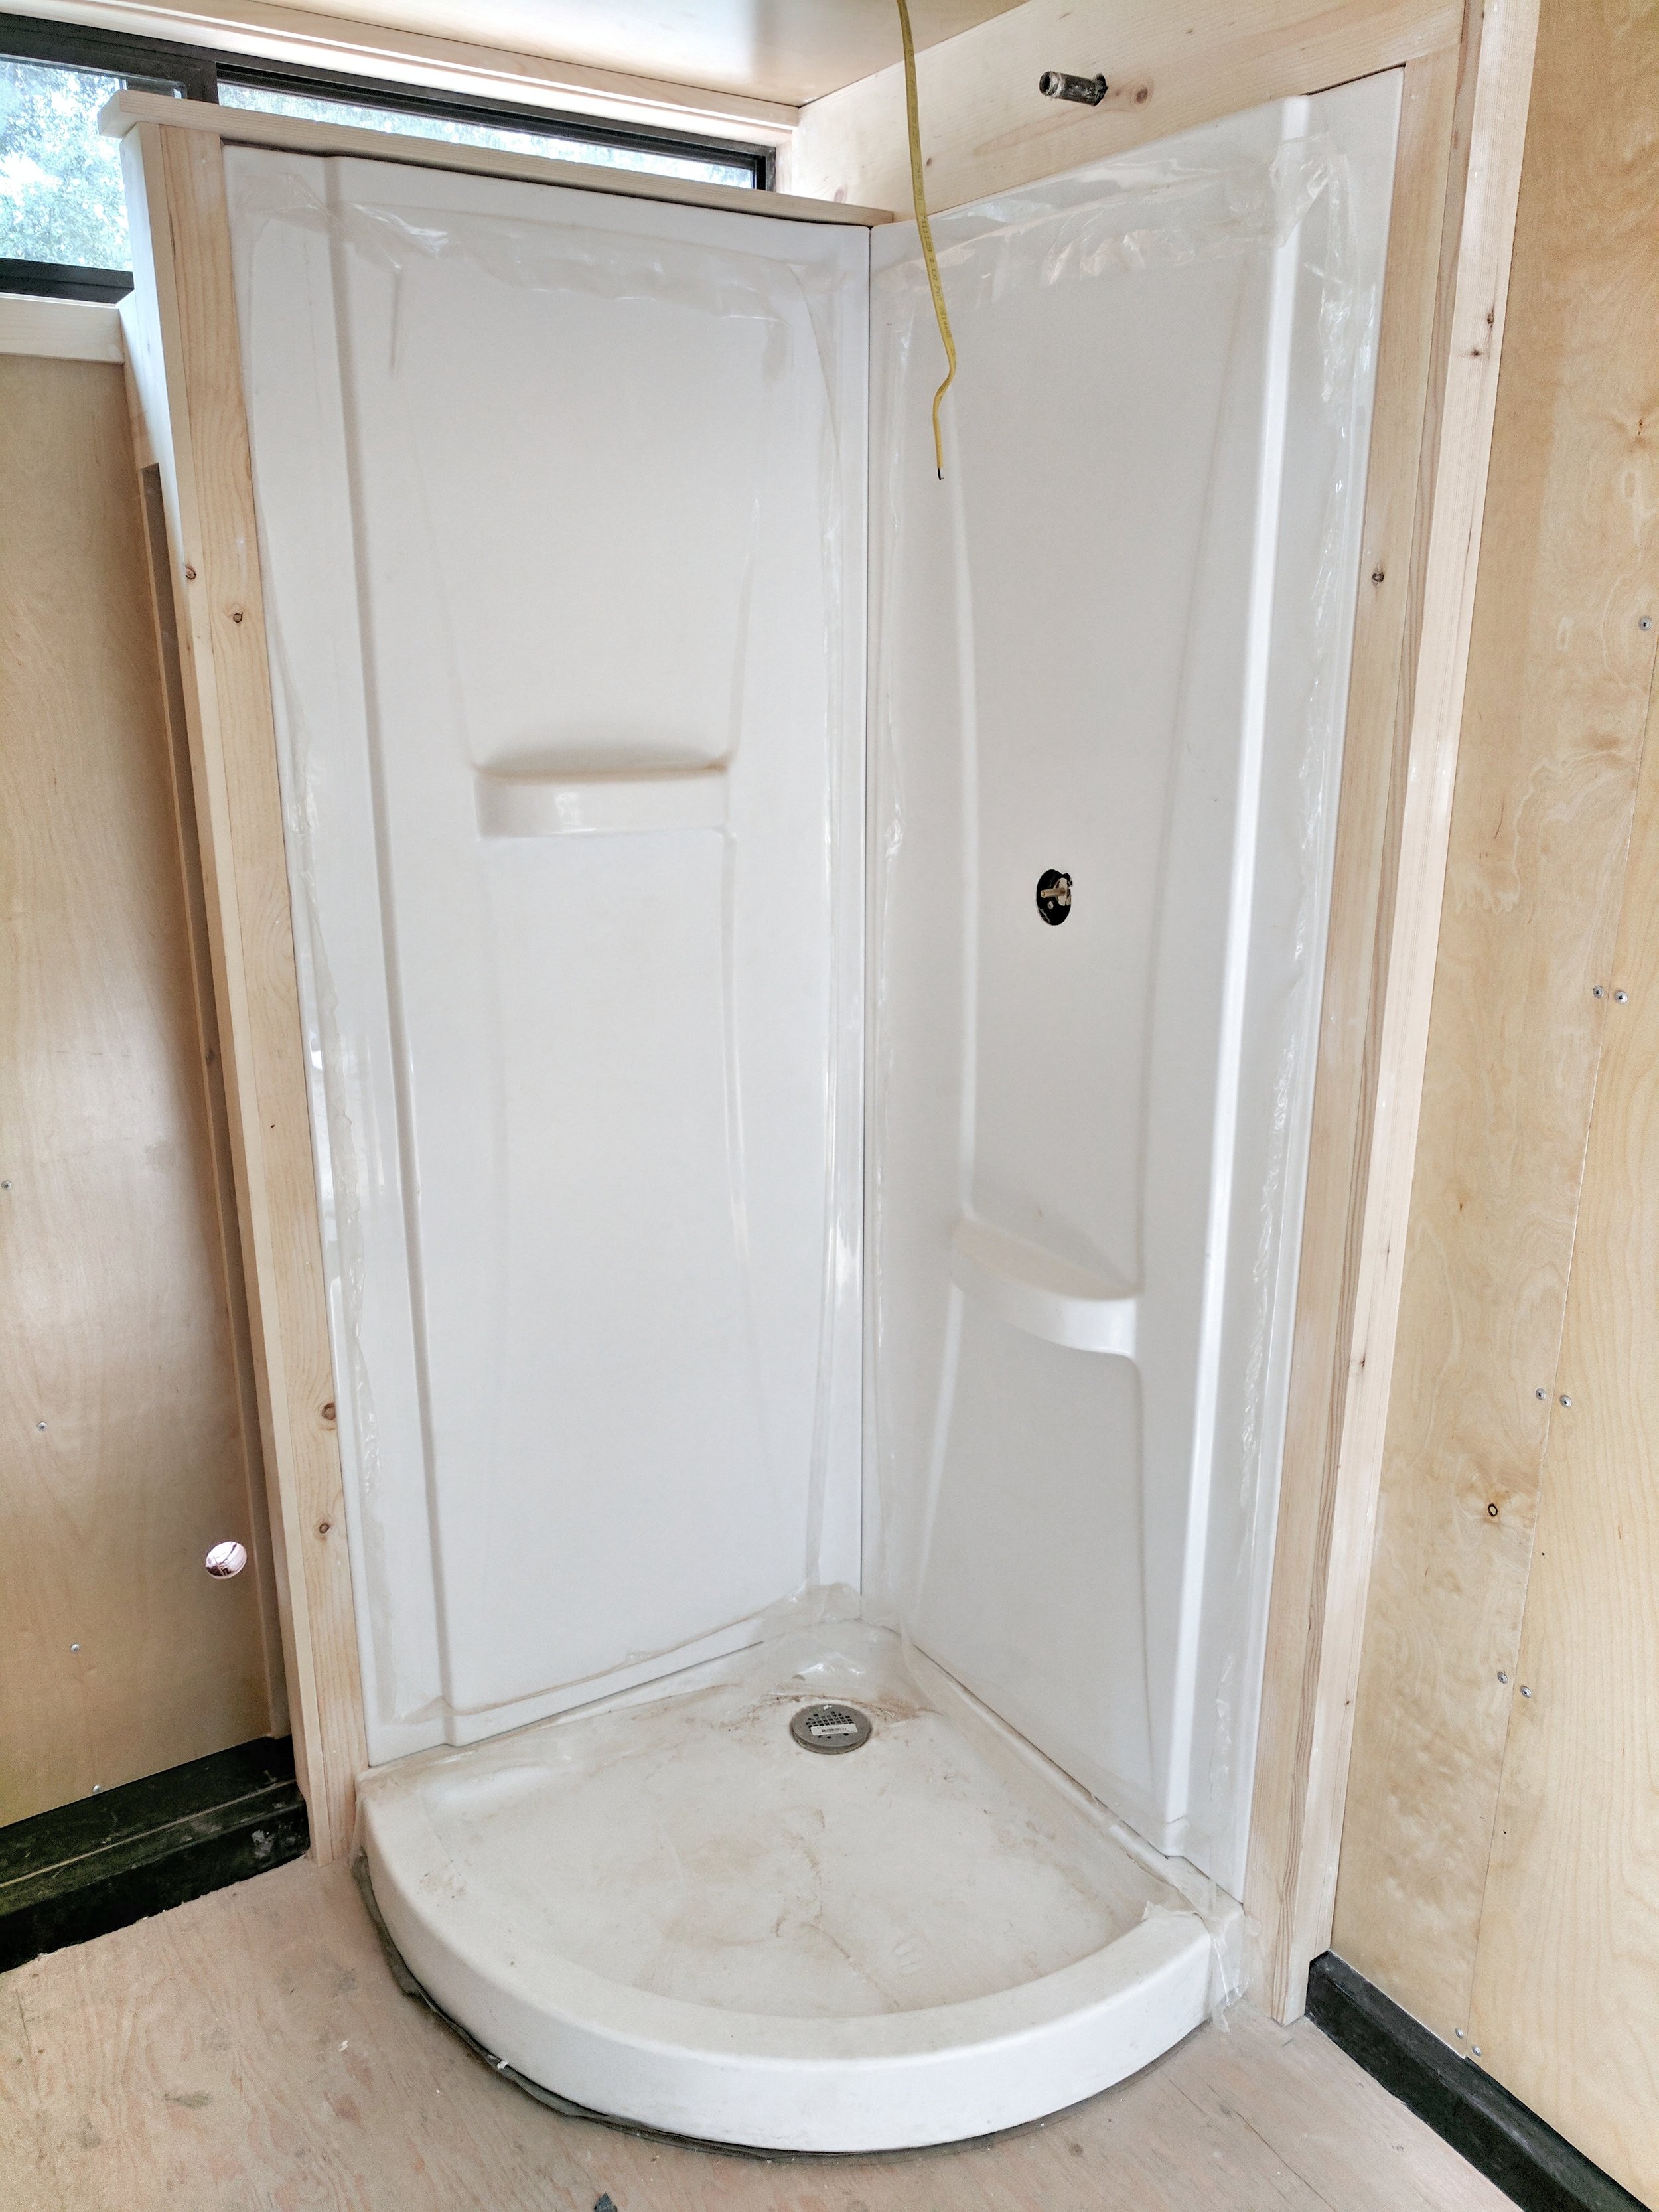
Quarter Round Shower
We chose a 33" quarter round shower with curved glass door as the best design for the limited space of the bathroom.
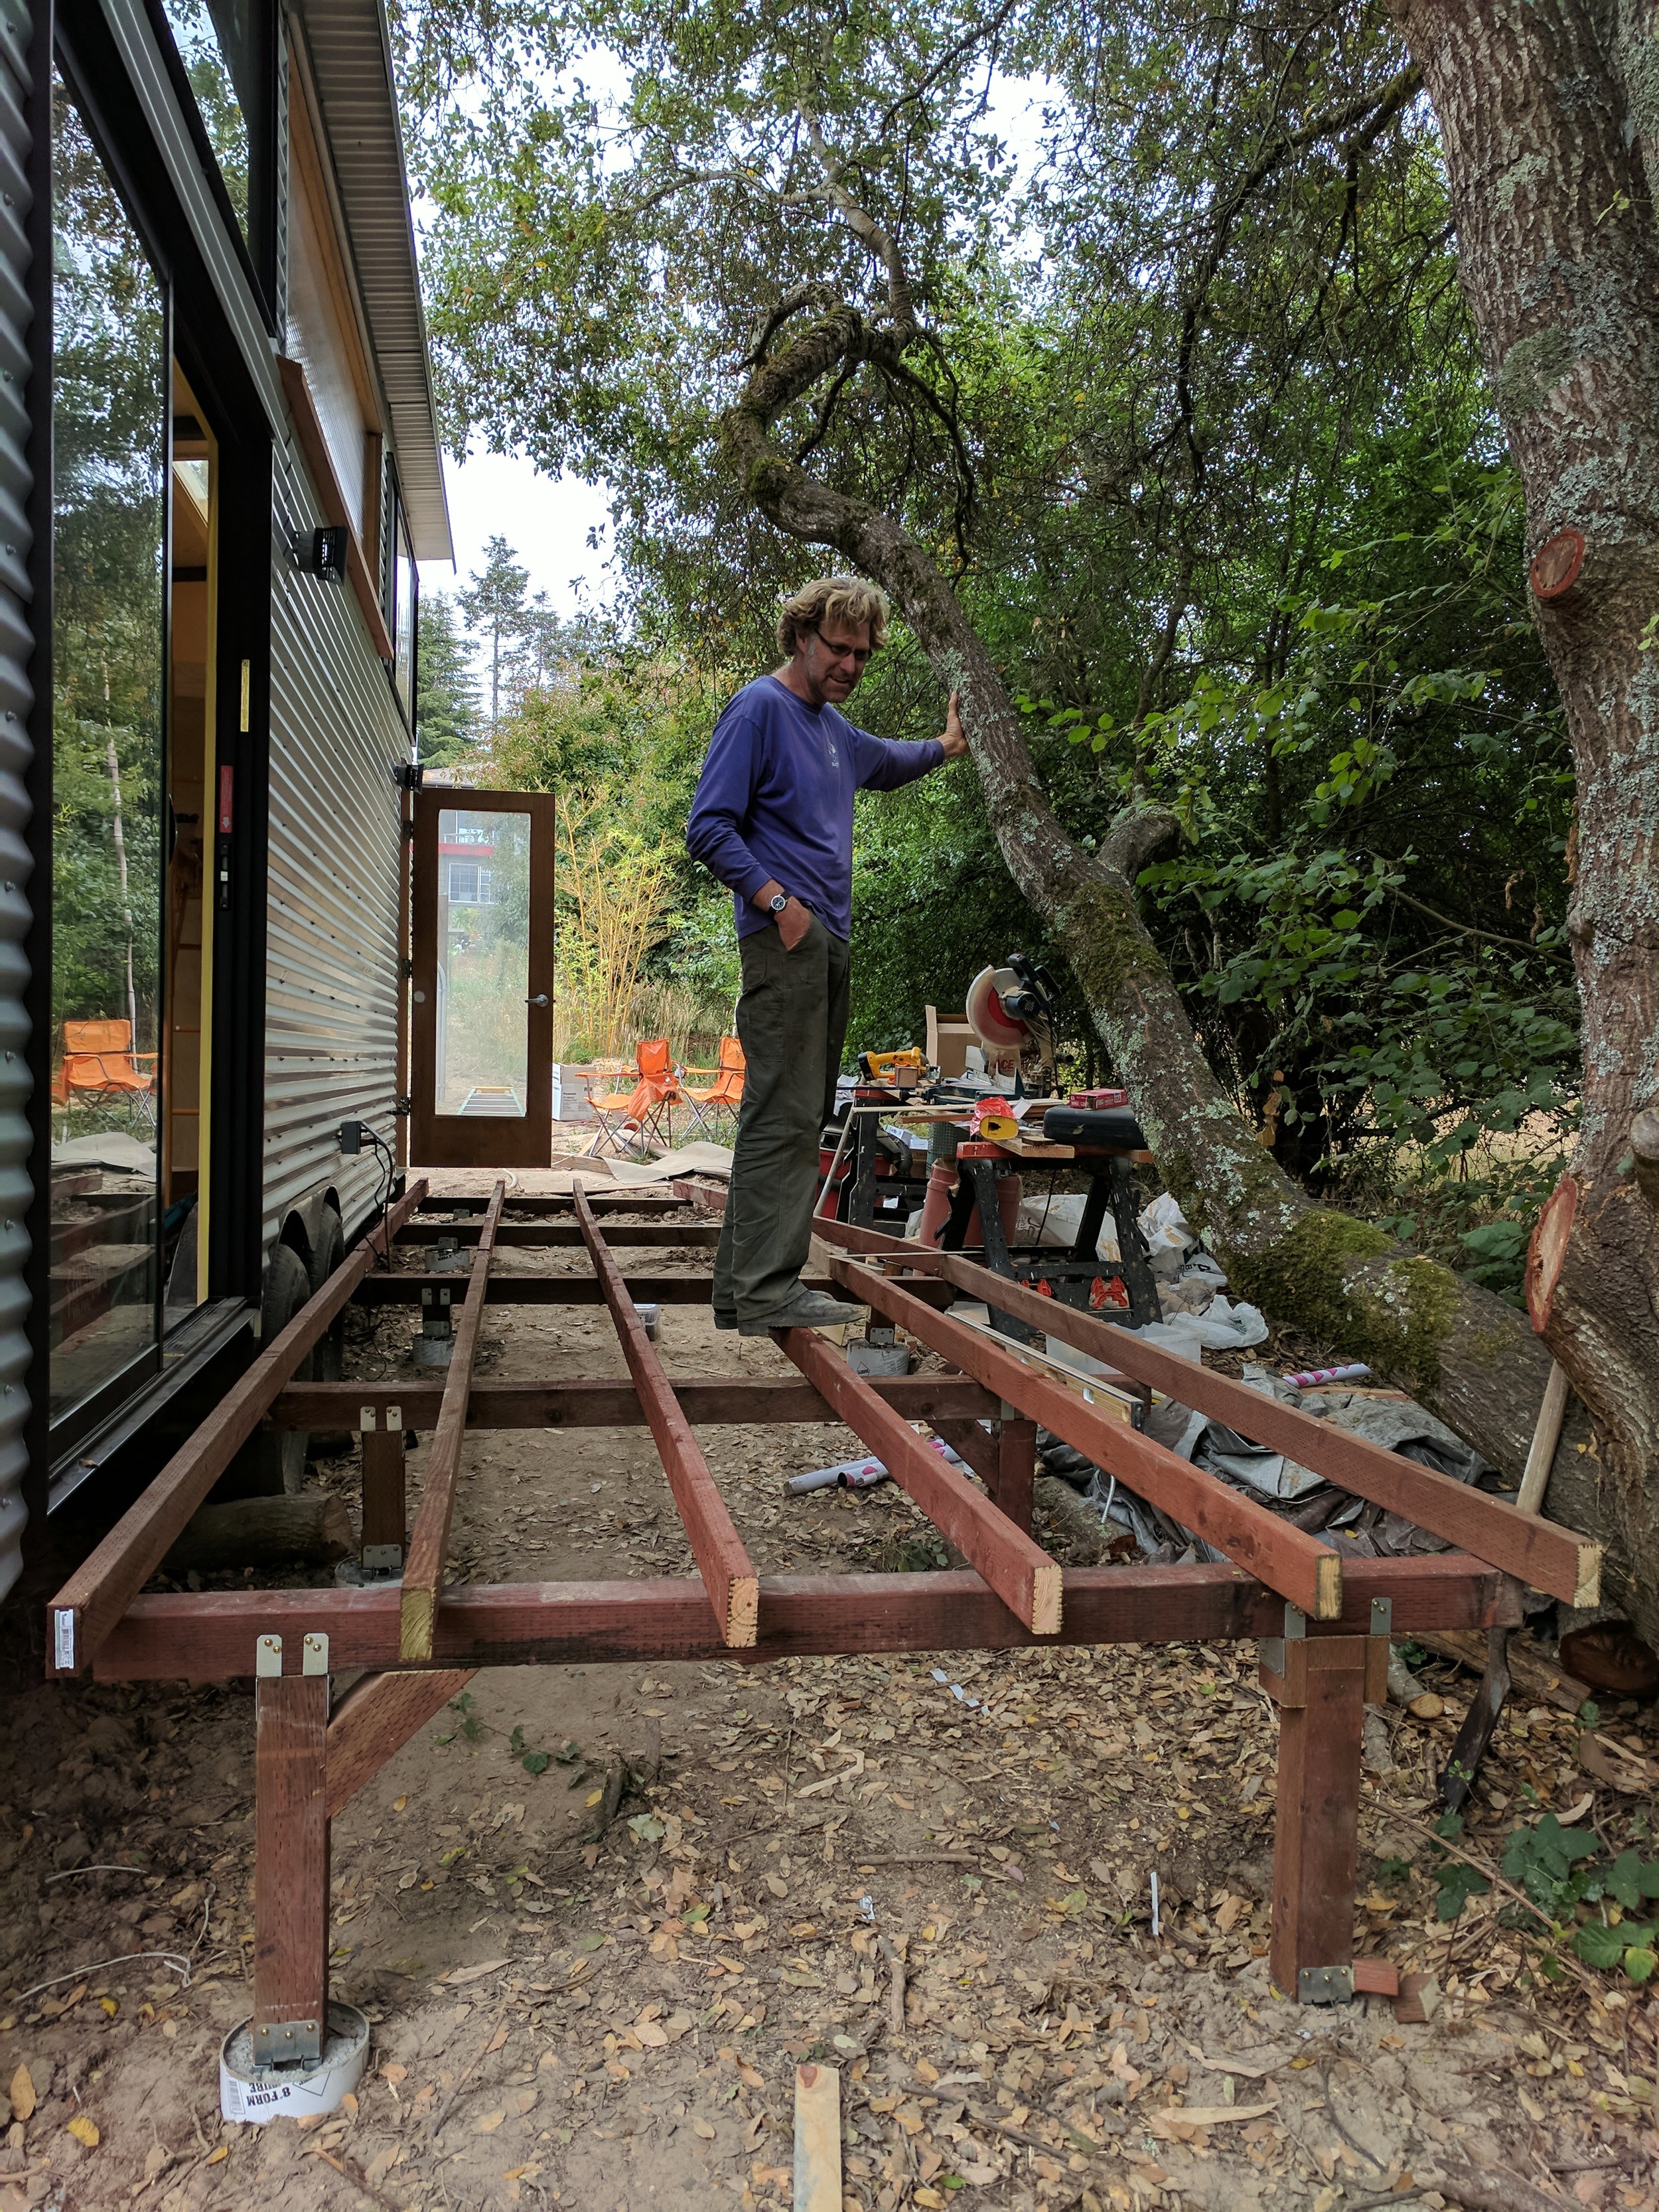
Constructing the Deck
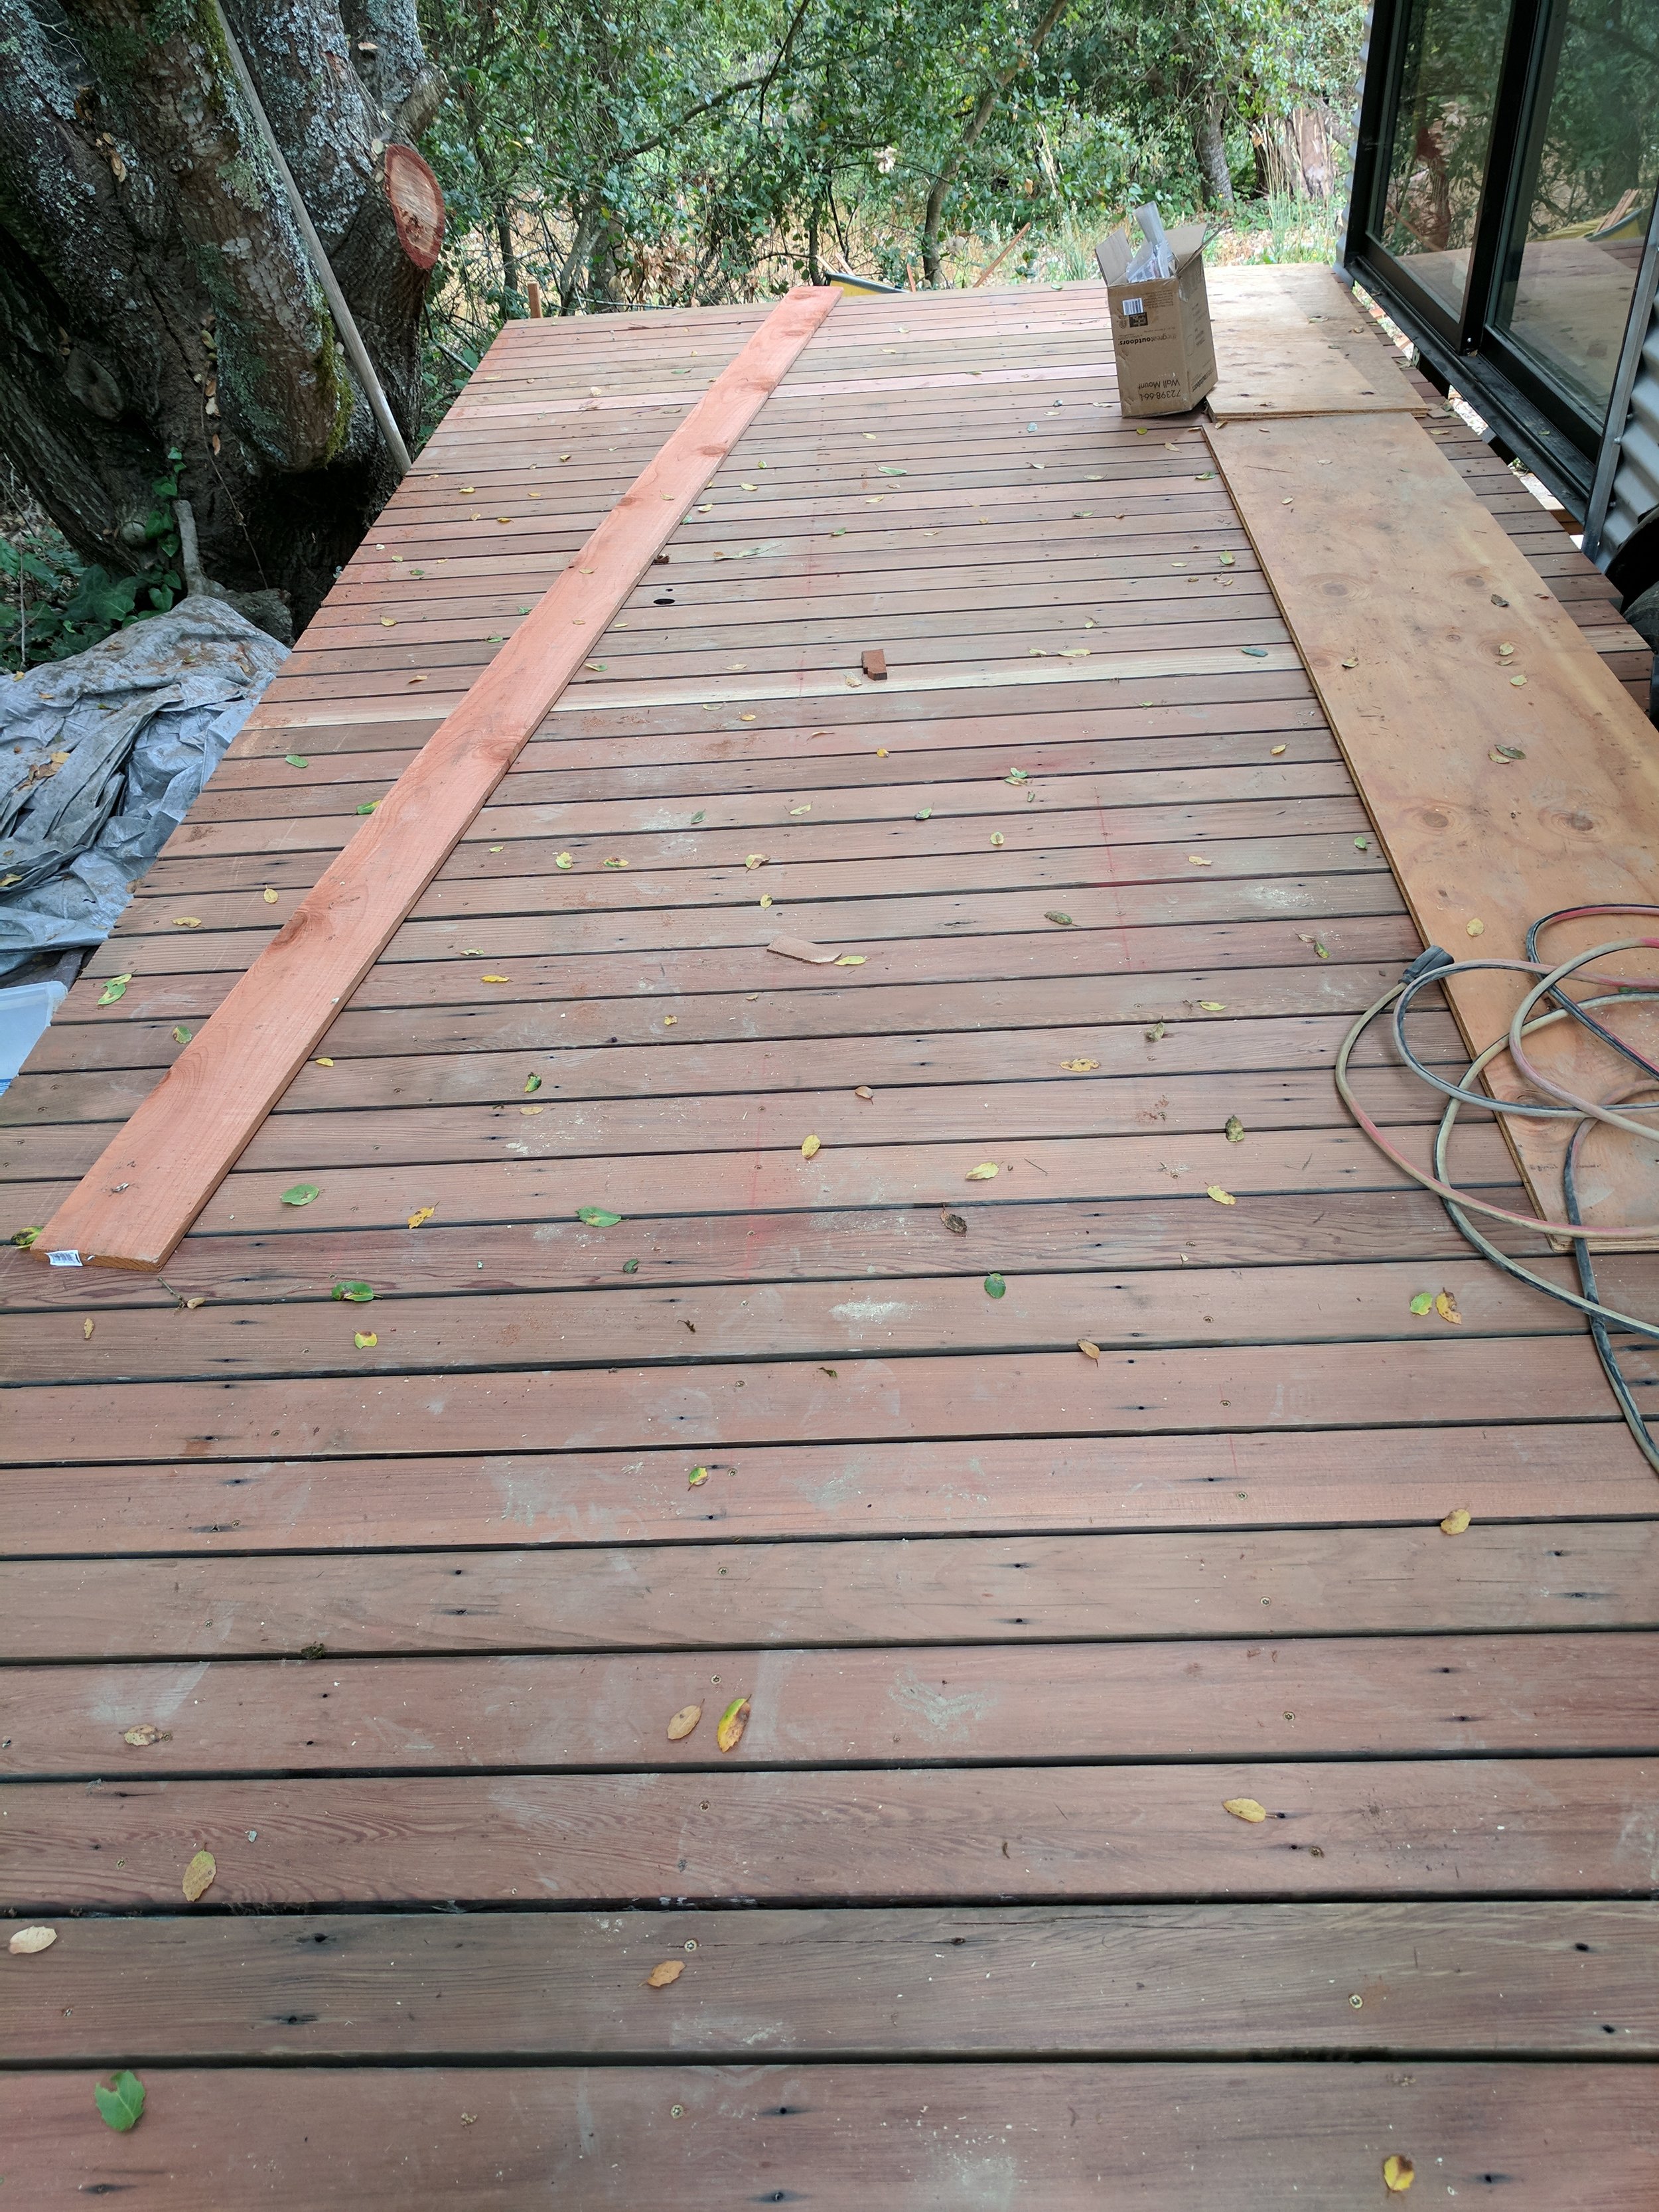
We used salvaged old-growth redwood decking, on which we planed a new surface, and installed it along the entire length of the tiny house. Thankful for all of Alain's hard work and attention to detail.
Deck Build
The upcycled decking made of clear-heart, old-growth redwood turned out to be far more beautiful than we'd even imagined.
Floor
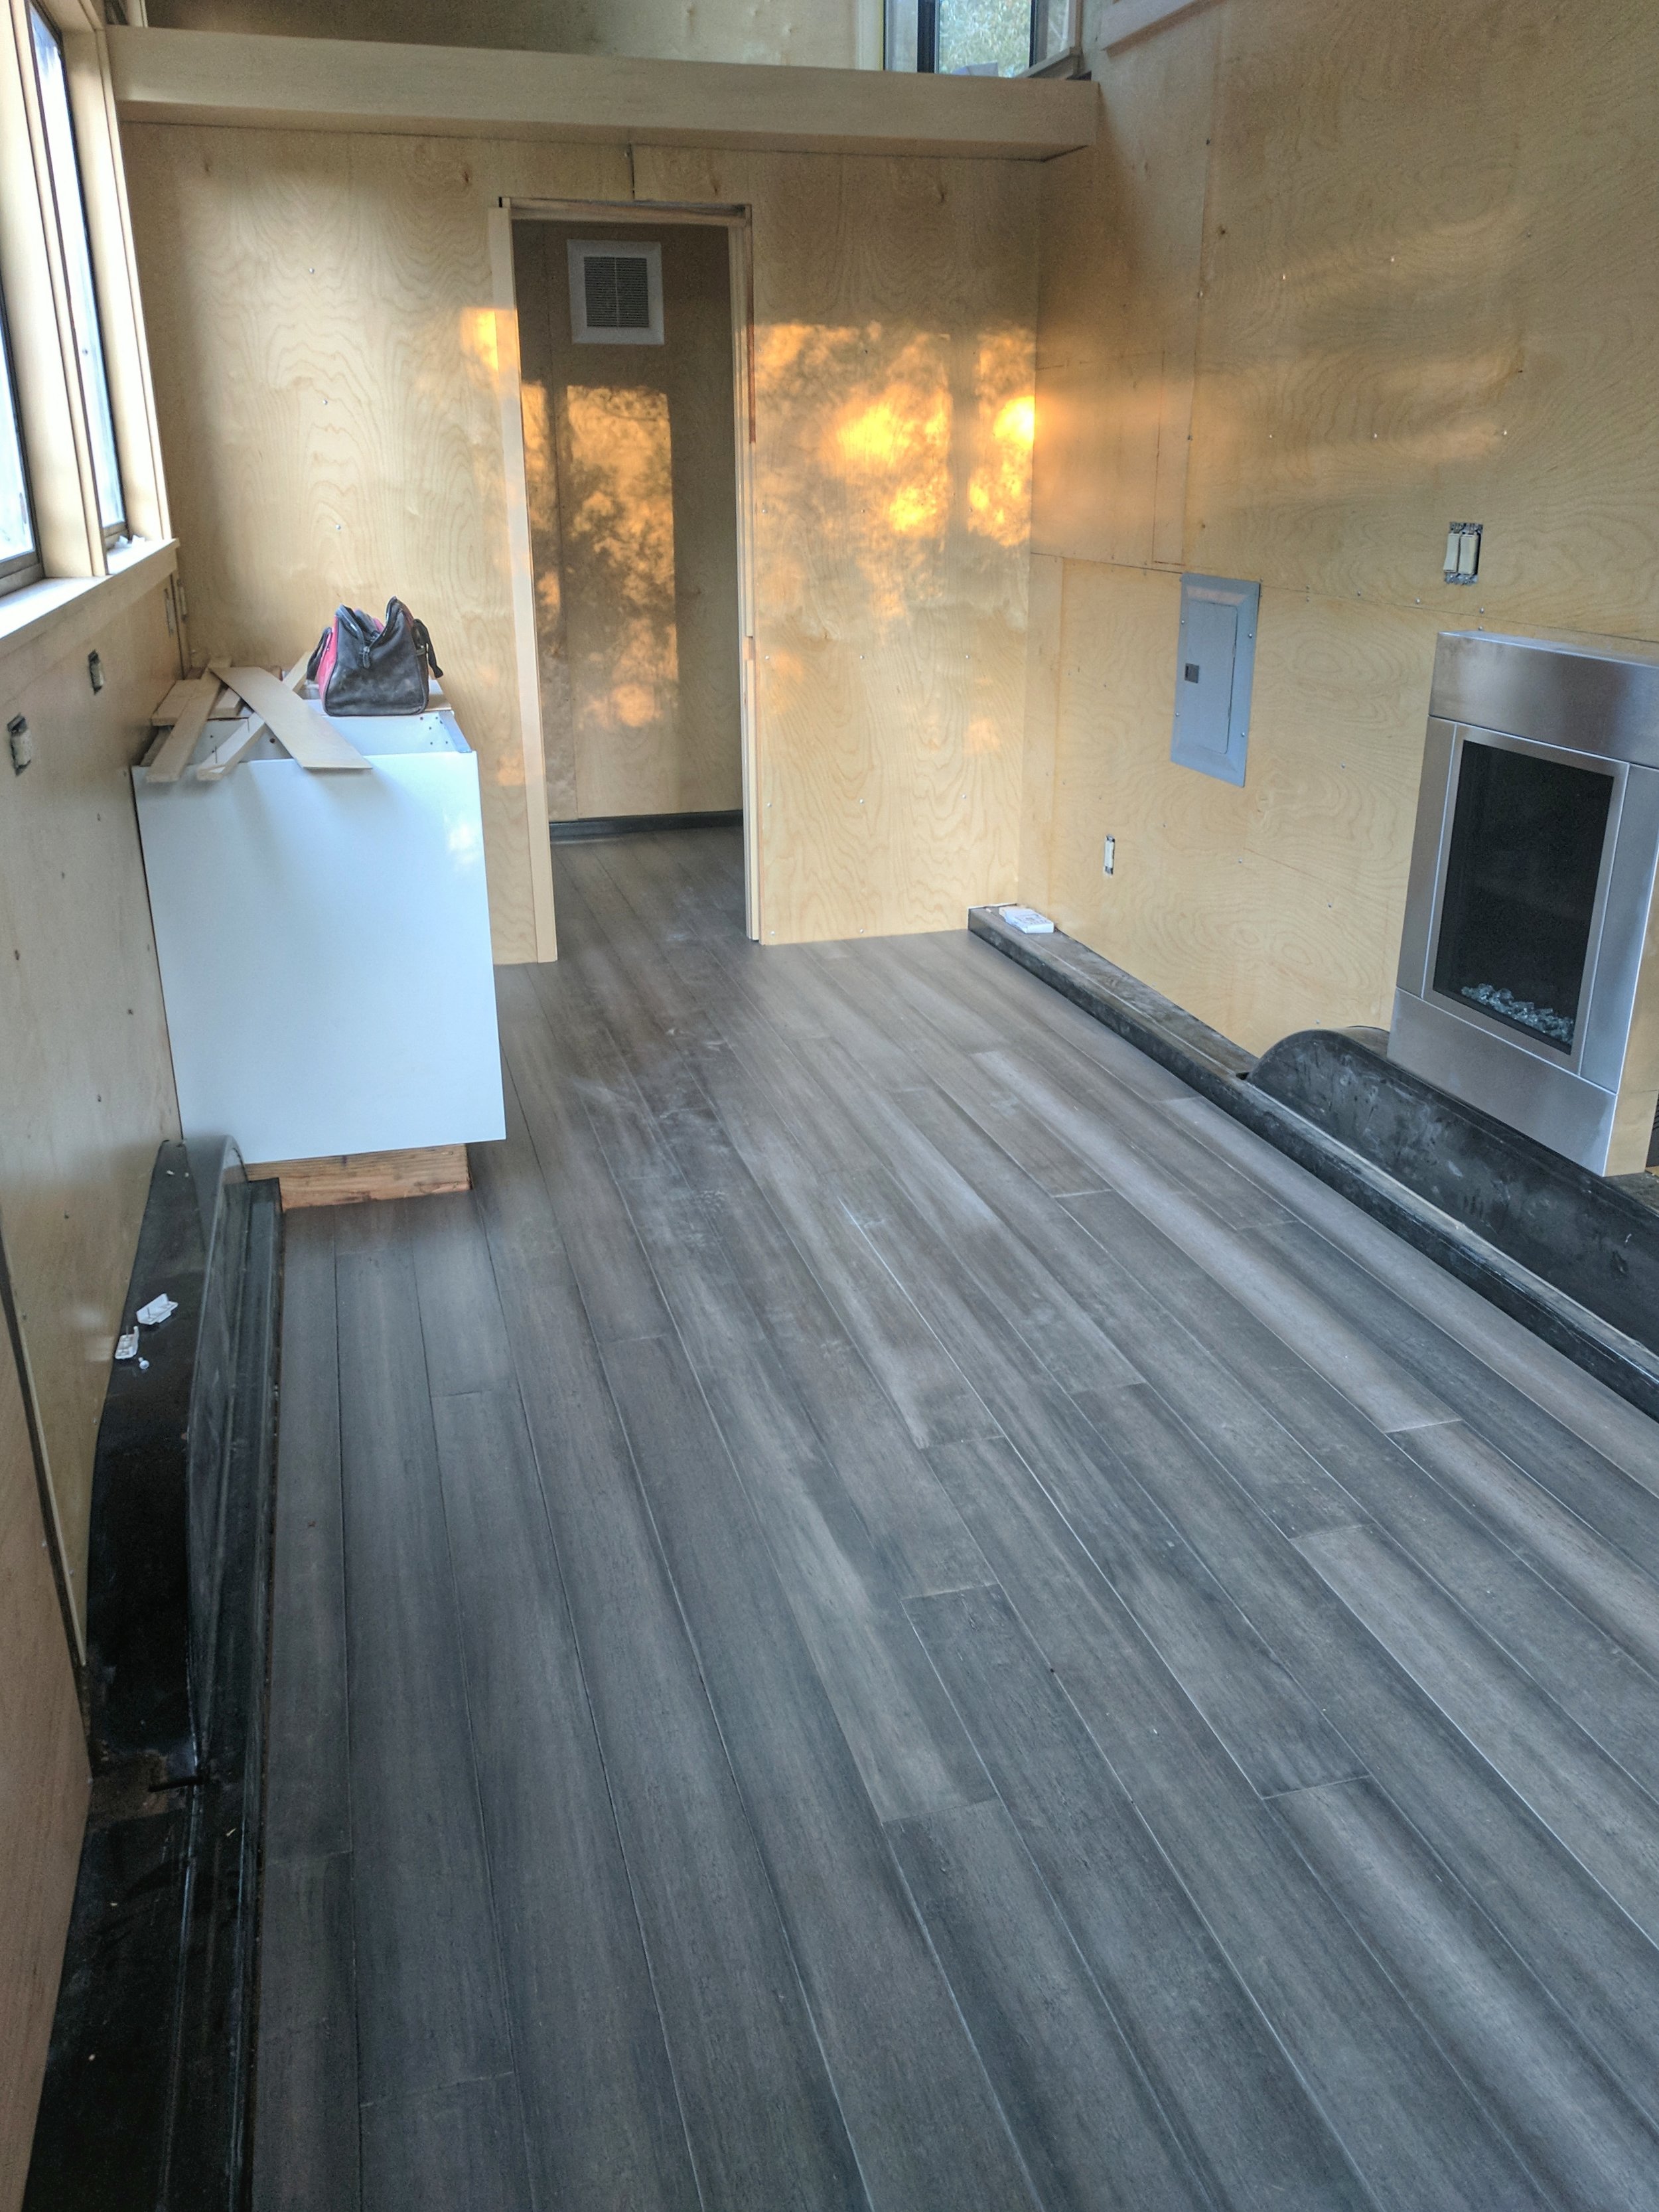
We used an engineered bamboo because we were intending to put in subfloor heating. That didn't work out due to problems with the flooring contractor. By this point we'd already installed the SOLAS ONE6 propane fireplace, a neat little unit that hangs on the wall, vents directly out the back, and is more than capable of heating the whole place, with all the coziness of an adjustable flame.

Loft Flooring
We used a Marmoleum click-tile floor in the loft to save weight.
Stairs
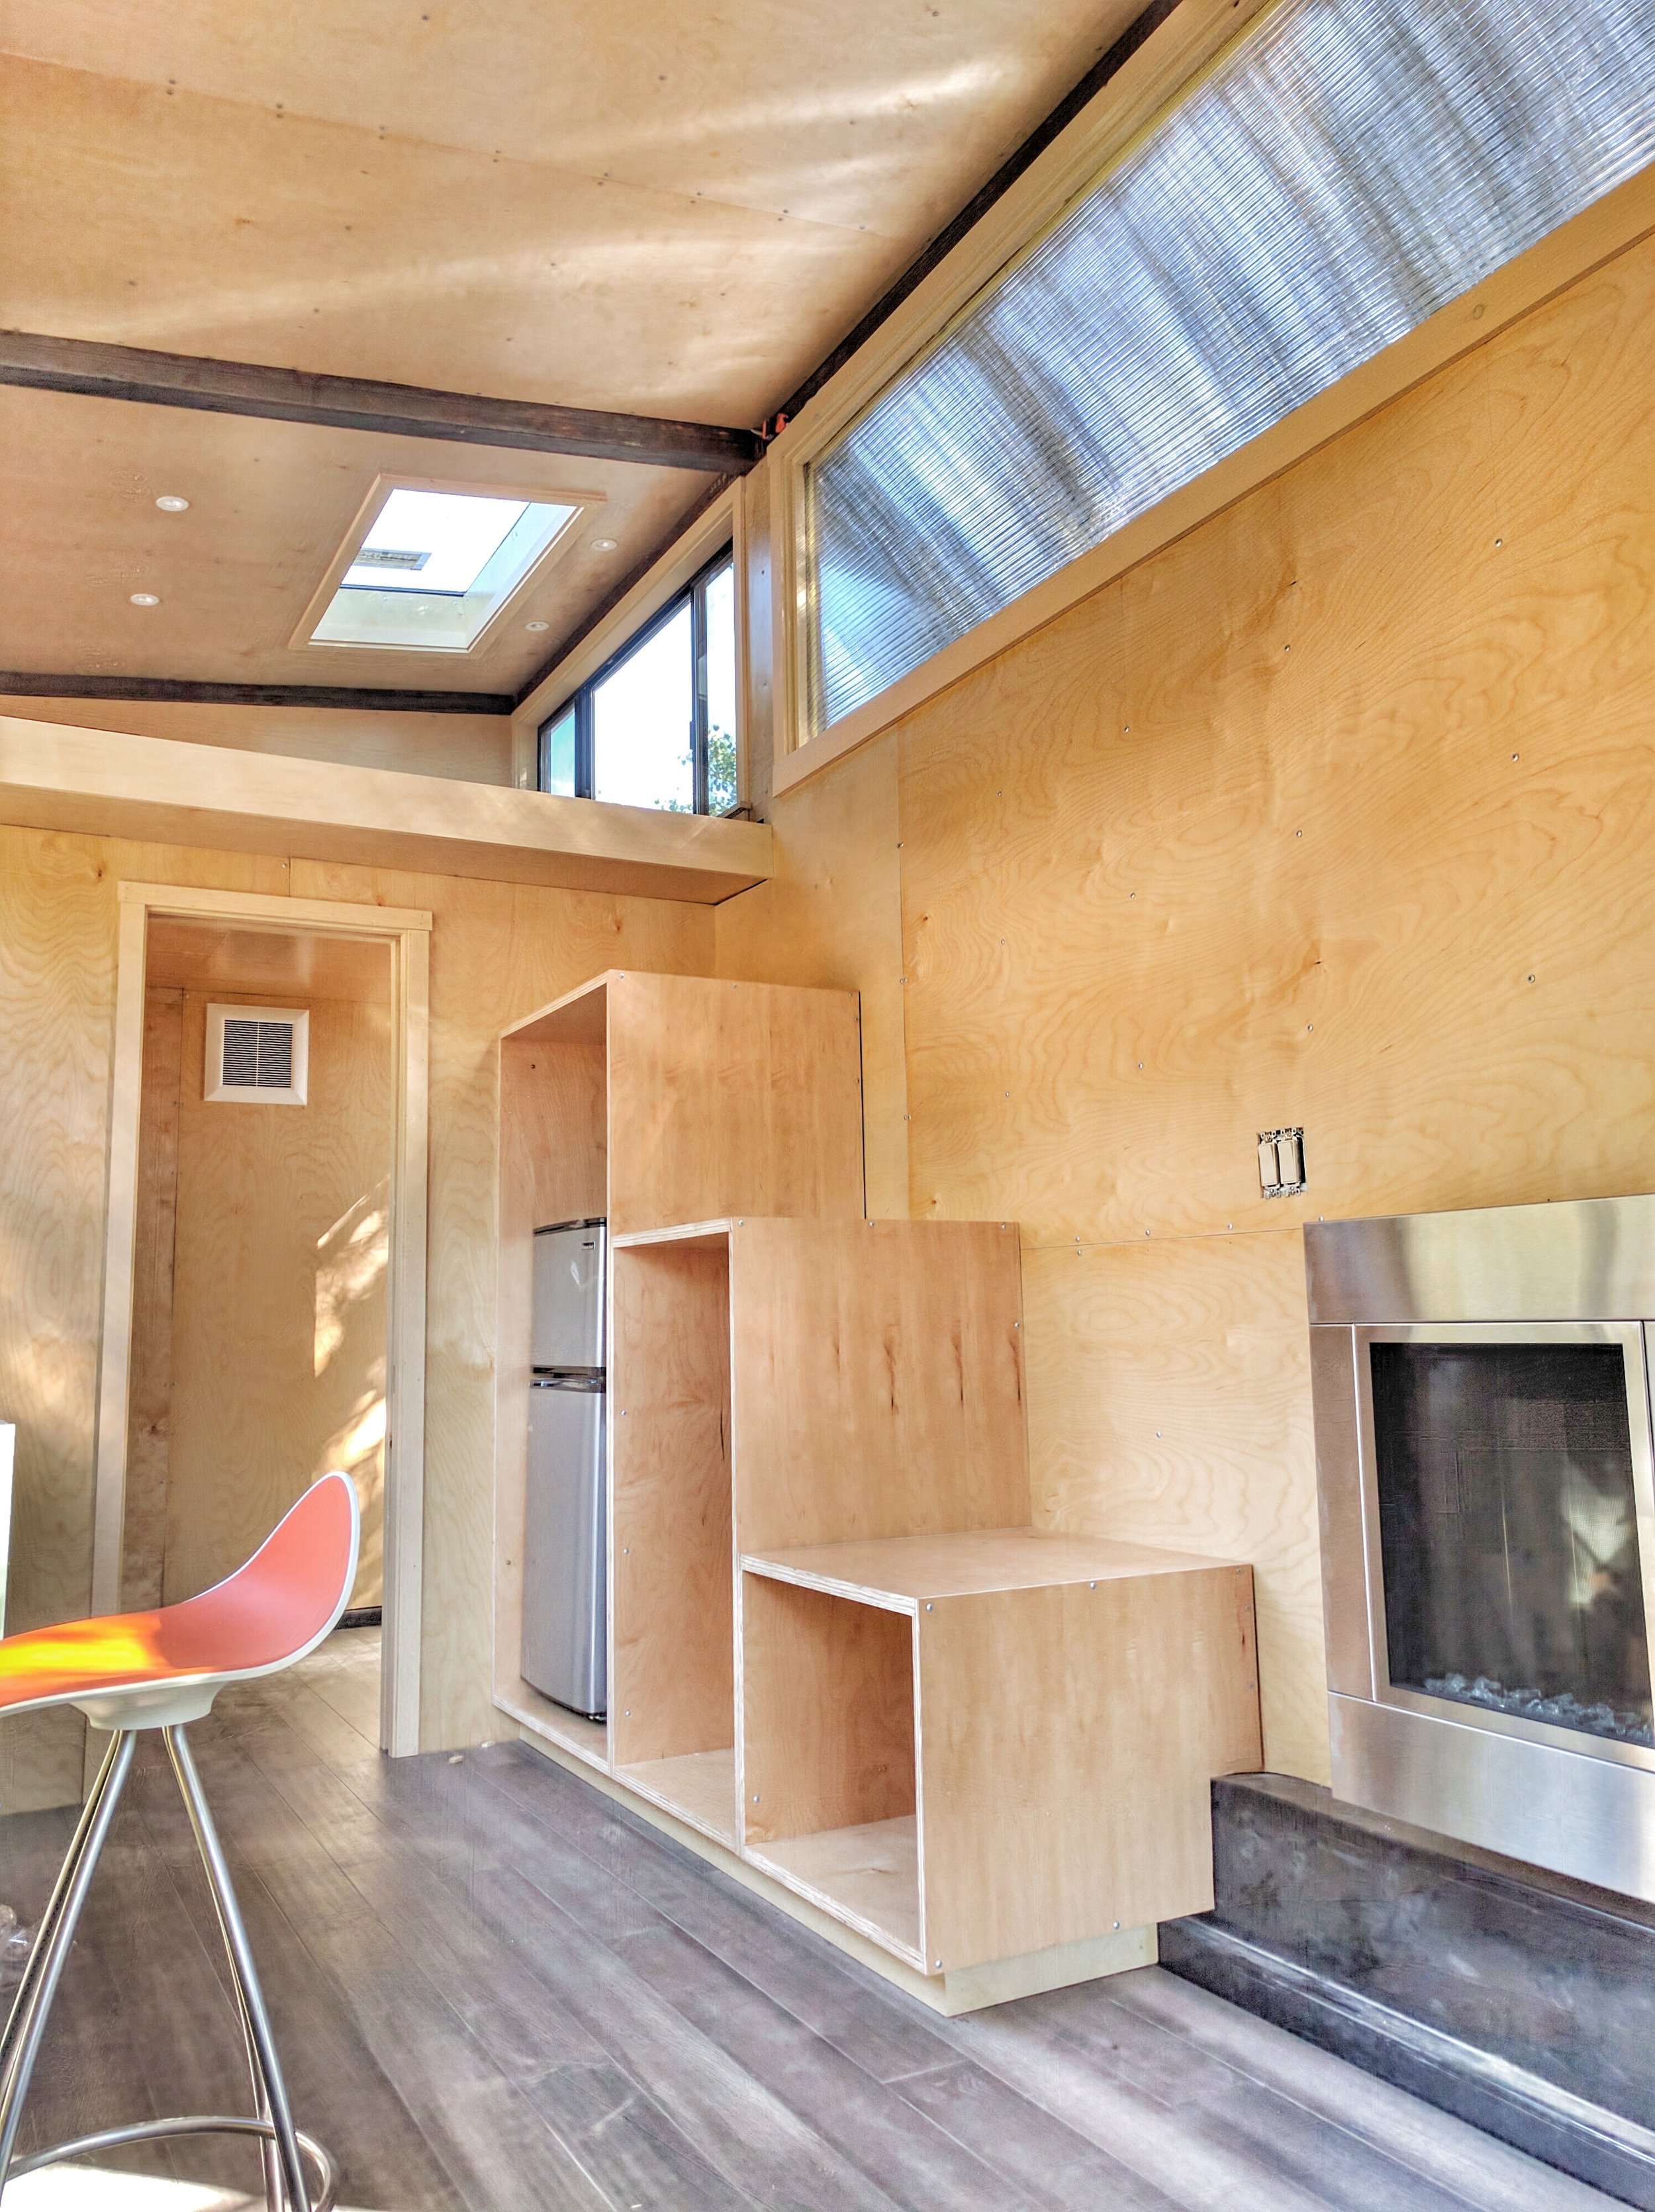
We decided against a ladder to the loft since many people find that kind of scary. Here's the first stage of the stair install, with the boxes available as a place for the refrigerator and microwave, as a clothes-hanging closet, and as cubbies for other storage. You can also see the skylight we installed in the loft to give the space a more open feeling.

Countertop Build
It took us a long time to decide what to do about the 11-foot-long counter we wanted to act as the kitchen-dining-work space. In the end we went with the upcycled redwood decking again, and thanks to the hard work and great skill of two Quebecois, Bertrand and Alain, it turned out beautifully.

Counter Installed
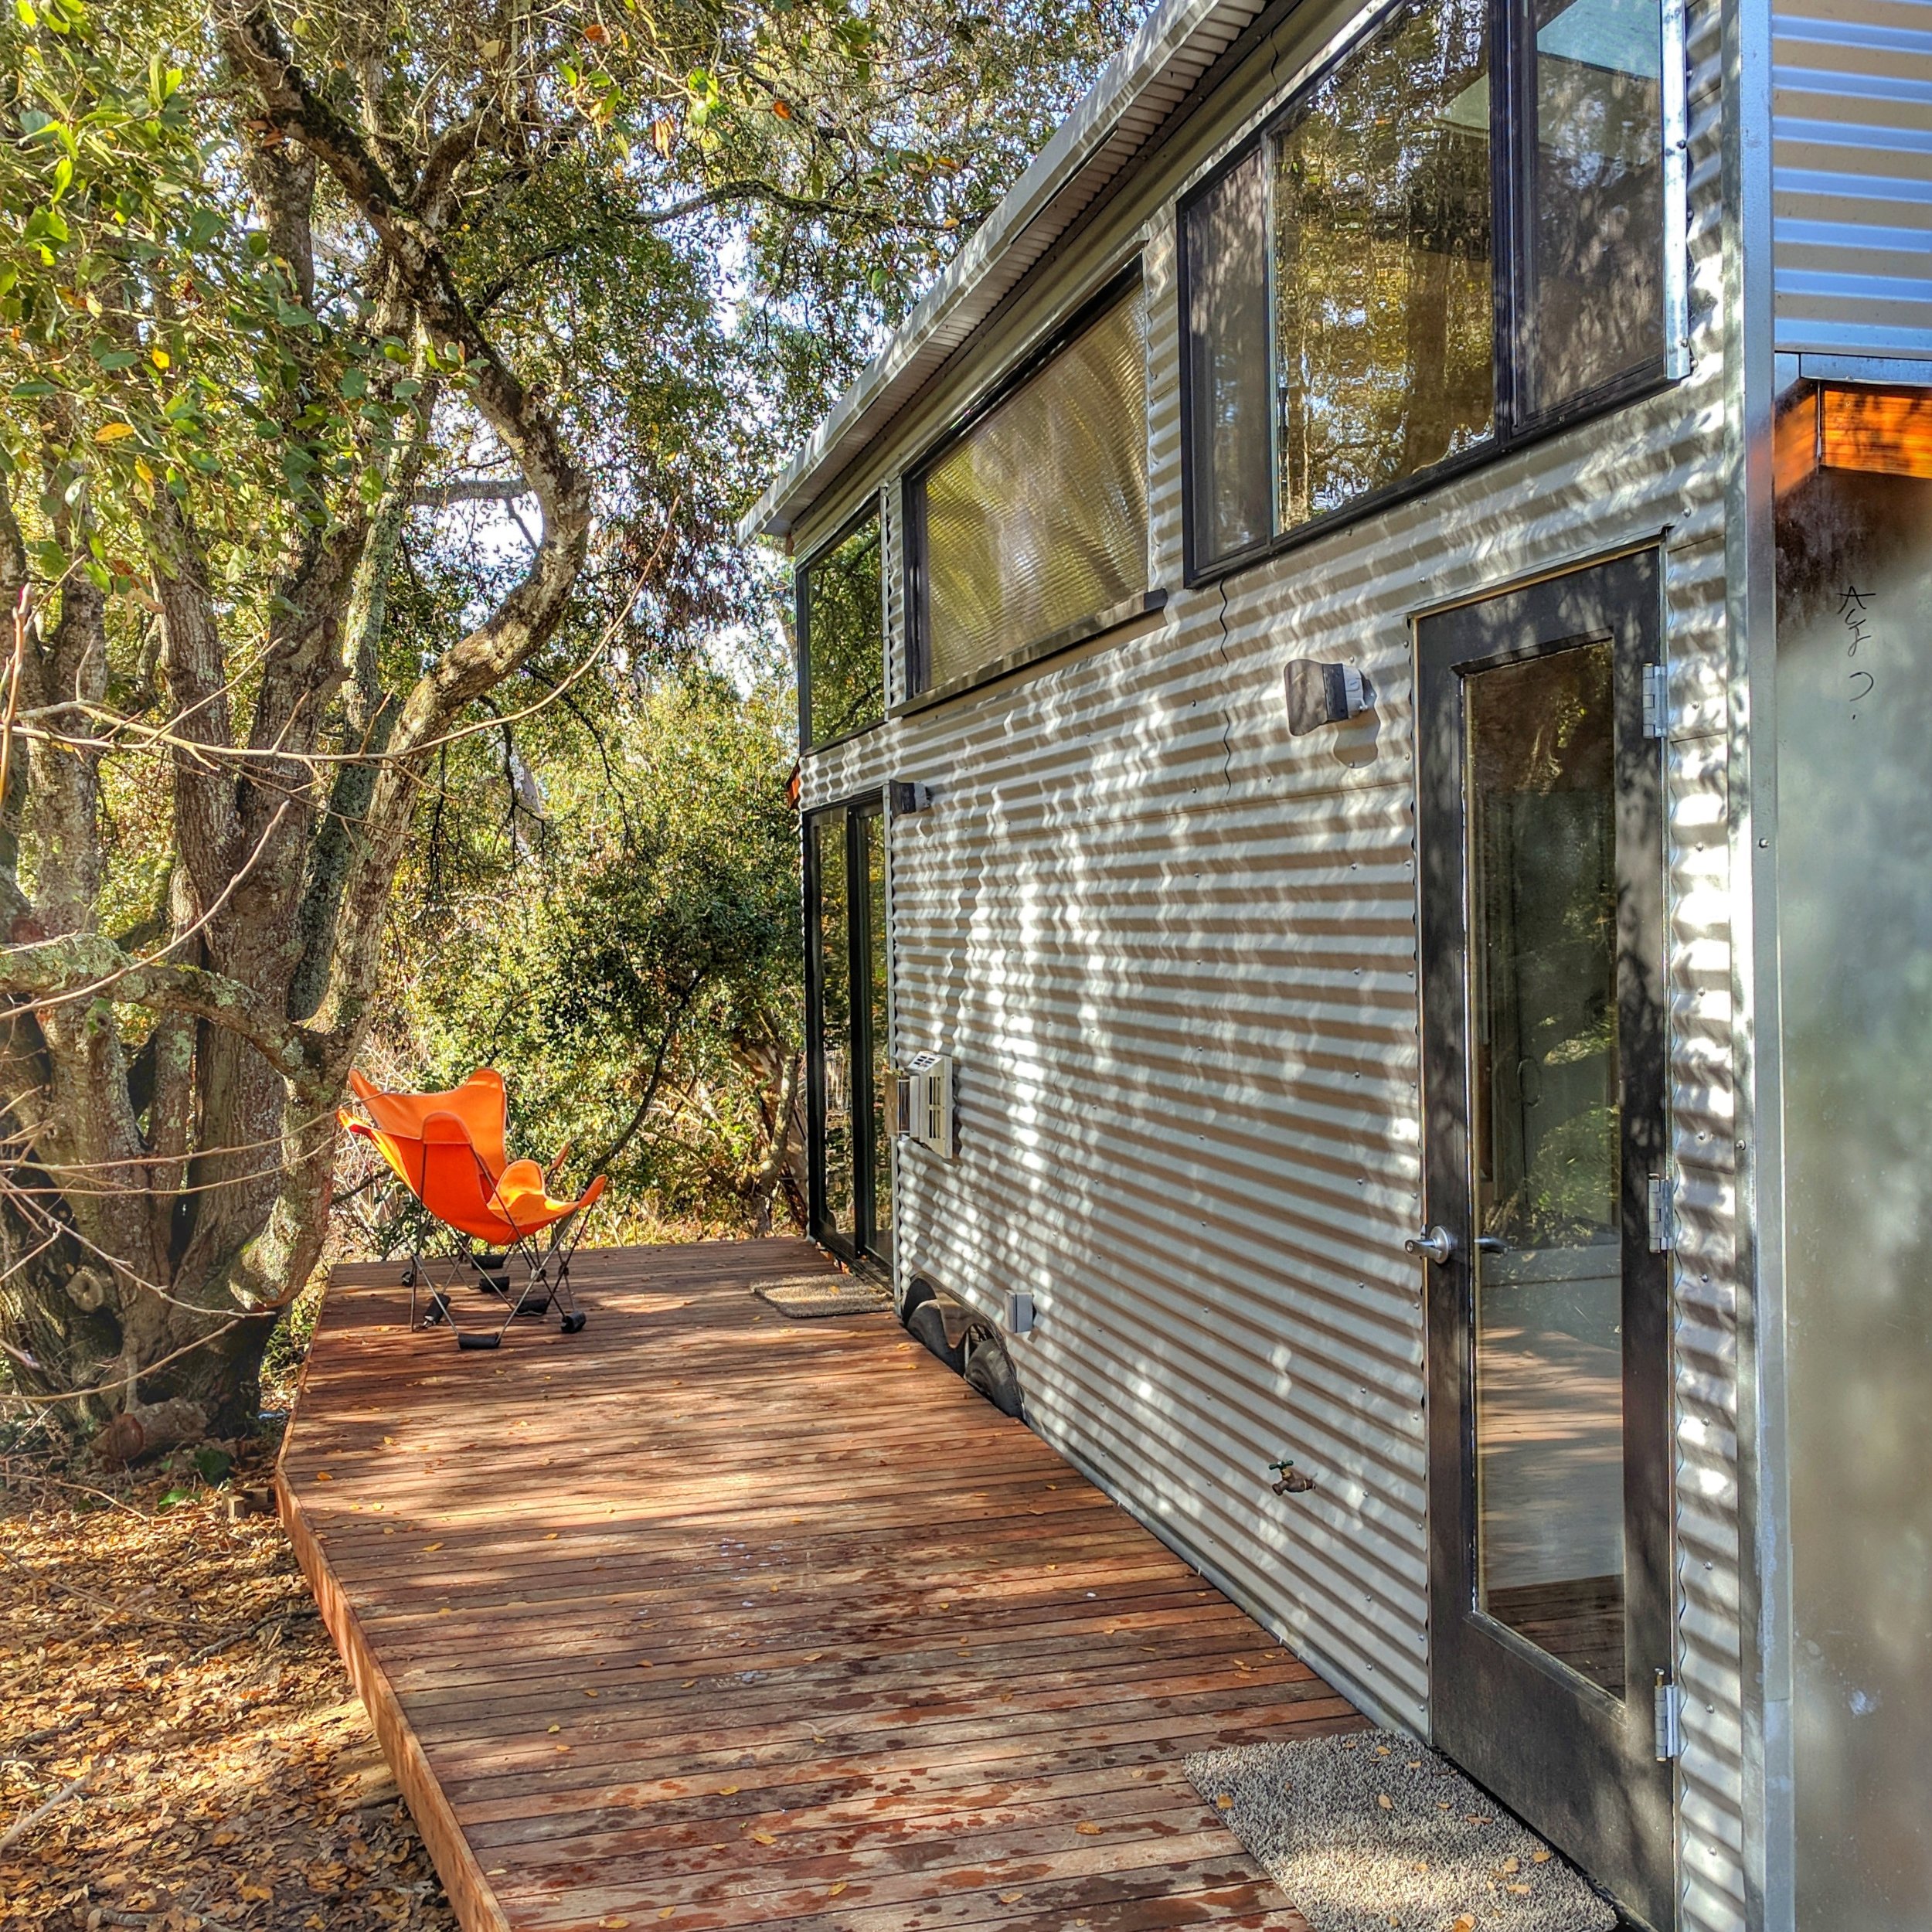
Here's the counter finished and installed. We did not build it as a pure rectangle, but added a slight angle so that the counter narrows down the eating/working side. This creates a little more floor space and echoes the same angle in the deck outside.
Finished Deck and Exterior
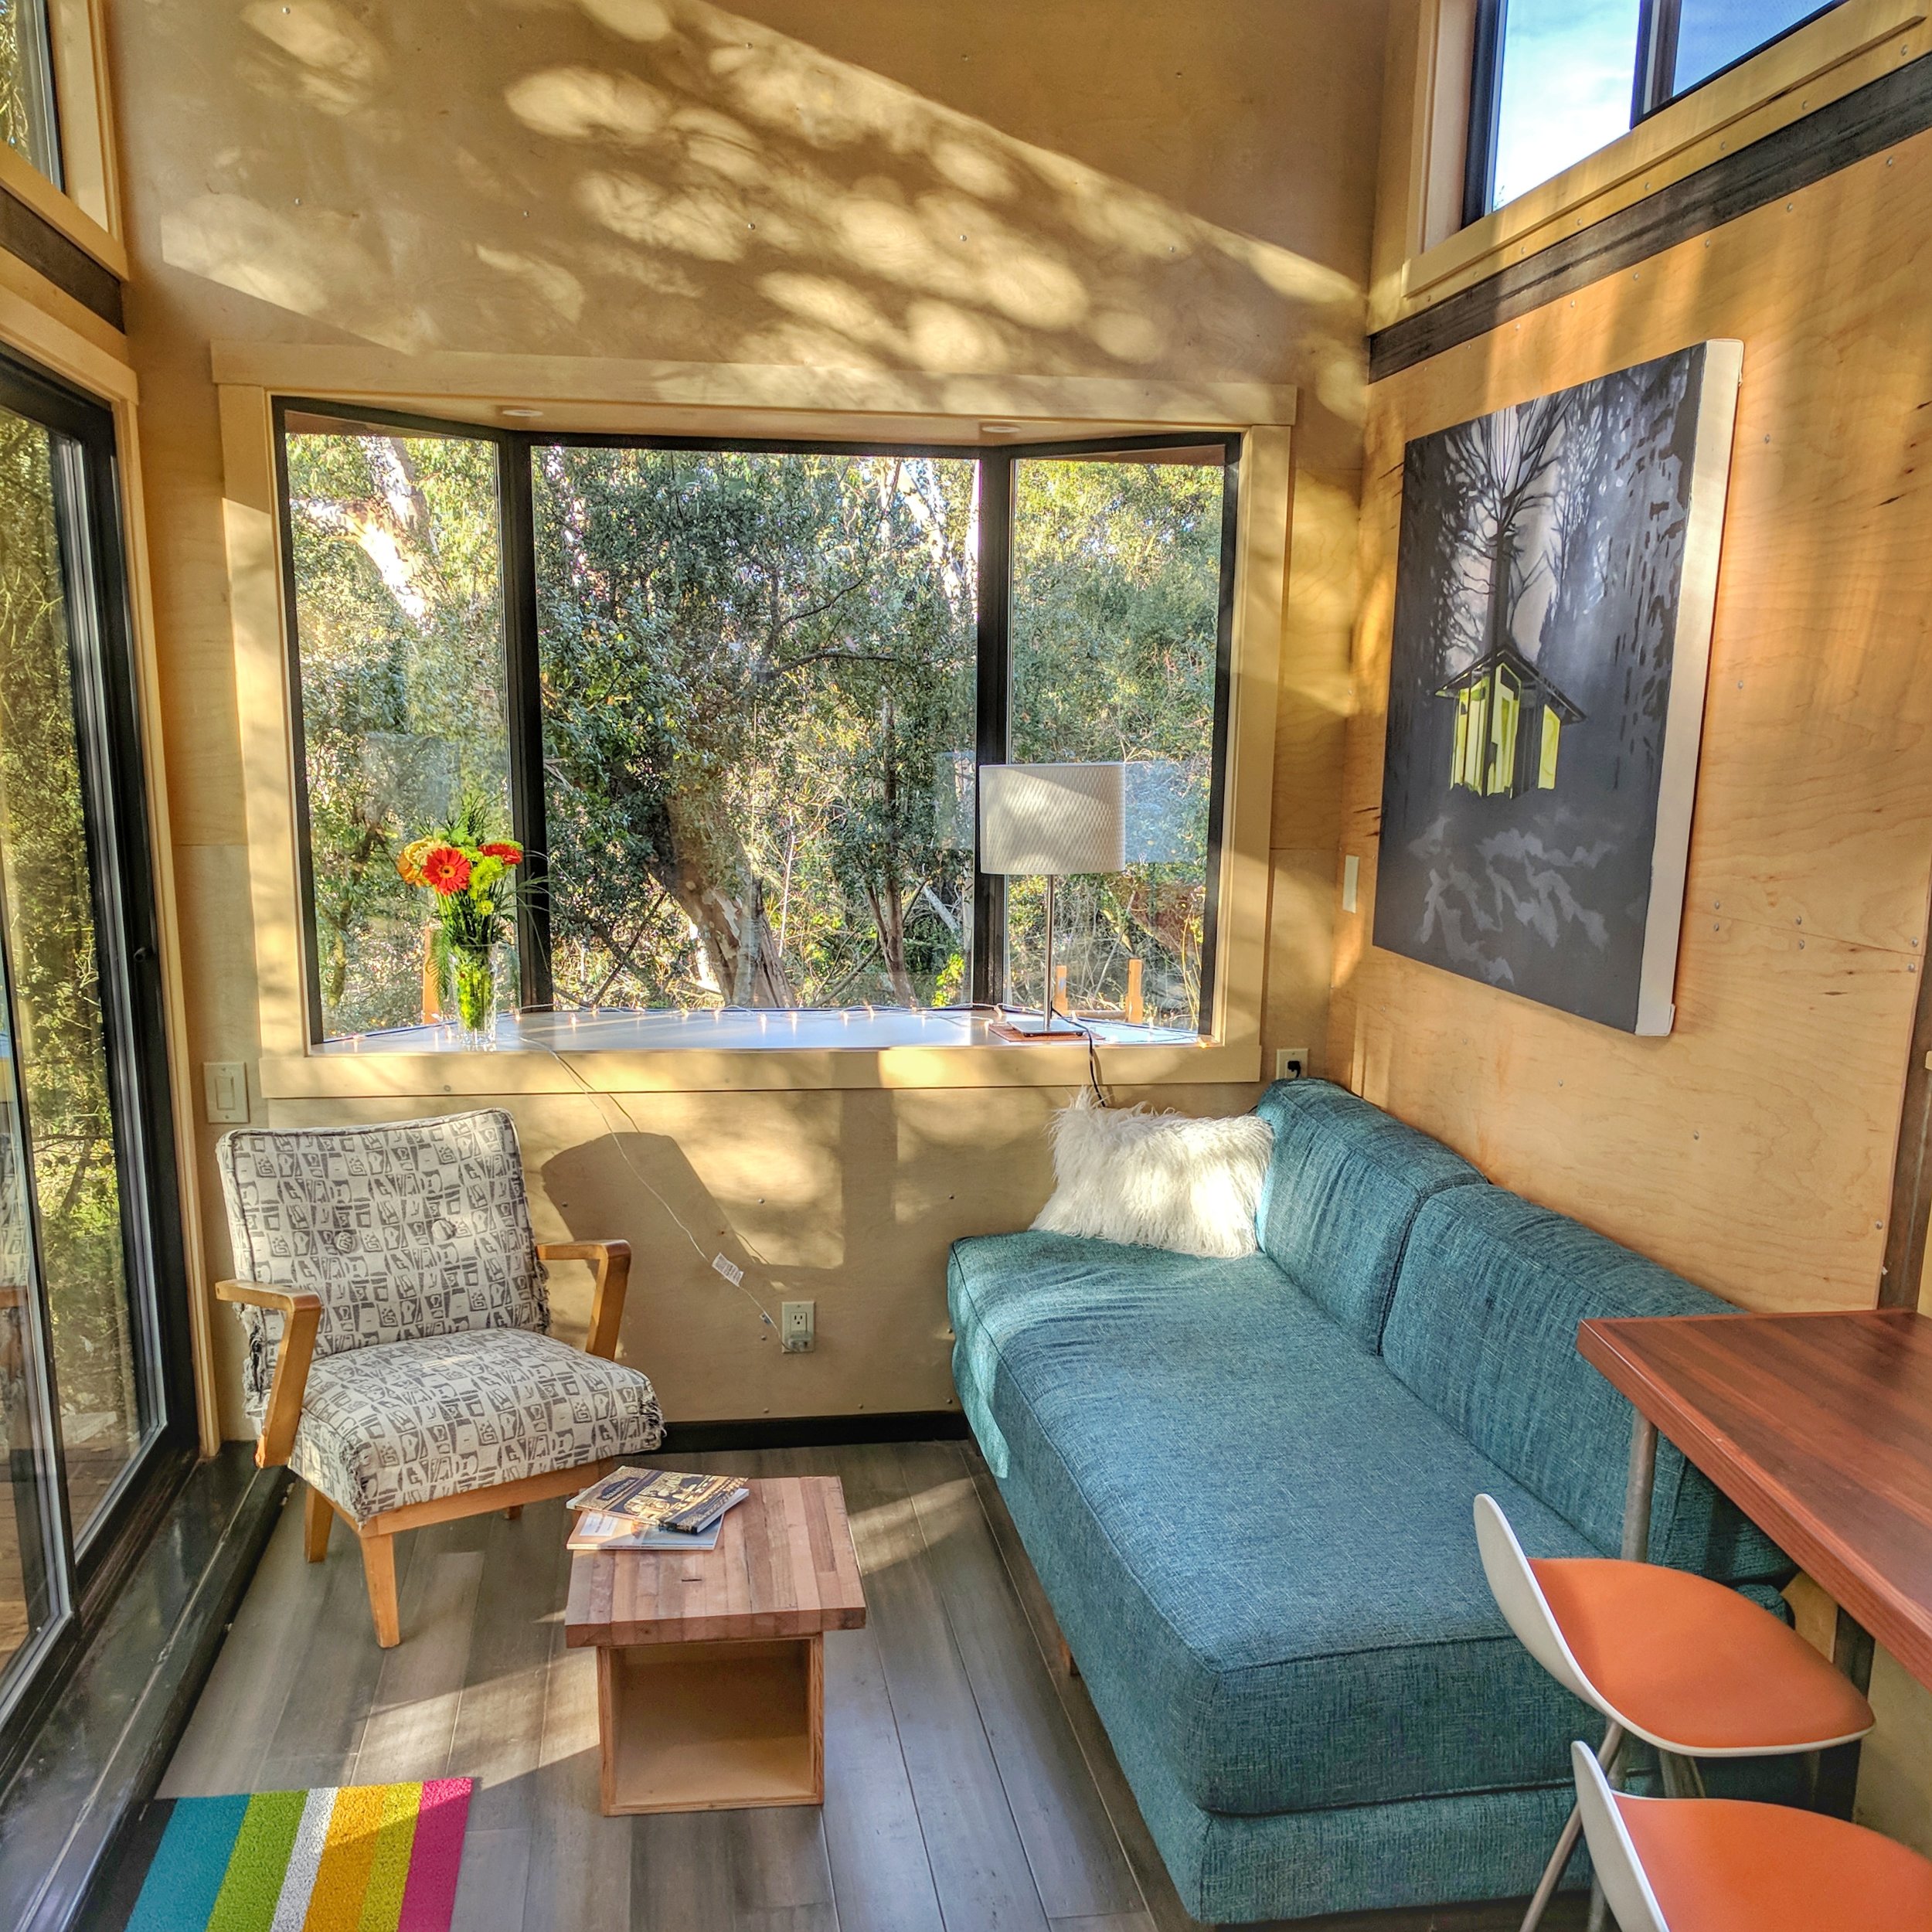
Finished Interior
